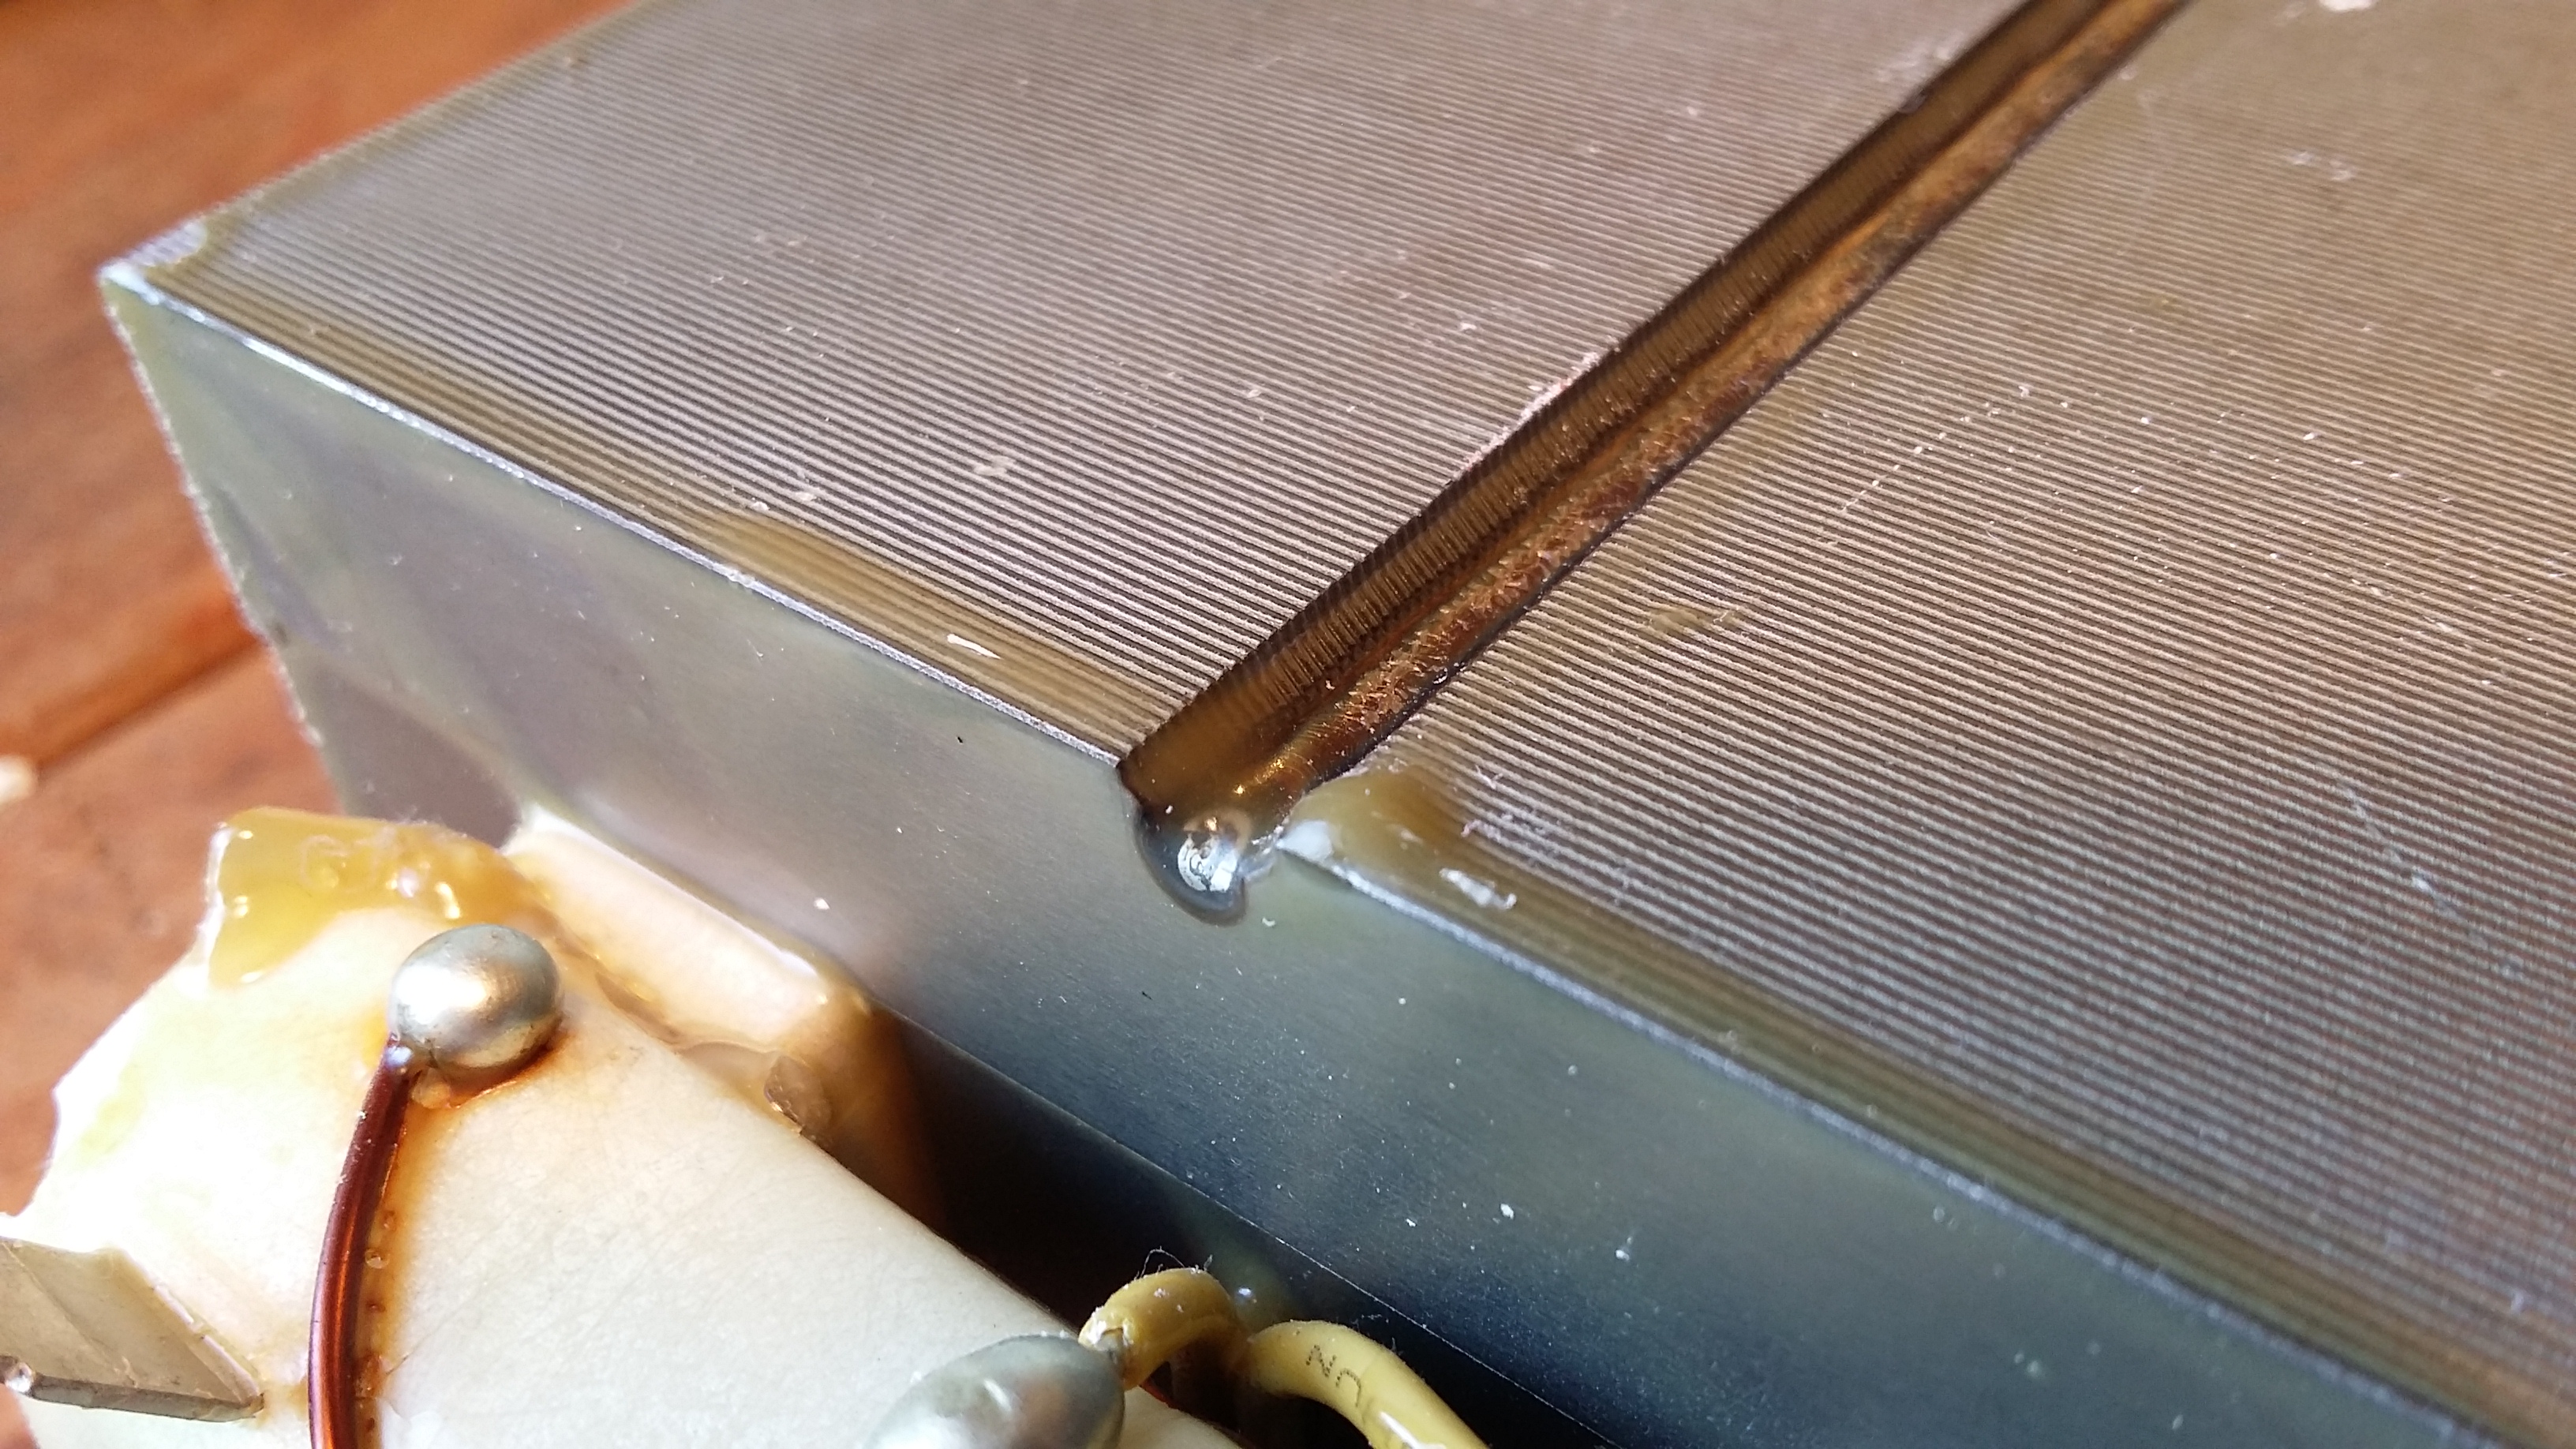
This transformer has a little weld down the side, seemingly to keep all the metal plates togetherAnd some small welds on the bottom. These and the glue were all that was keeping it togetherI decided to angle grind them off, a drill would of gone too far into the transformerAnd then very very carefully chiseled from the top and sides to separate.
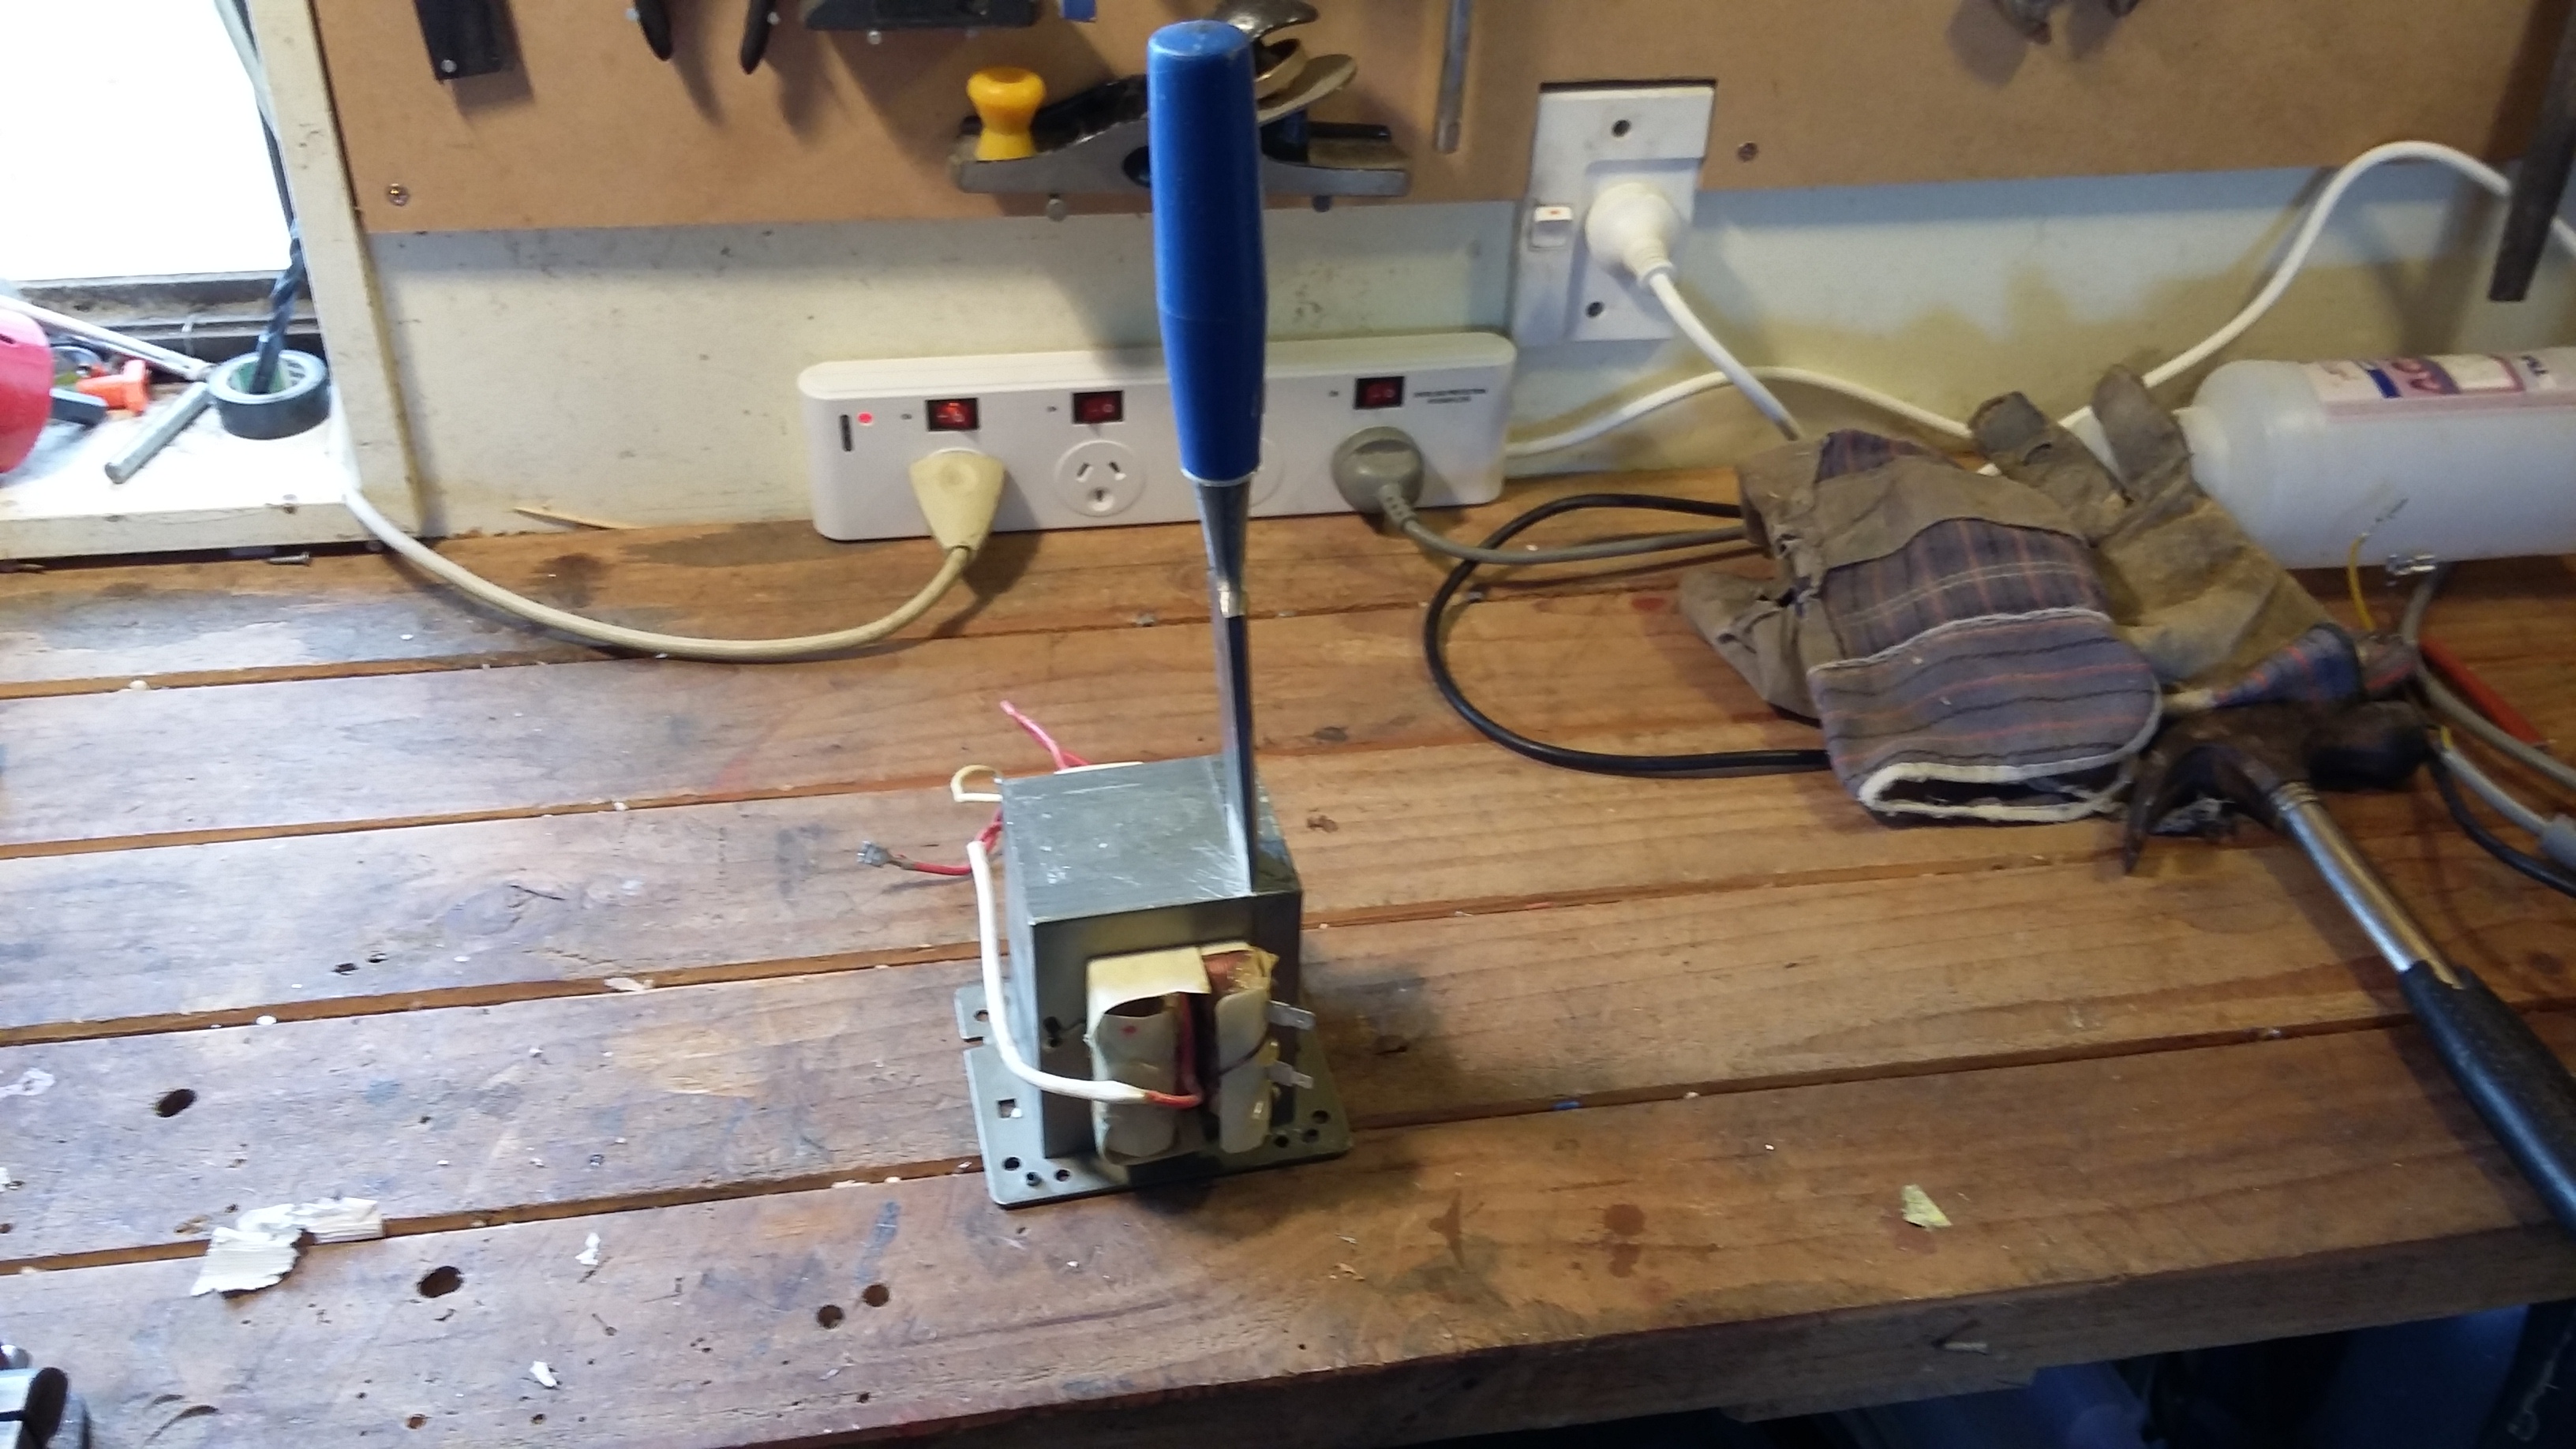
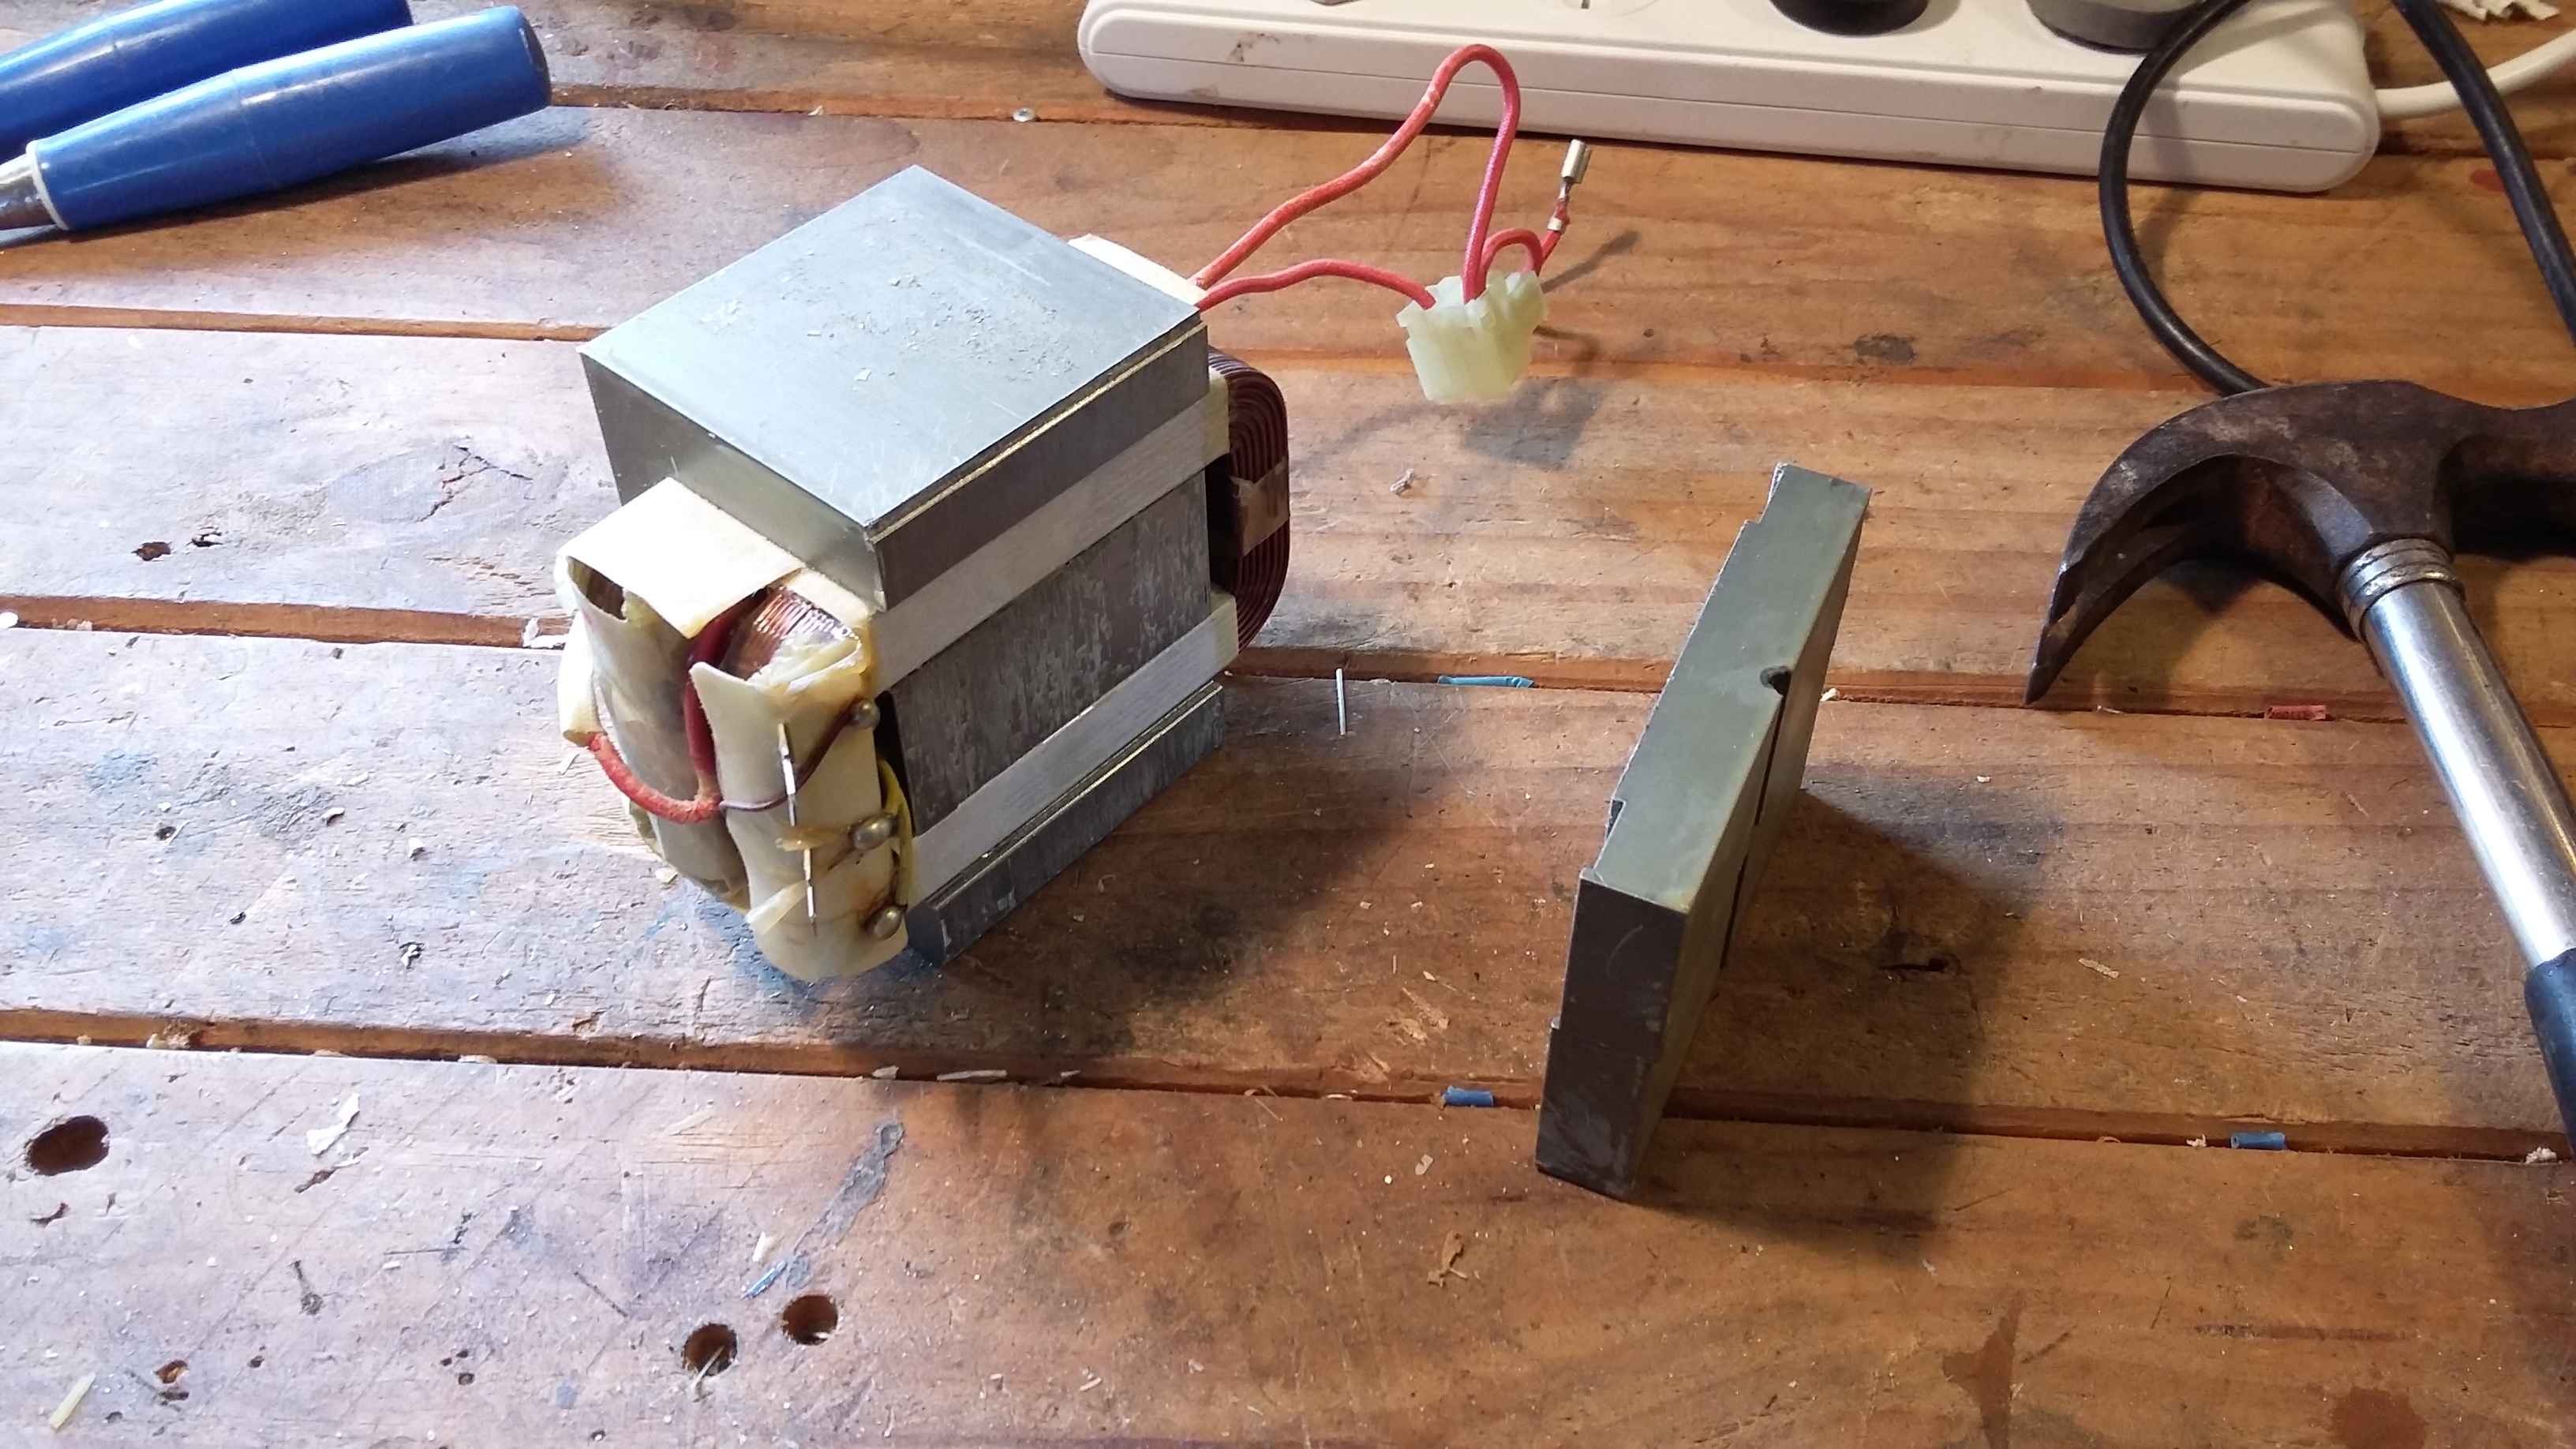
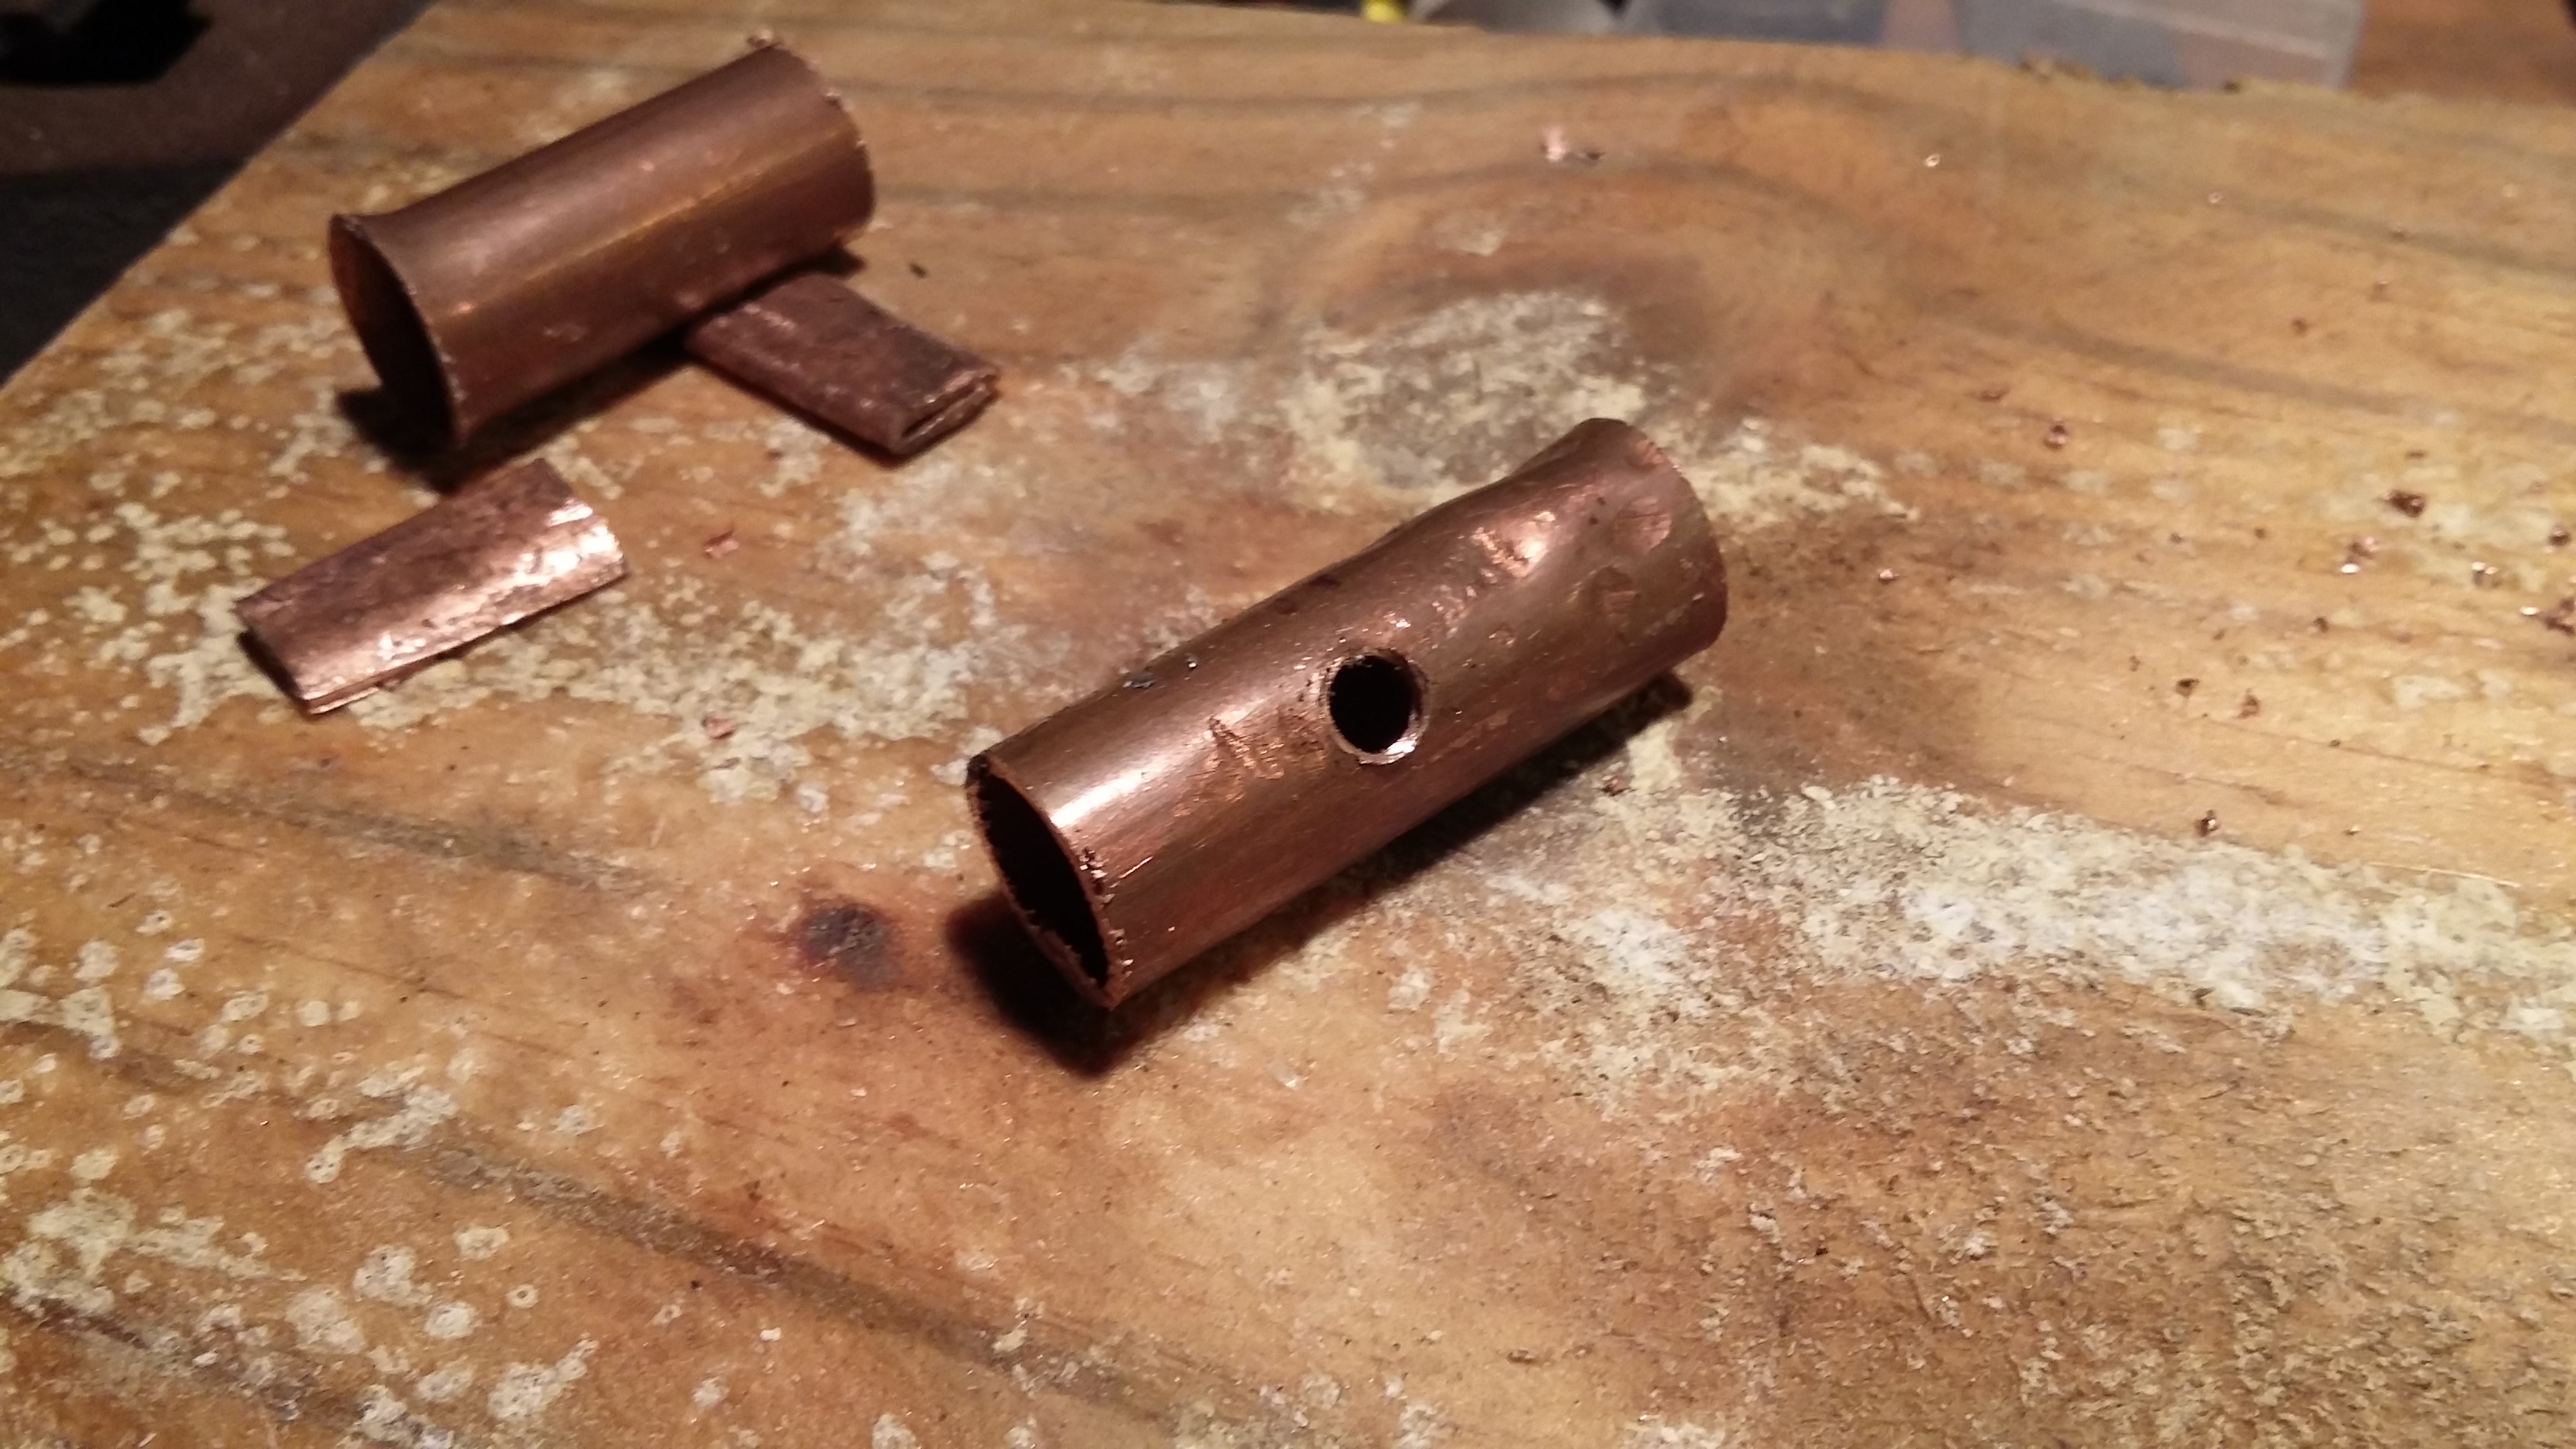
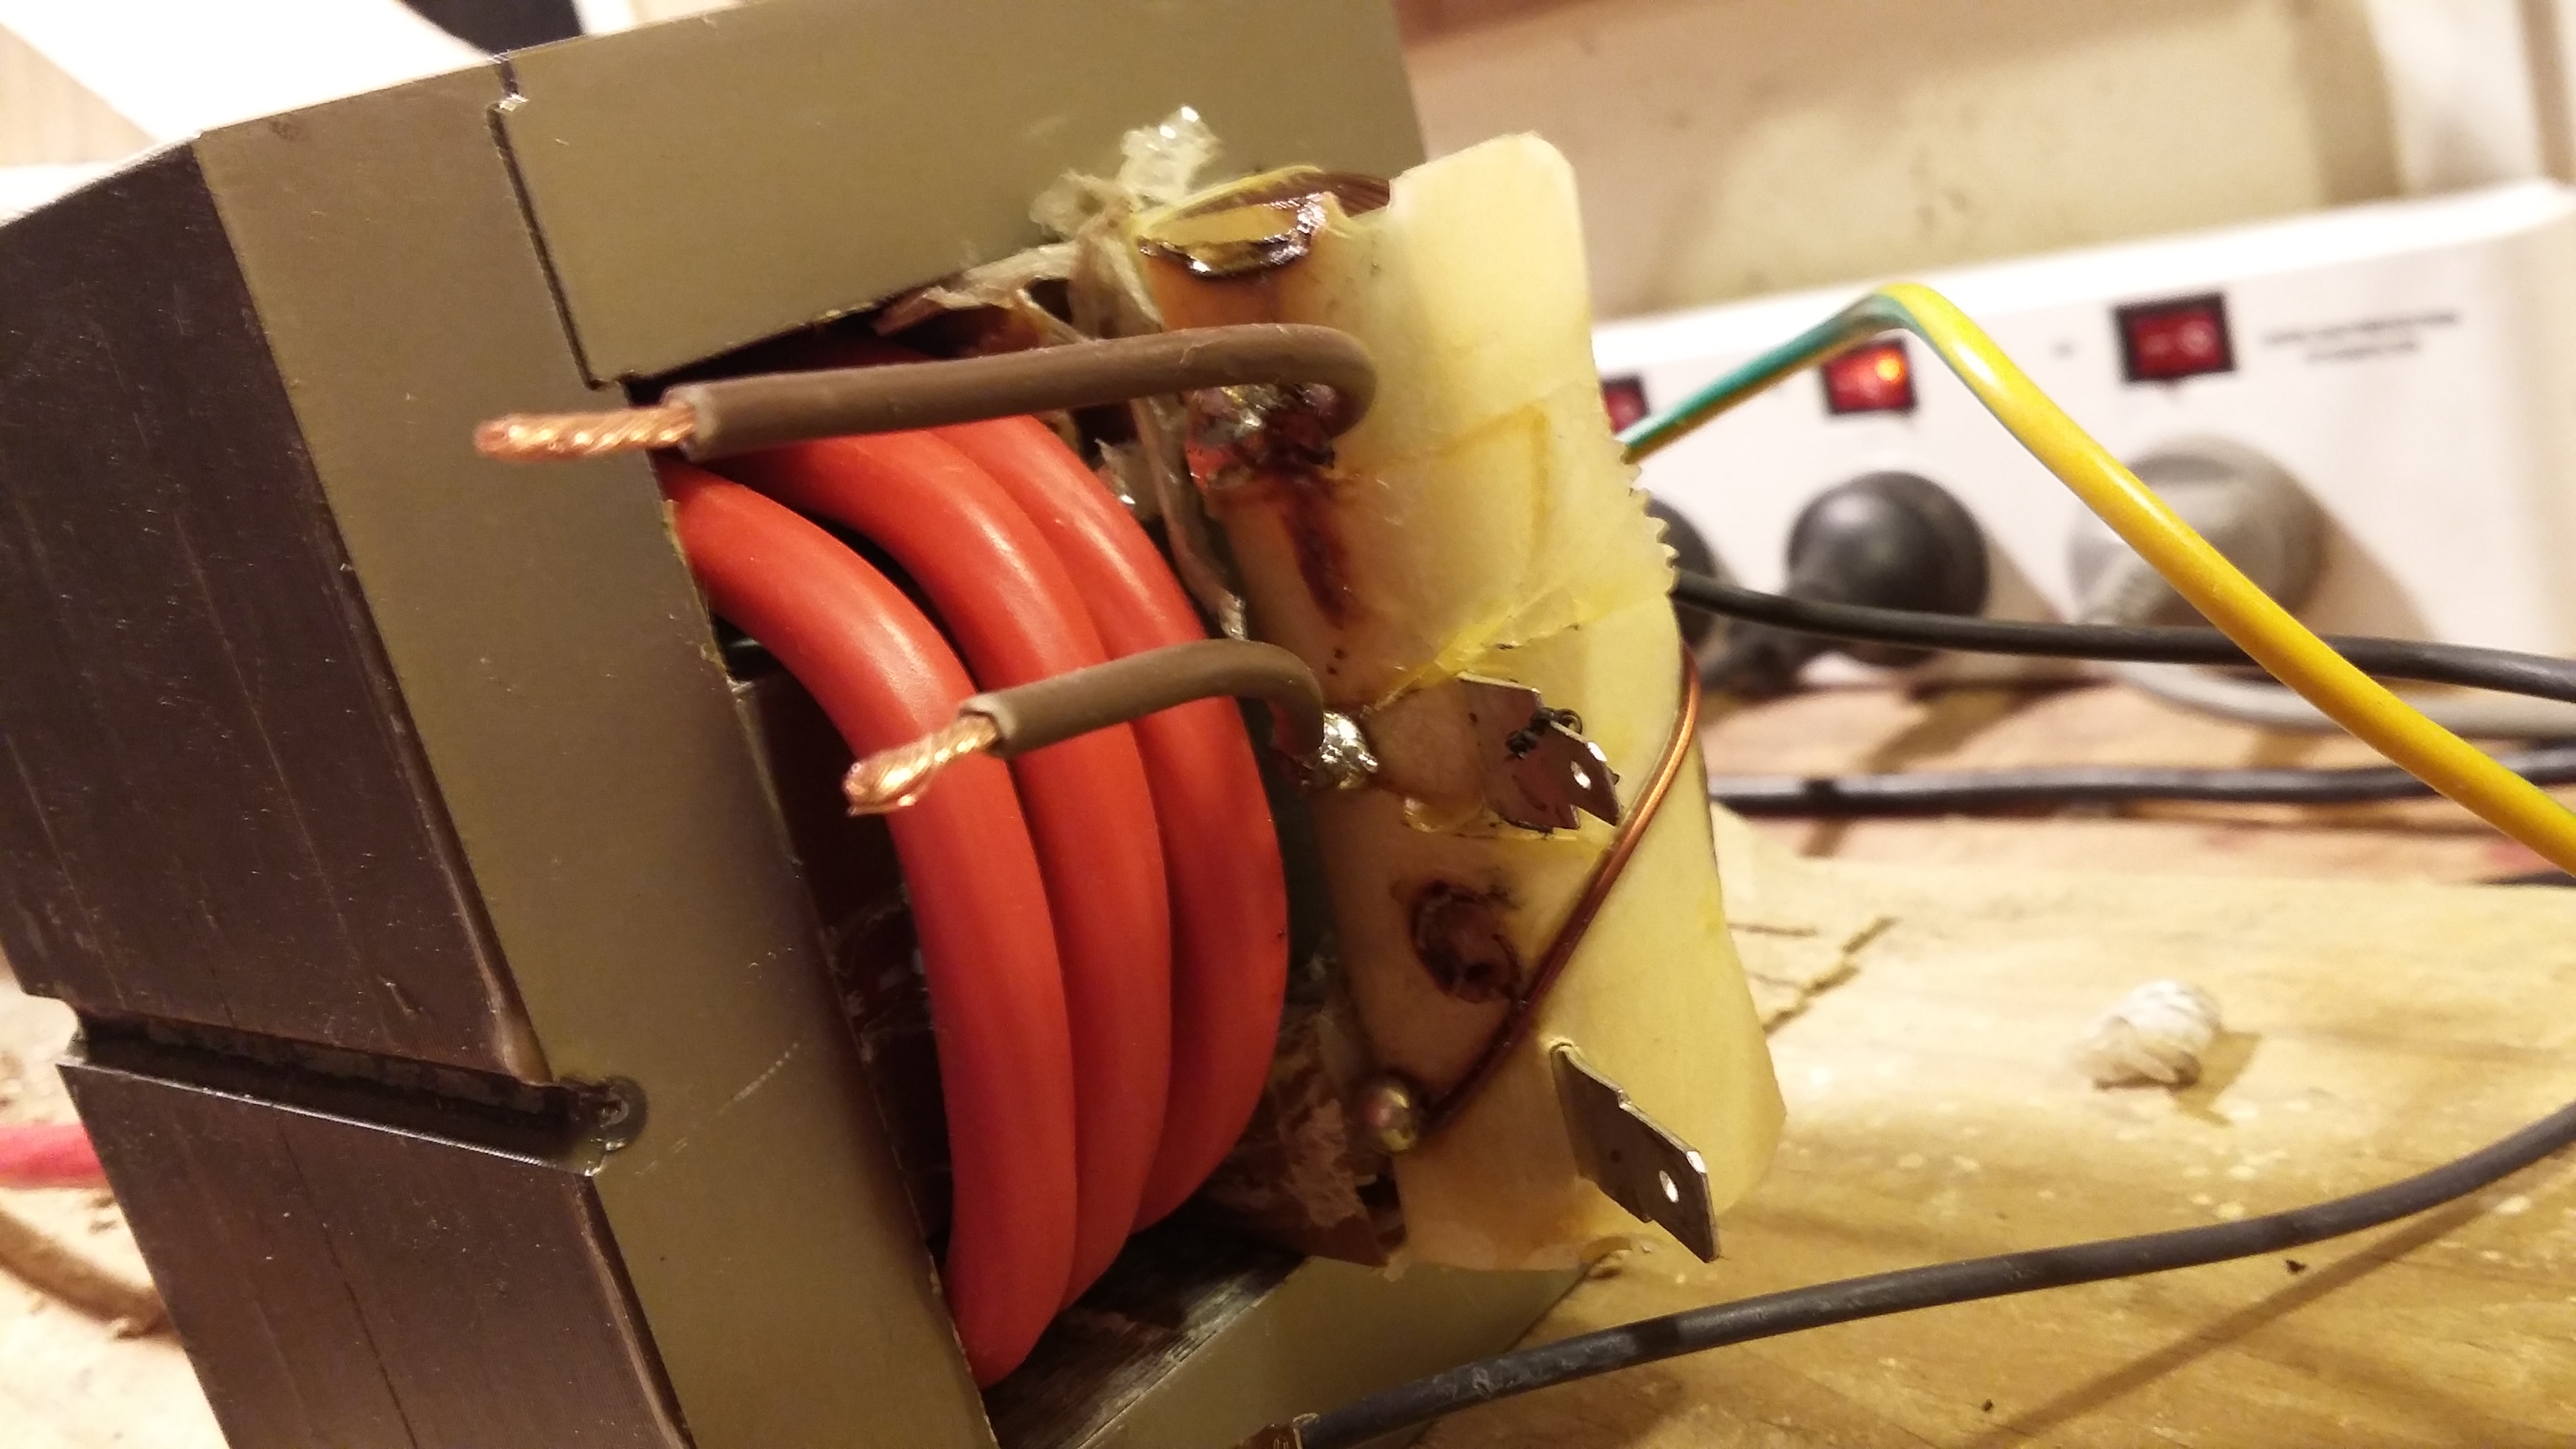
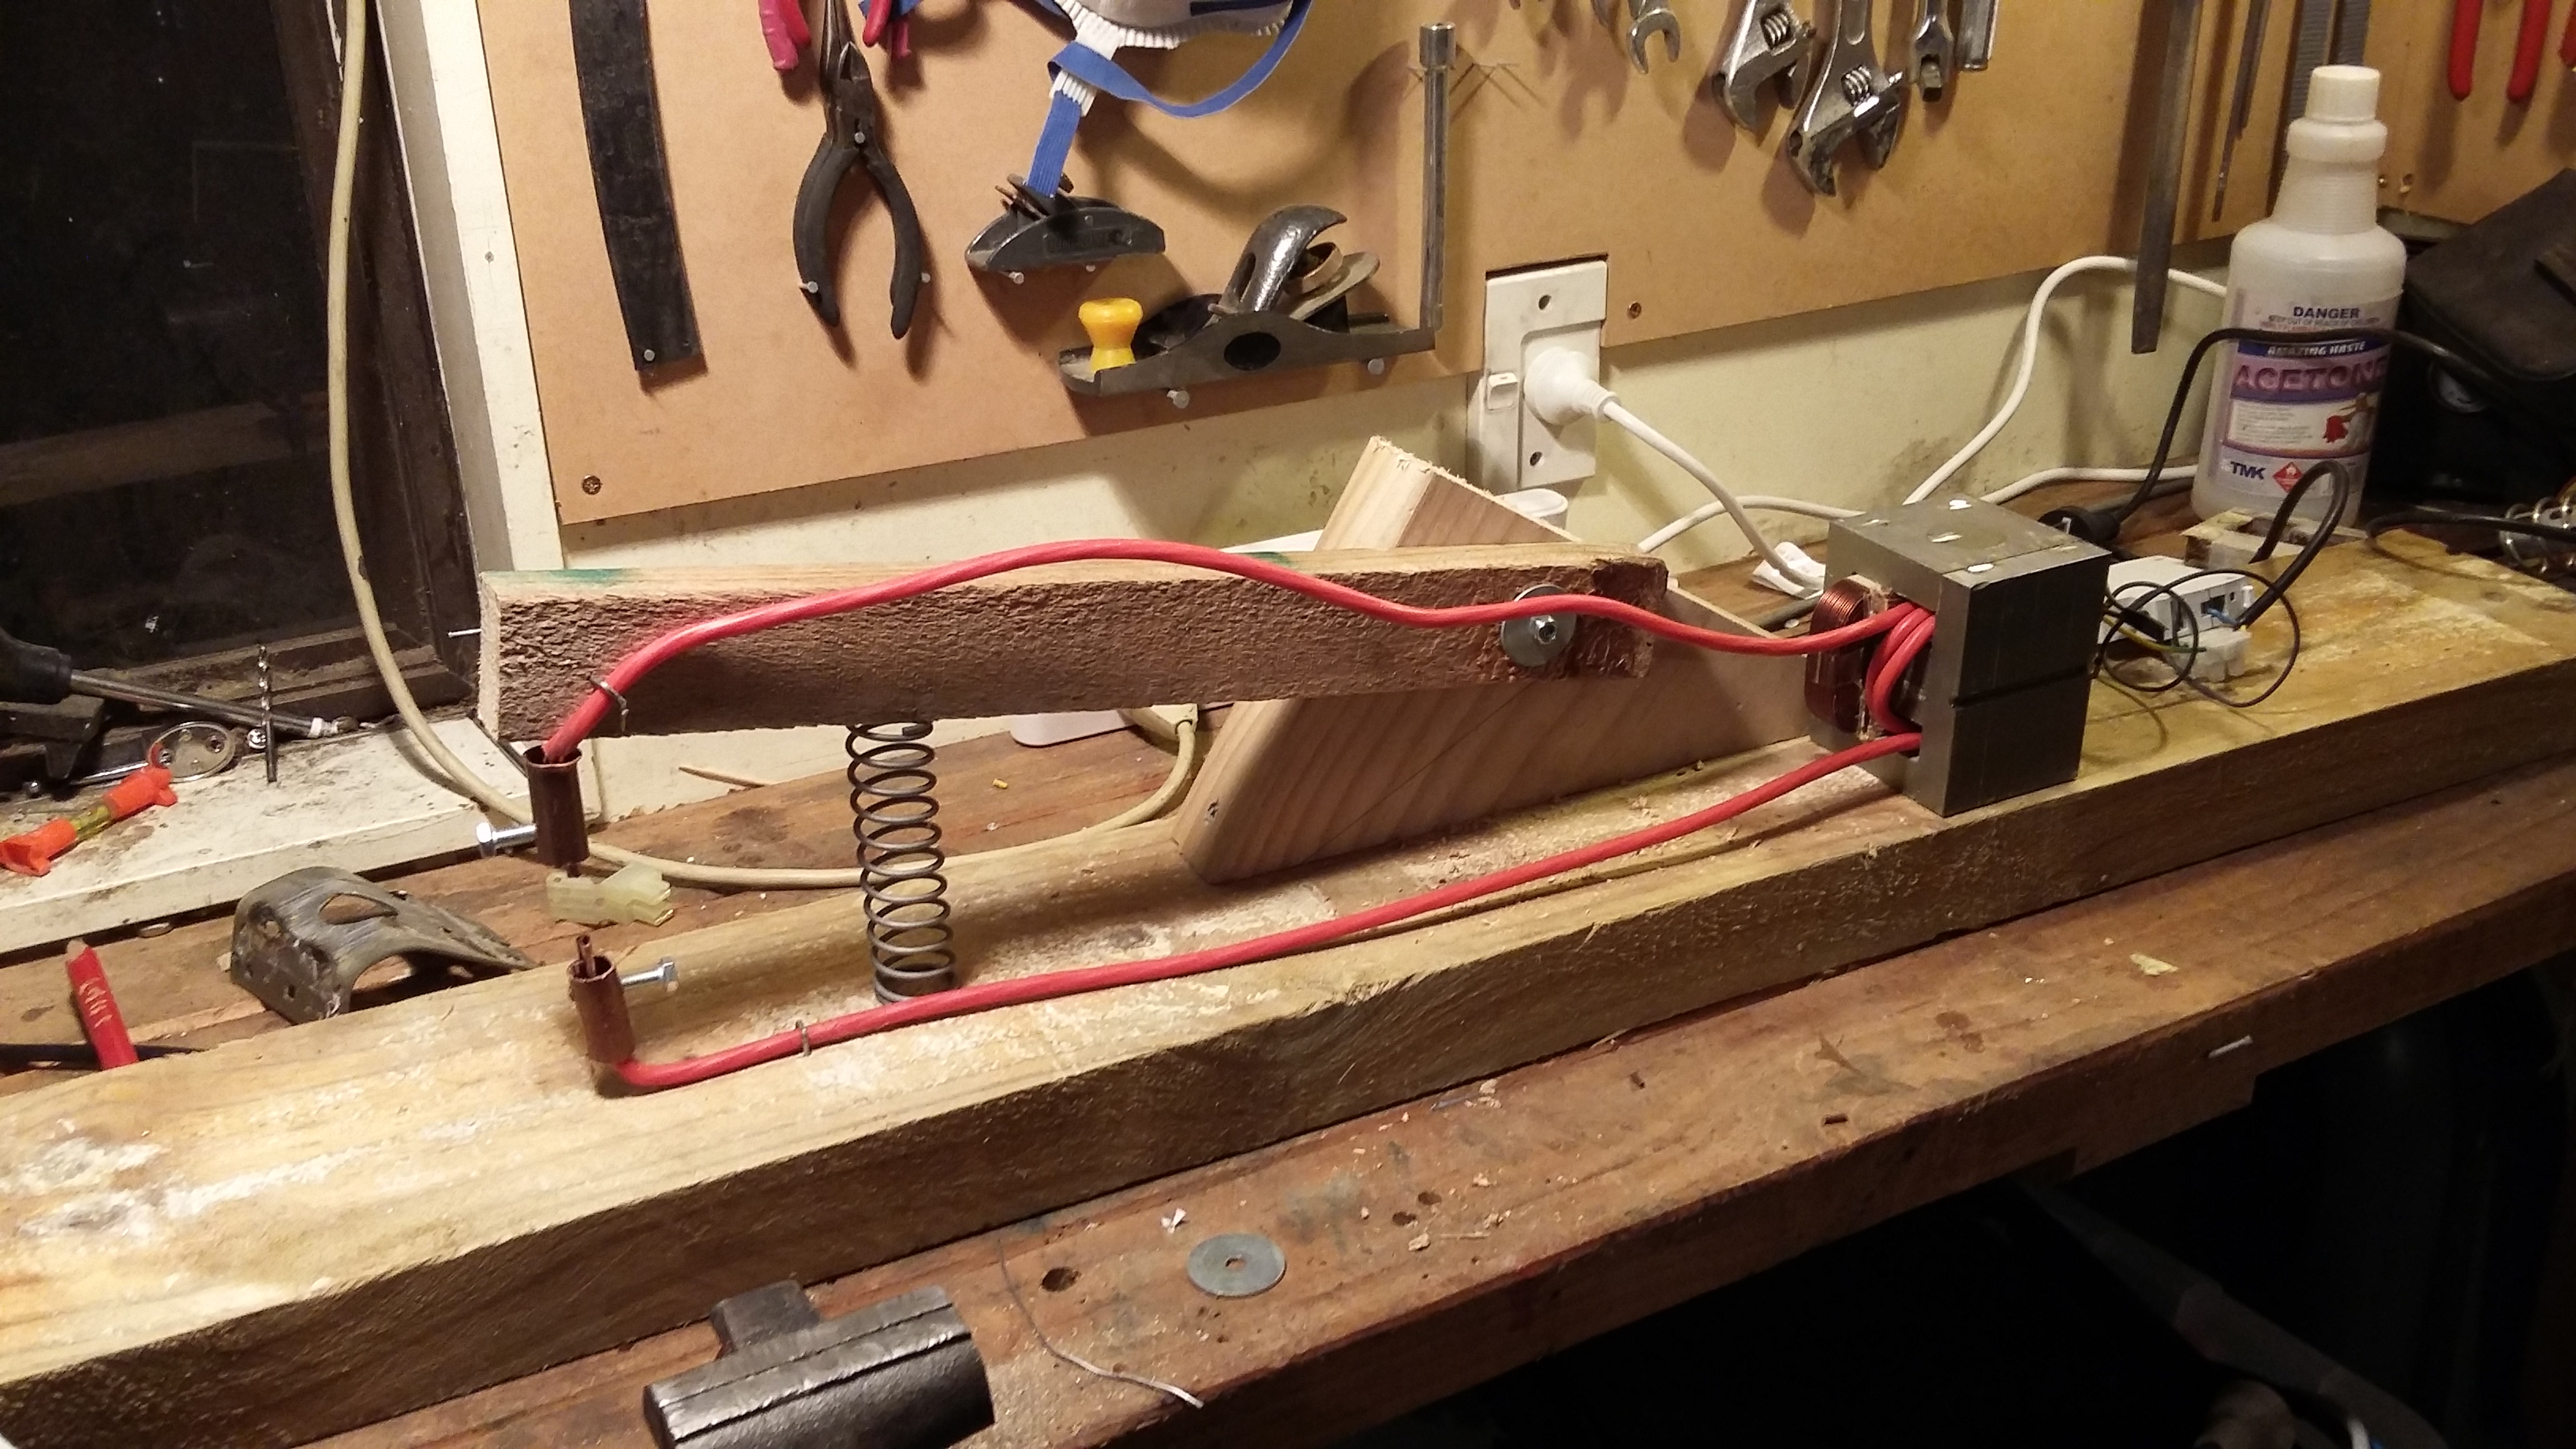
Removed. I managed to split the plates here unfortunately, but its holding up OK, I will re-epoxy them when I am done testing.Very carefully removing the coils with some wood and a hammer.Slowly getting the coils out.After getting the two coils out I replaced the large coil and then wound my own coil with the heavy gauge wire. Â Then replaced the ‘I’ piece of the transformer. It holds itself on there fine for now but I will epoxy this up before I am finished.Now I need to make some wire holders and electrodes. while I’m testing I am just going to use some scrap copper pipeDrilled and tapped a M6 thread into the side of the pipe and bent over the tube halves to make electrodesA single bolt holds the wire and electrodeSome scrap wood makes the testing a little easier. Also helps me figure out what will work in the final piece.A spring from an old washing machine helps ensure the electrodes move away from each otherAlso had to fix this little overload protection thing. I noticed as I removing the coils there was a small component attached here that I didn’t realize was some sort of overload protector (I assume) or perhaps a thermistor to stop it overheating. For now I just twisted and taped these wires together, seems like a good idea to put it back in for the final product though.Ready to test….