Spot Welder from a broken microwave Part 6

Part 1 – Microwave Disassembly

Part 2 – Modifying the Transformer and testing the theory

Part 3 – Collecting the parts and preparing the case

Part 4 – Putting the chassis together

Part 5 – Electrodes and Wiring

Part 6  – Final wiring and assembly

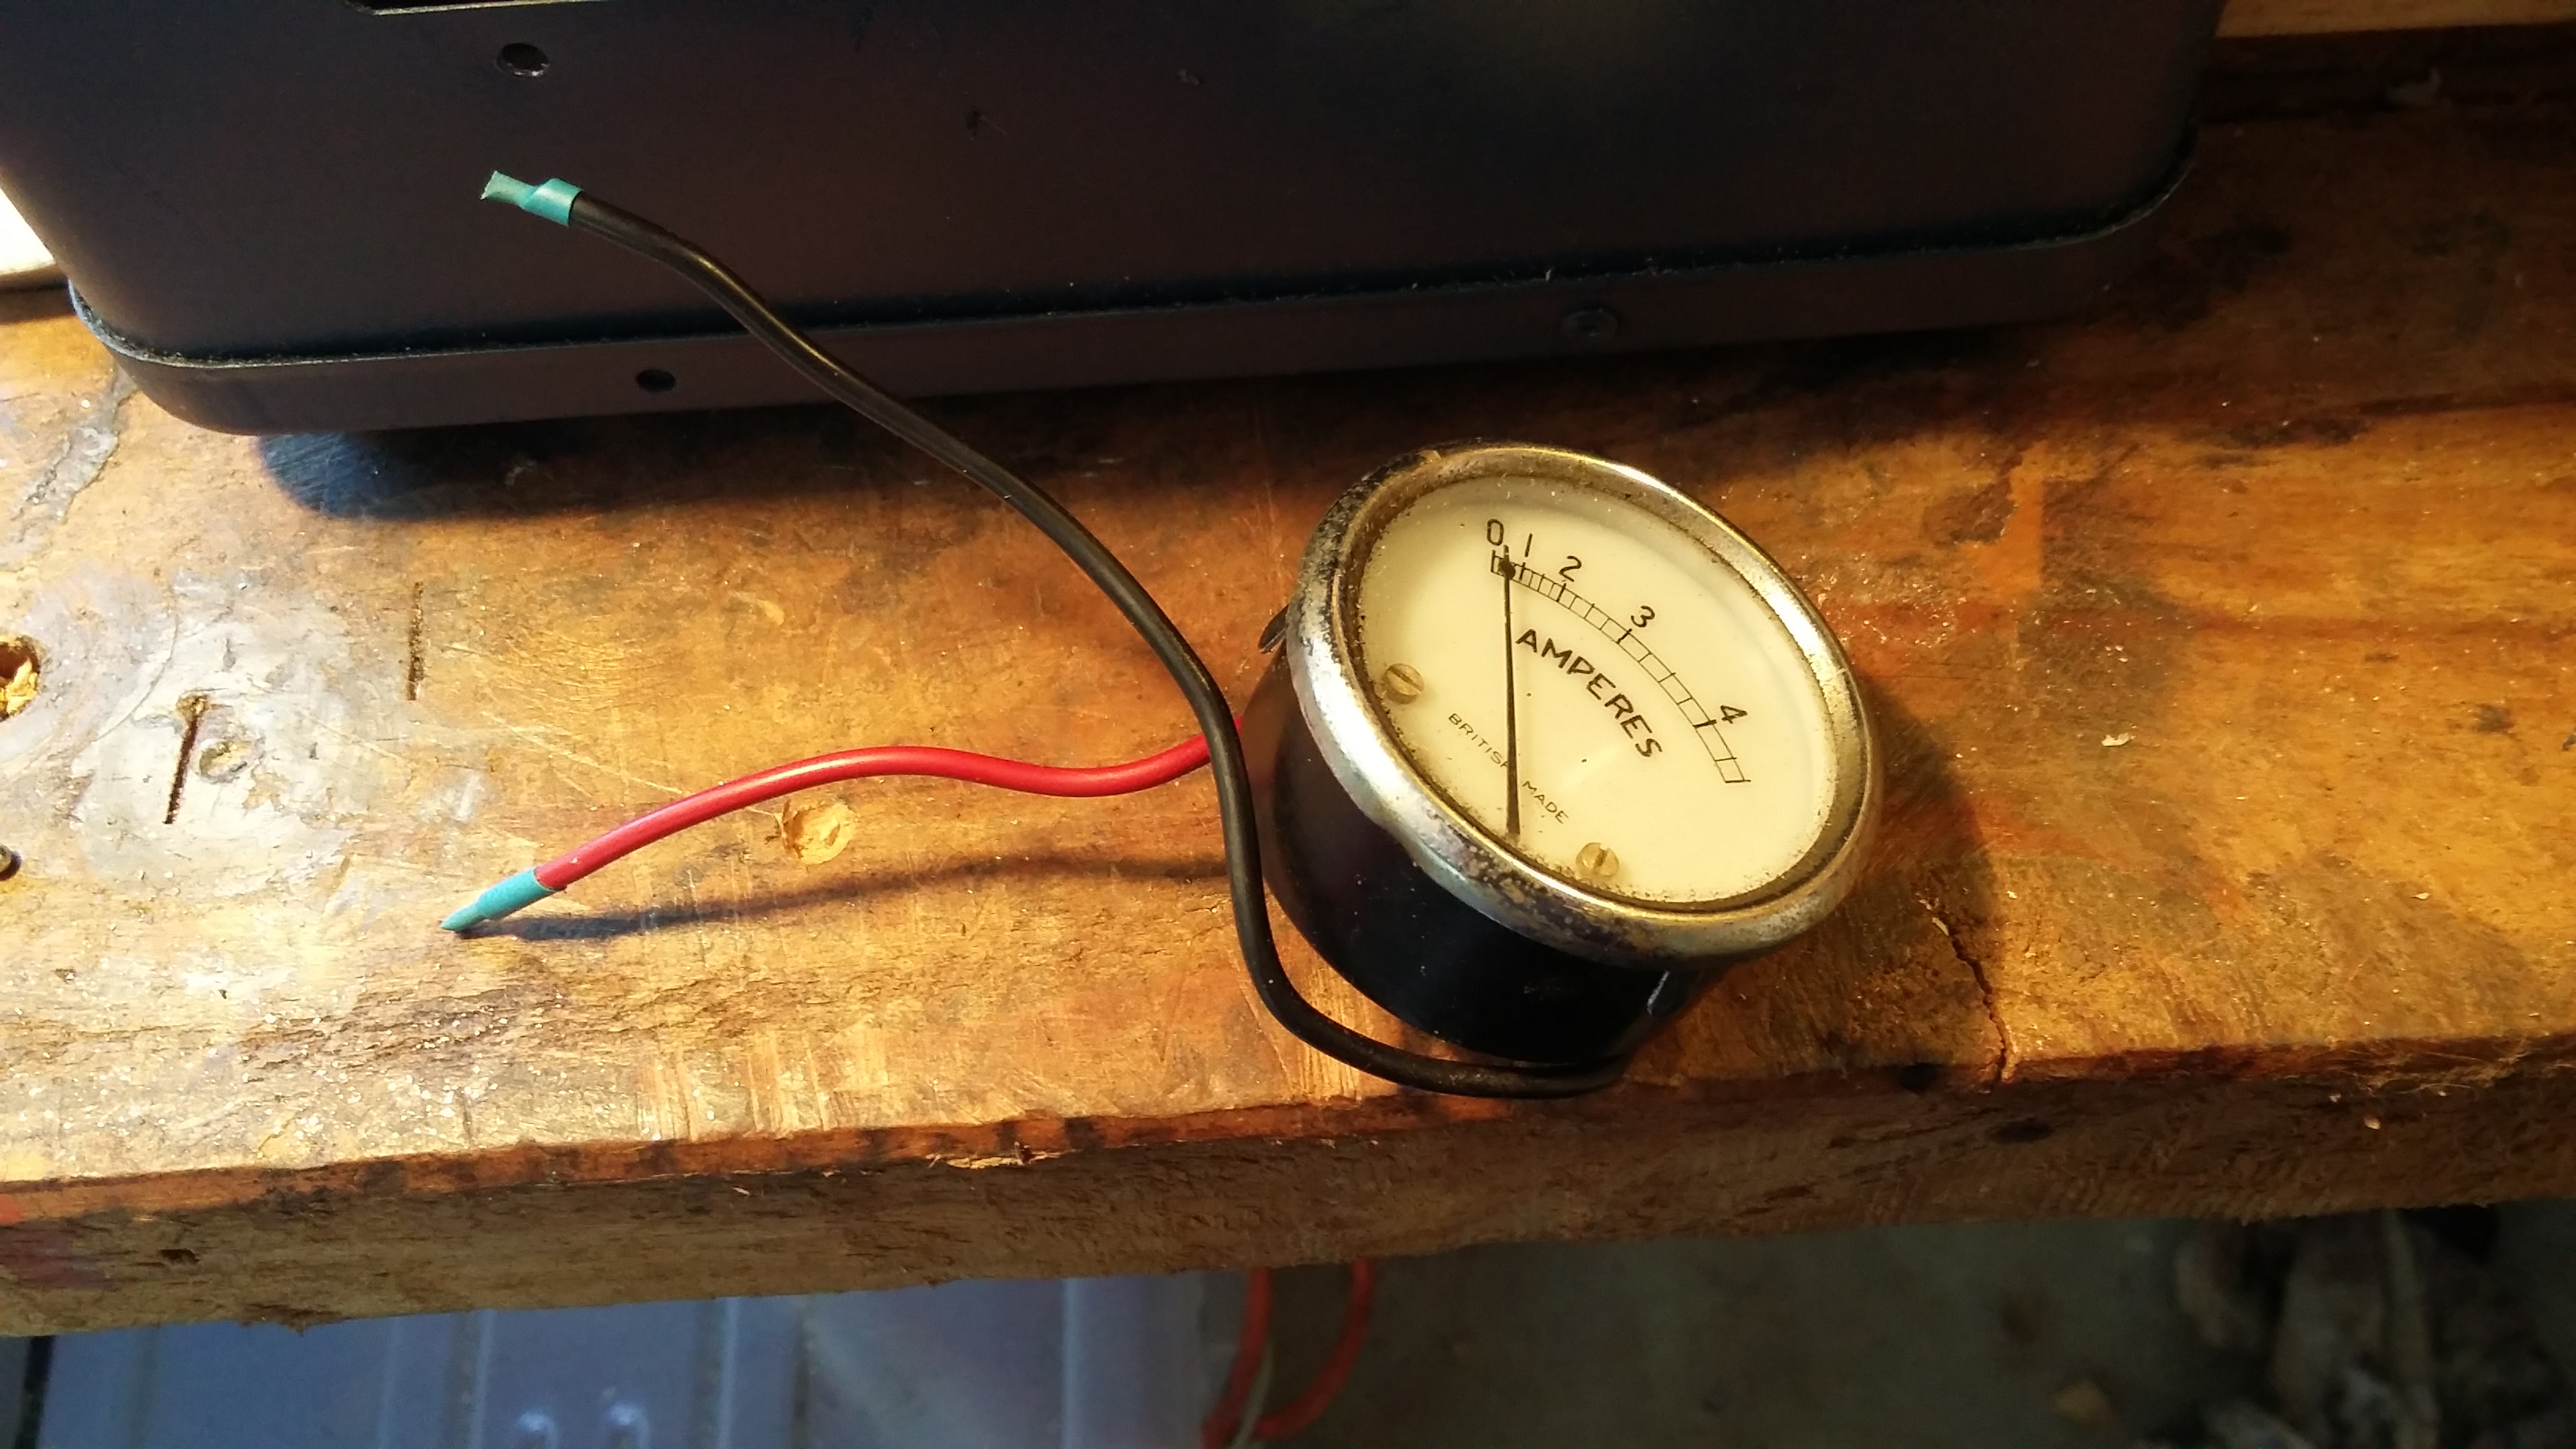
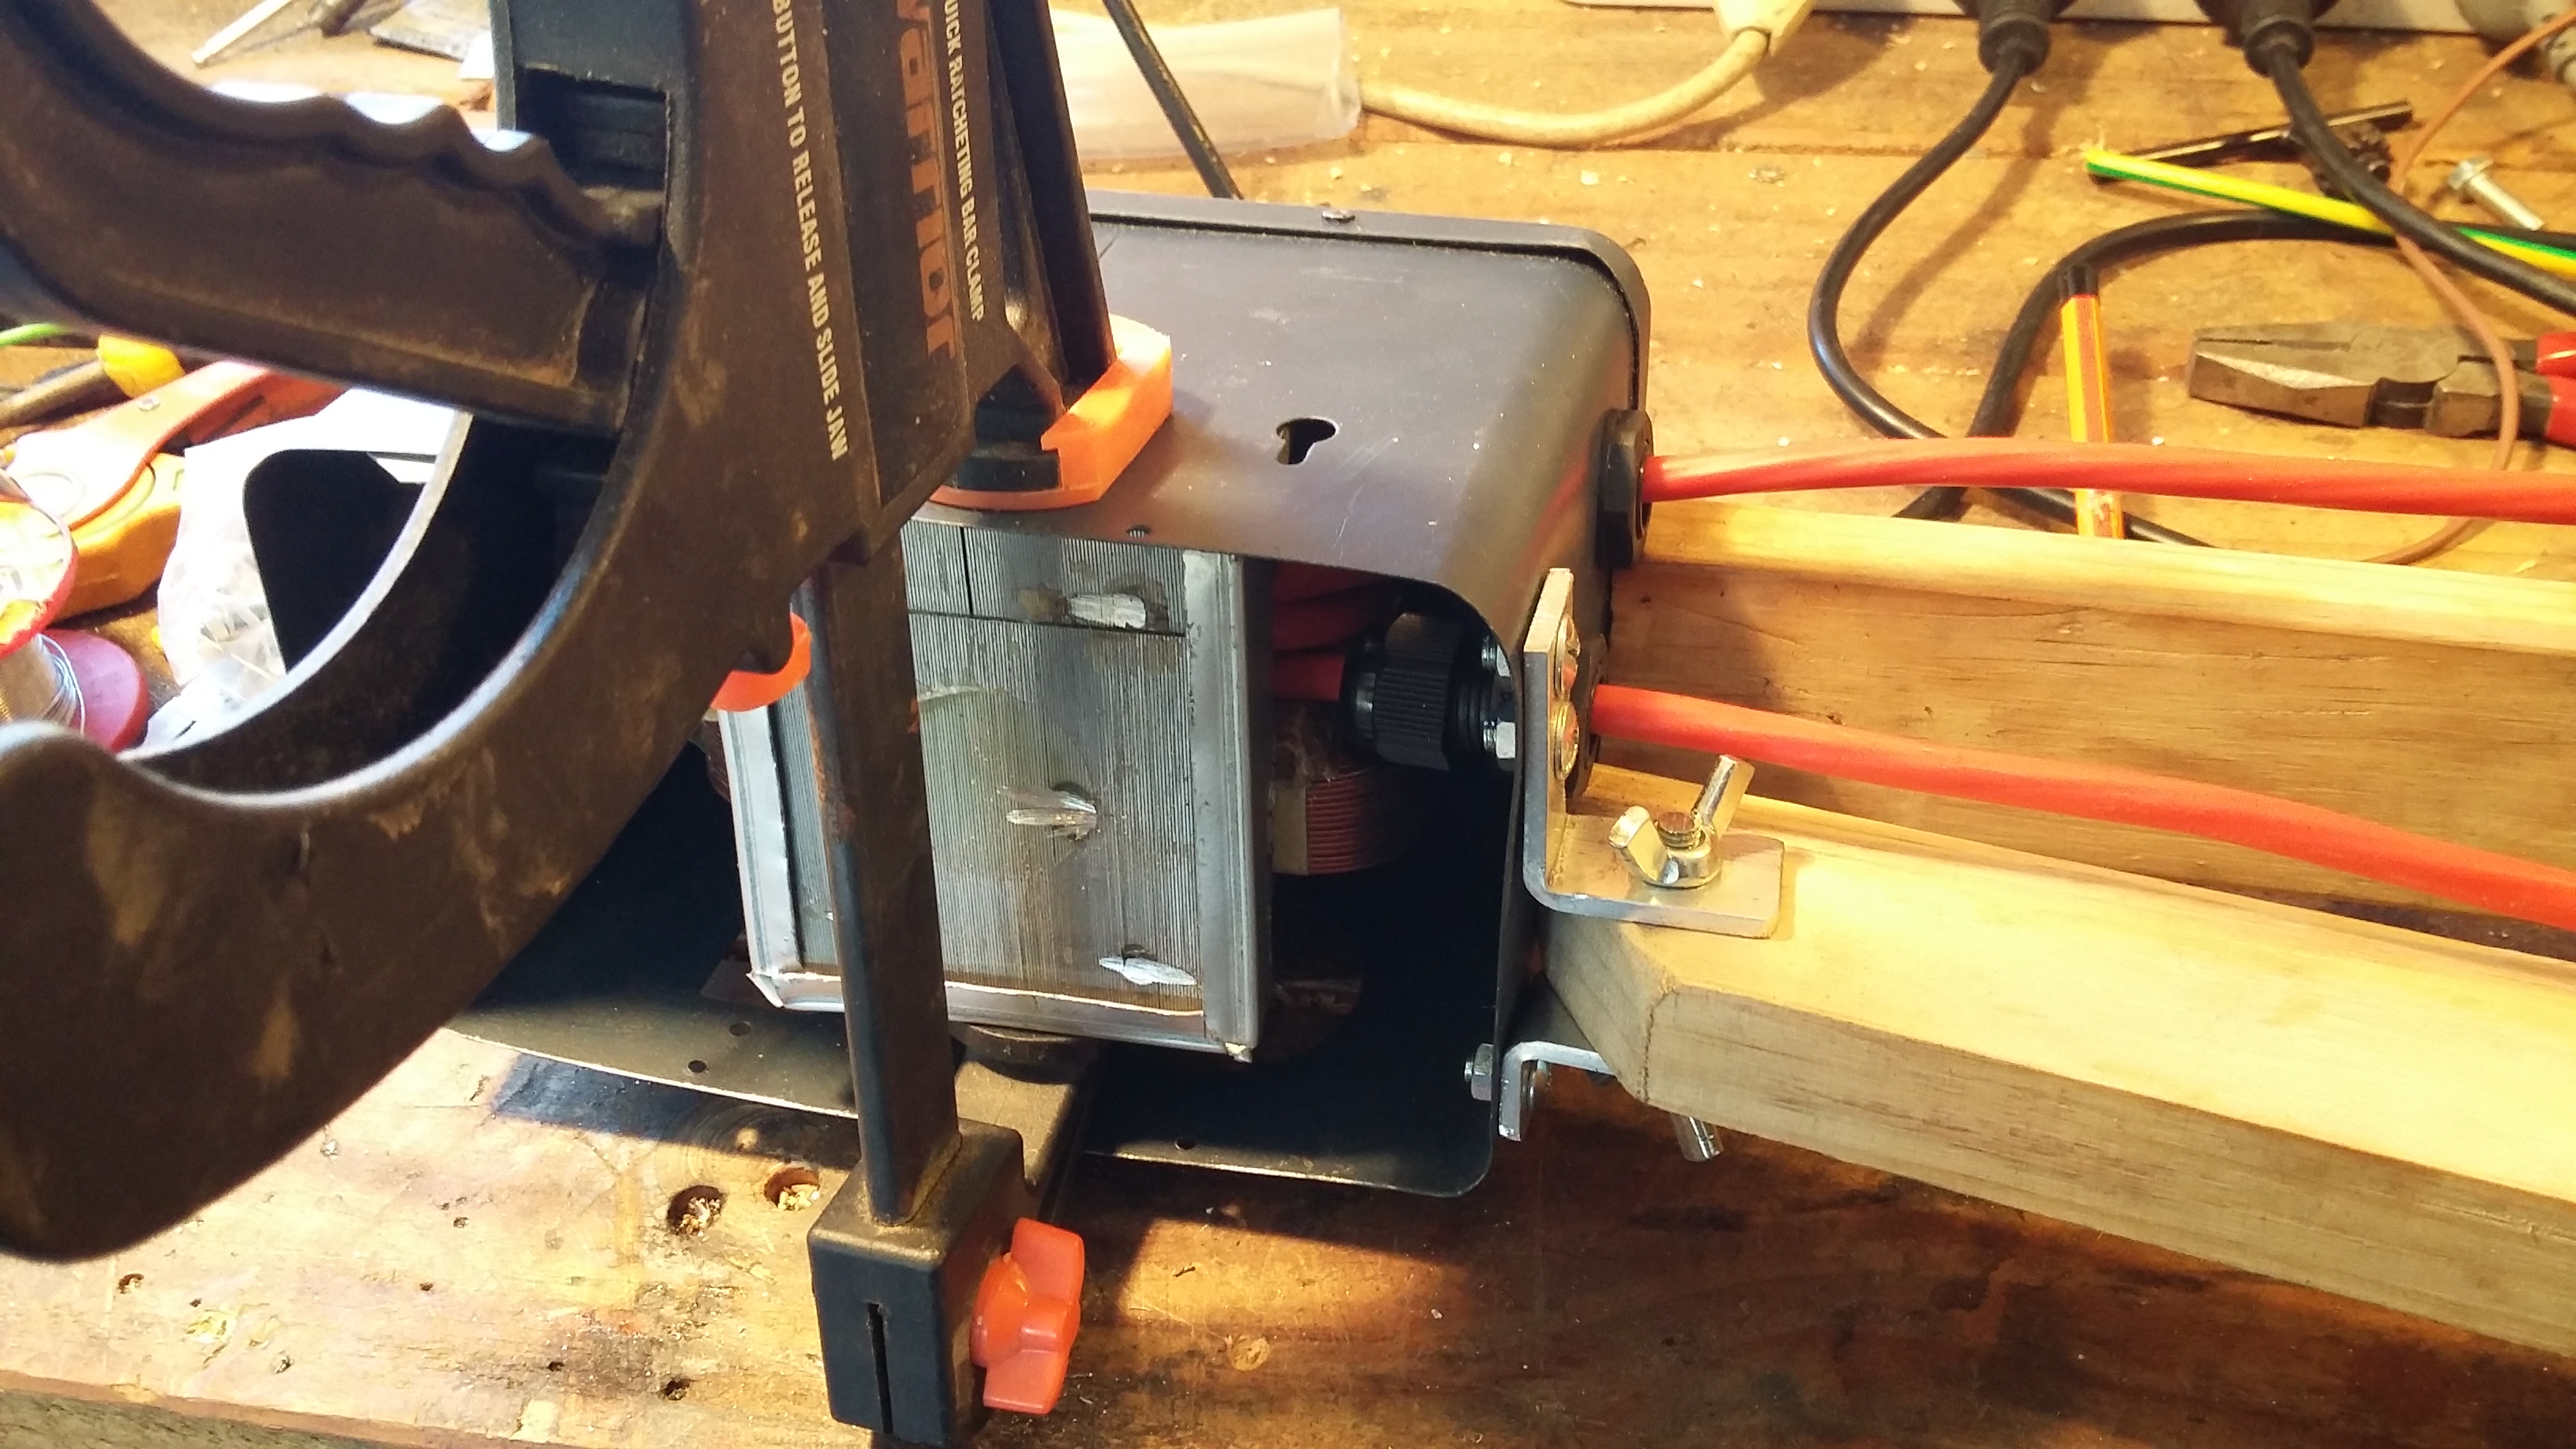
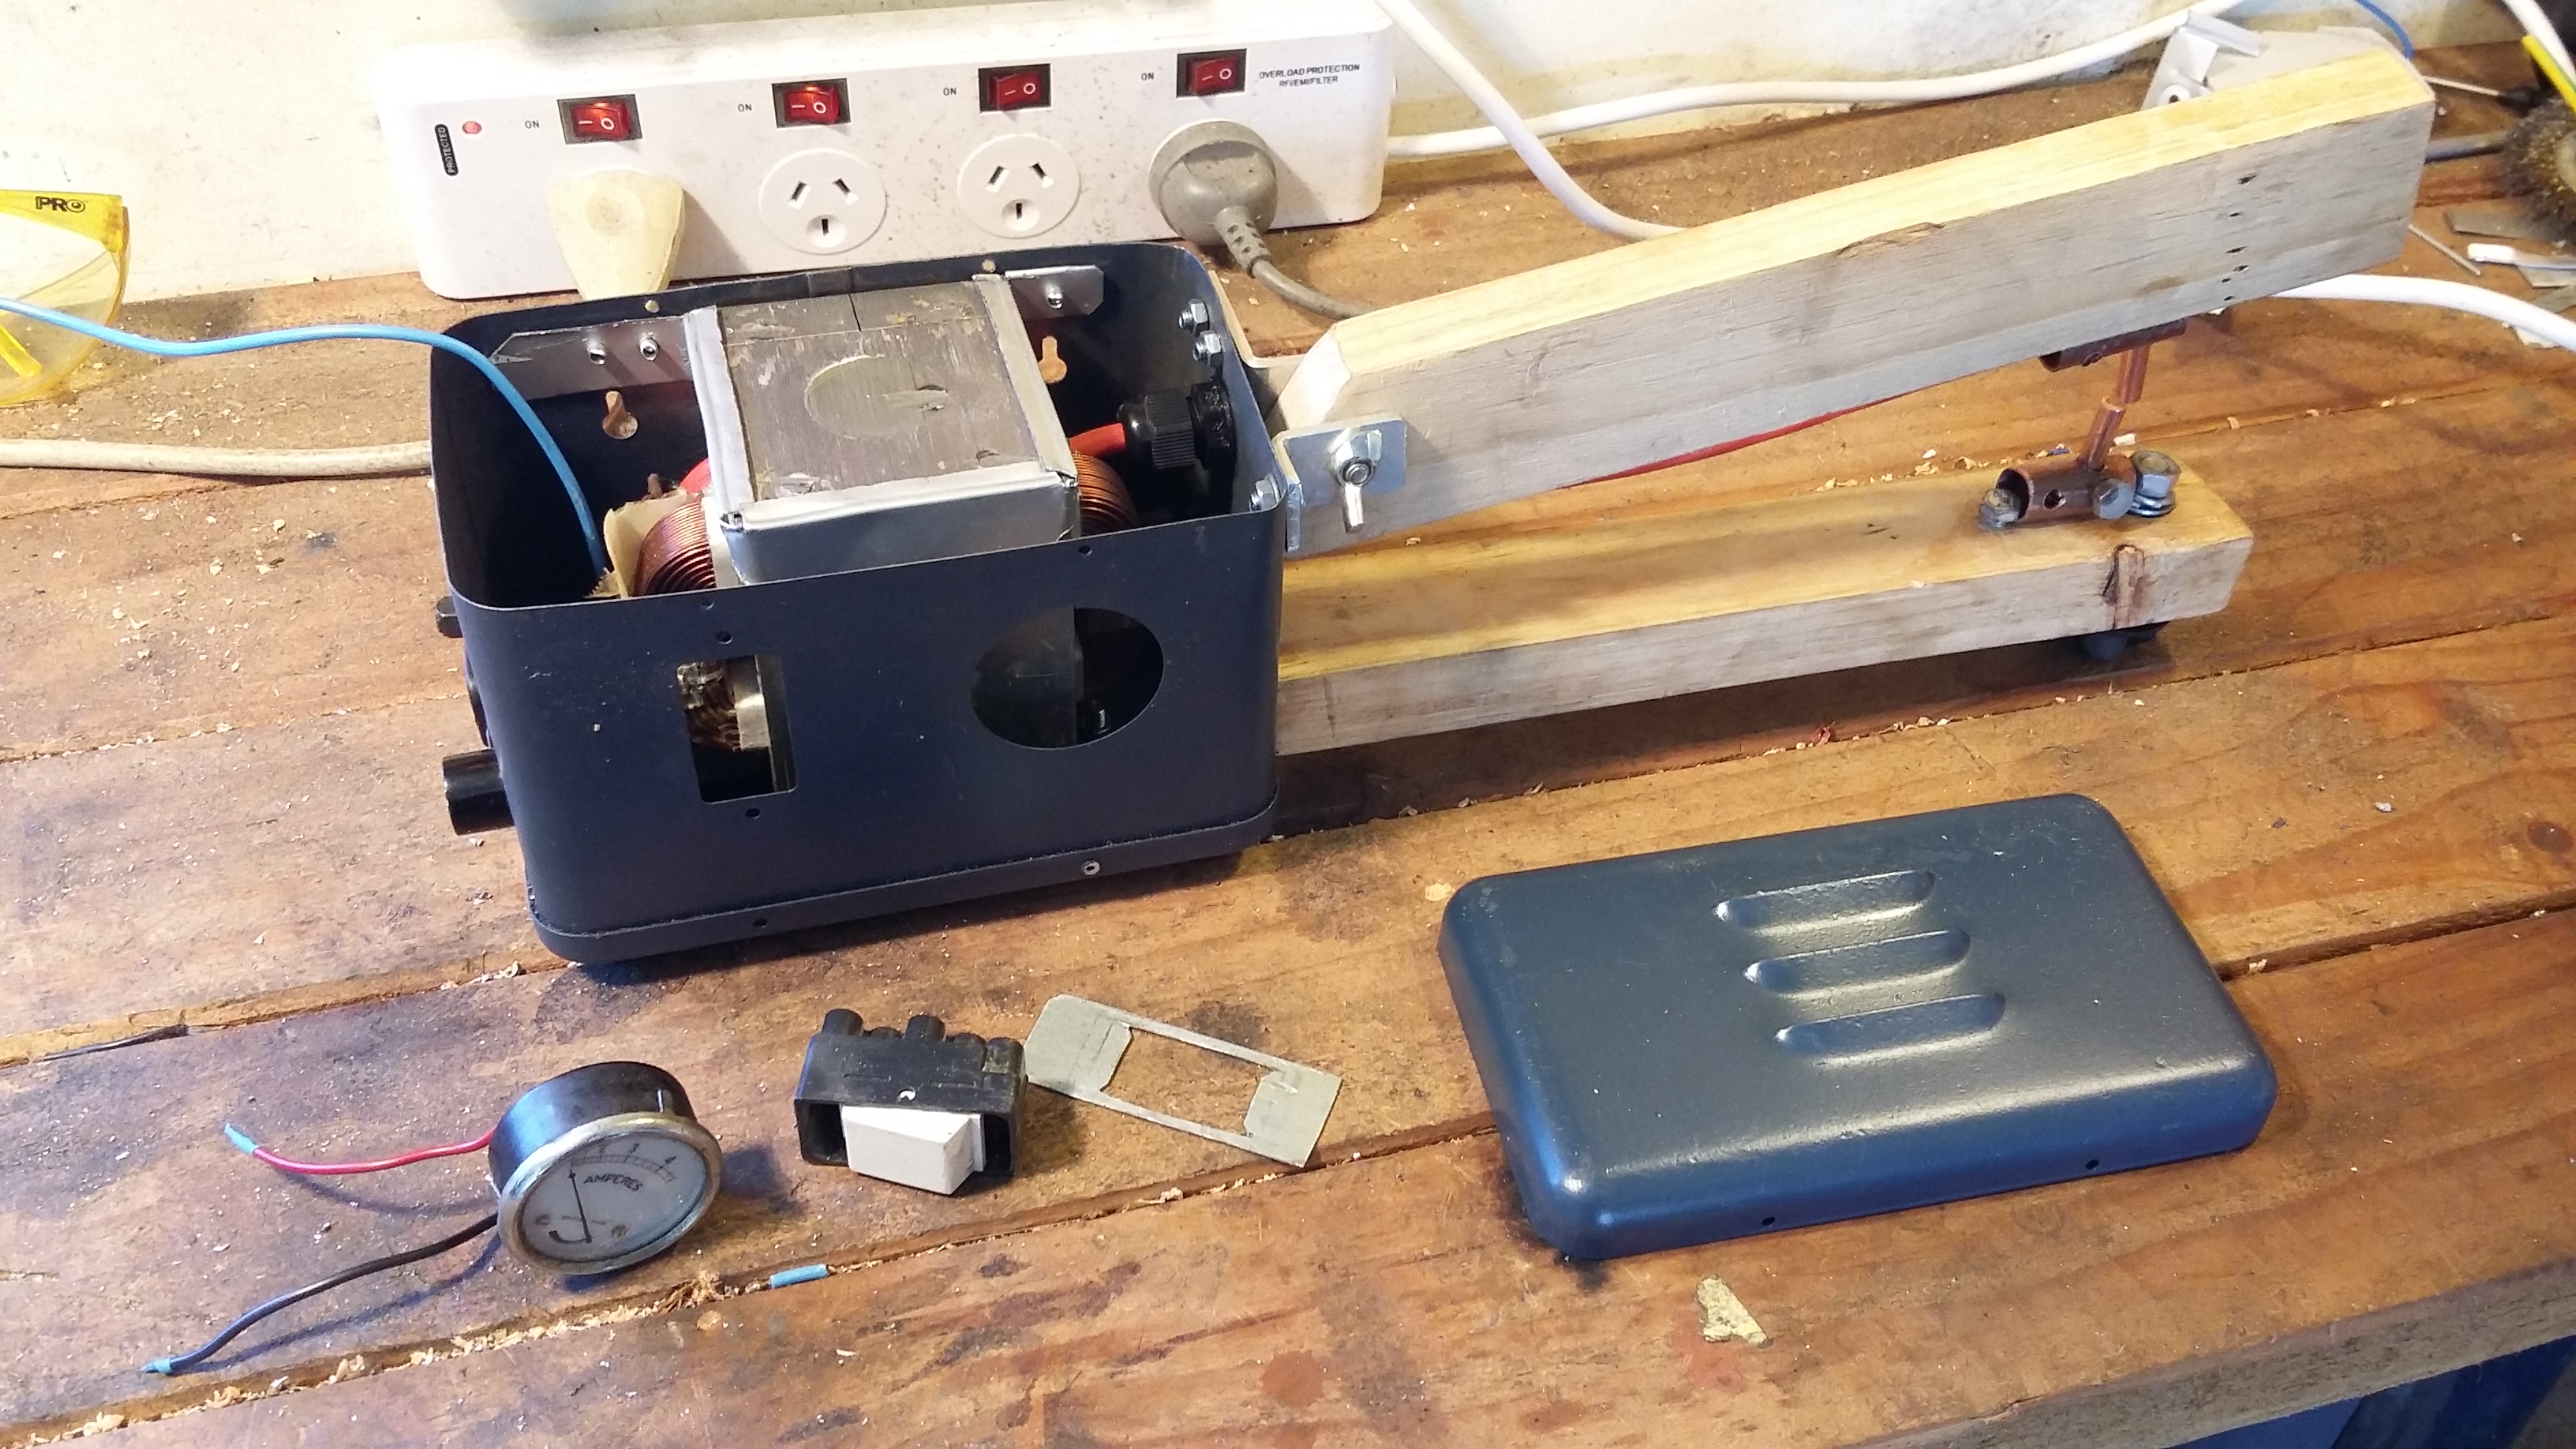
The original amp meter. It wont work unfortunately as the amperage on both sides is too high, but it fits the hole and looks cool so its going back in until I find a better use for it. A little heat shrink on the ends will keep it safe
Mounting the bracket. I held it all in place with a clamp and then drilled the holes through both pieces of metal at once
Mounted. Quick check to make sure its earthing appropriately. I scrubbed the paint off the inside off the case so it makes a good connection
OK transformer is installed, just the switch and amp meter to put in now
Amp Meter was pretty straight forward. Doing a quick test to make sure everything still works before wiring anything else up


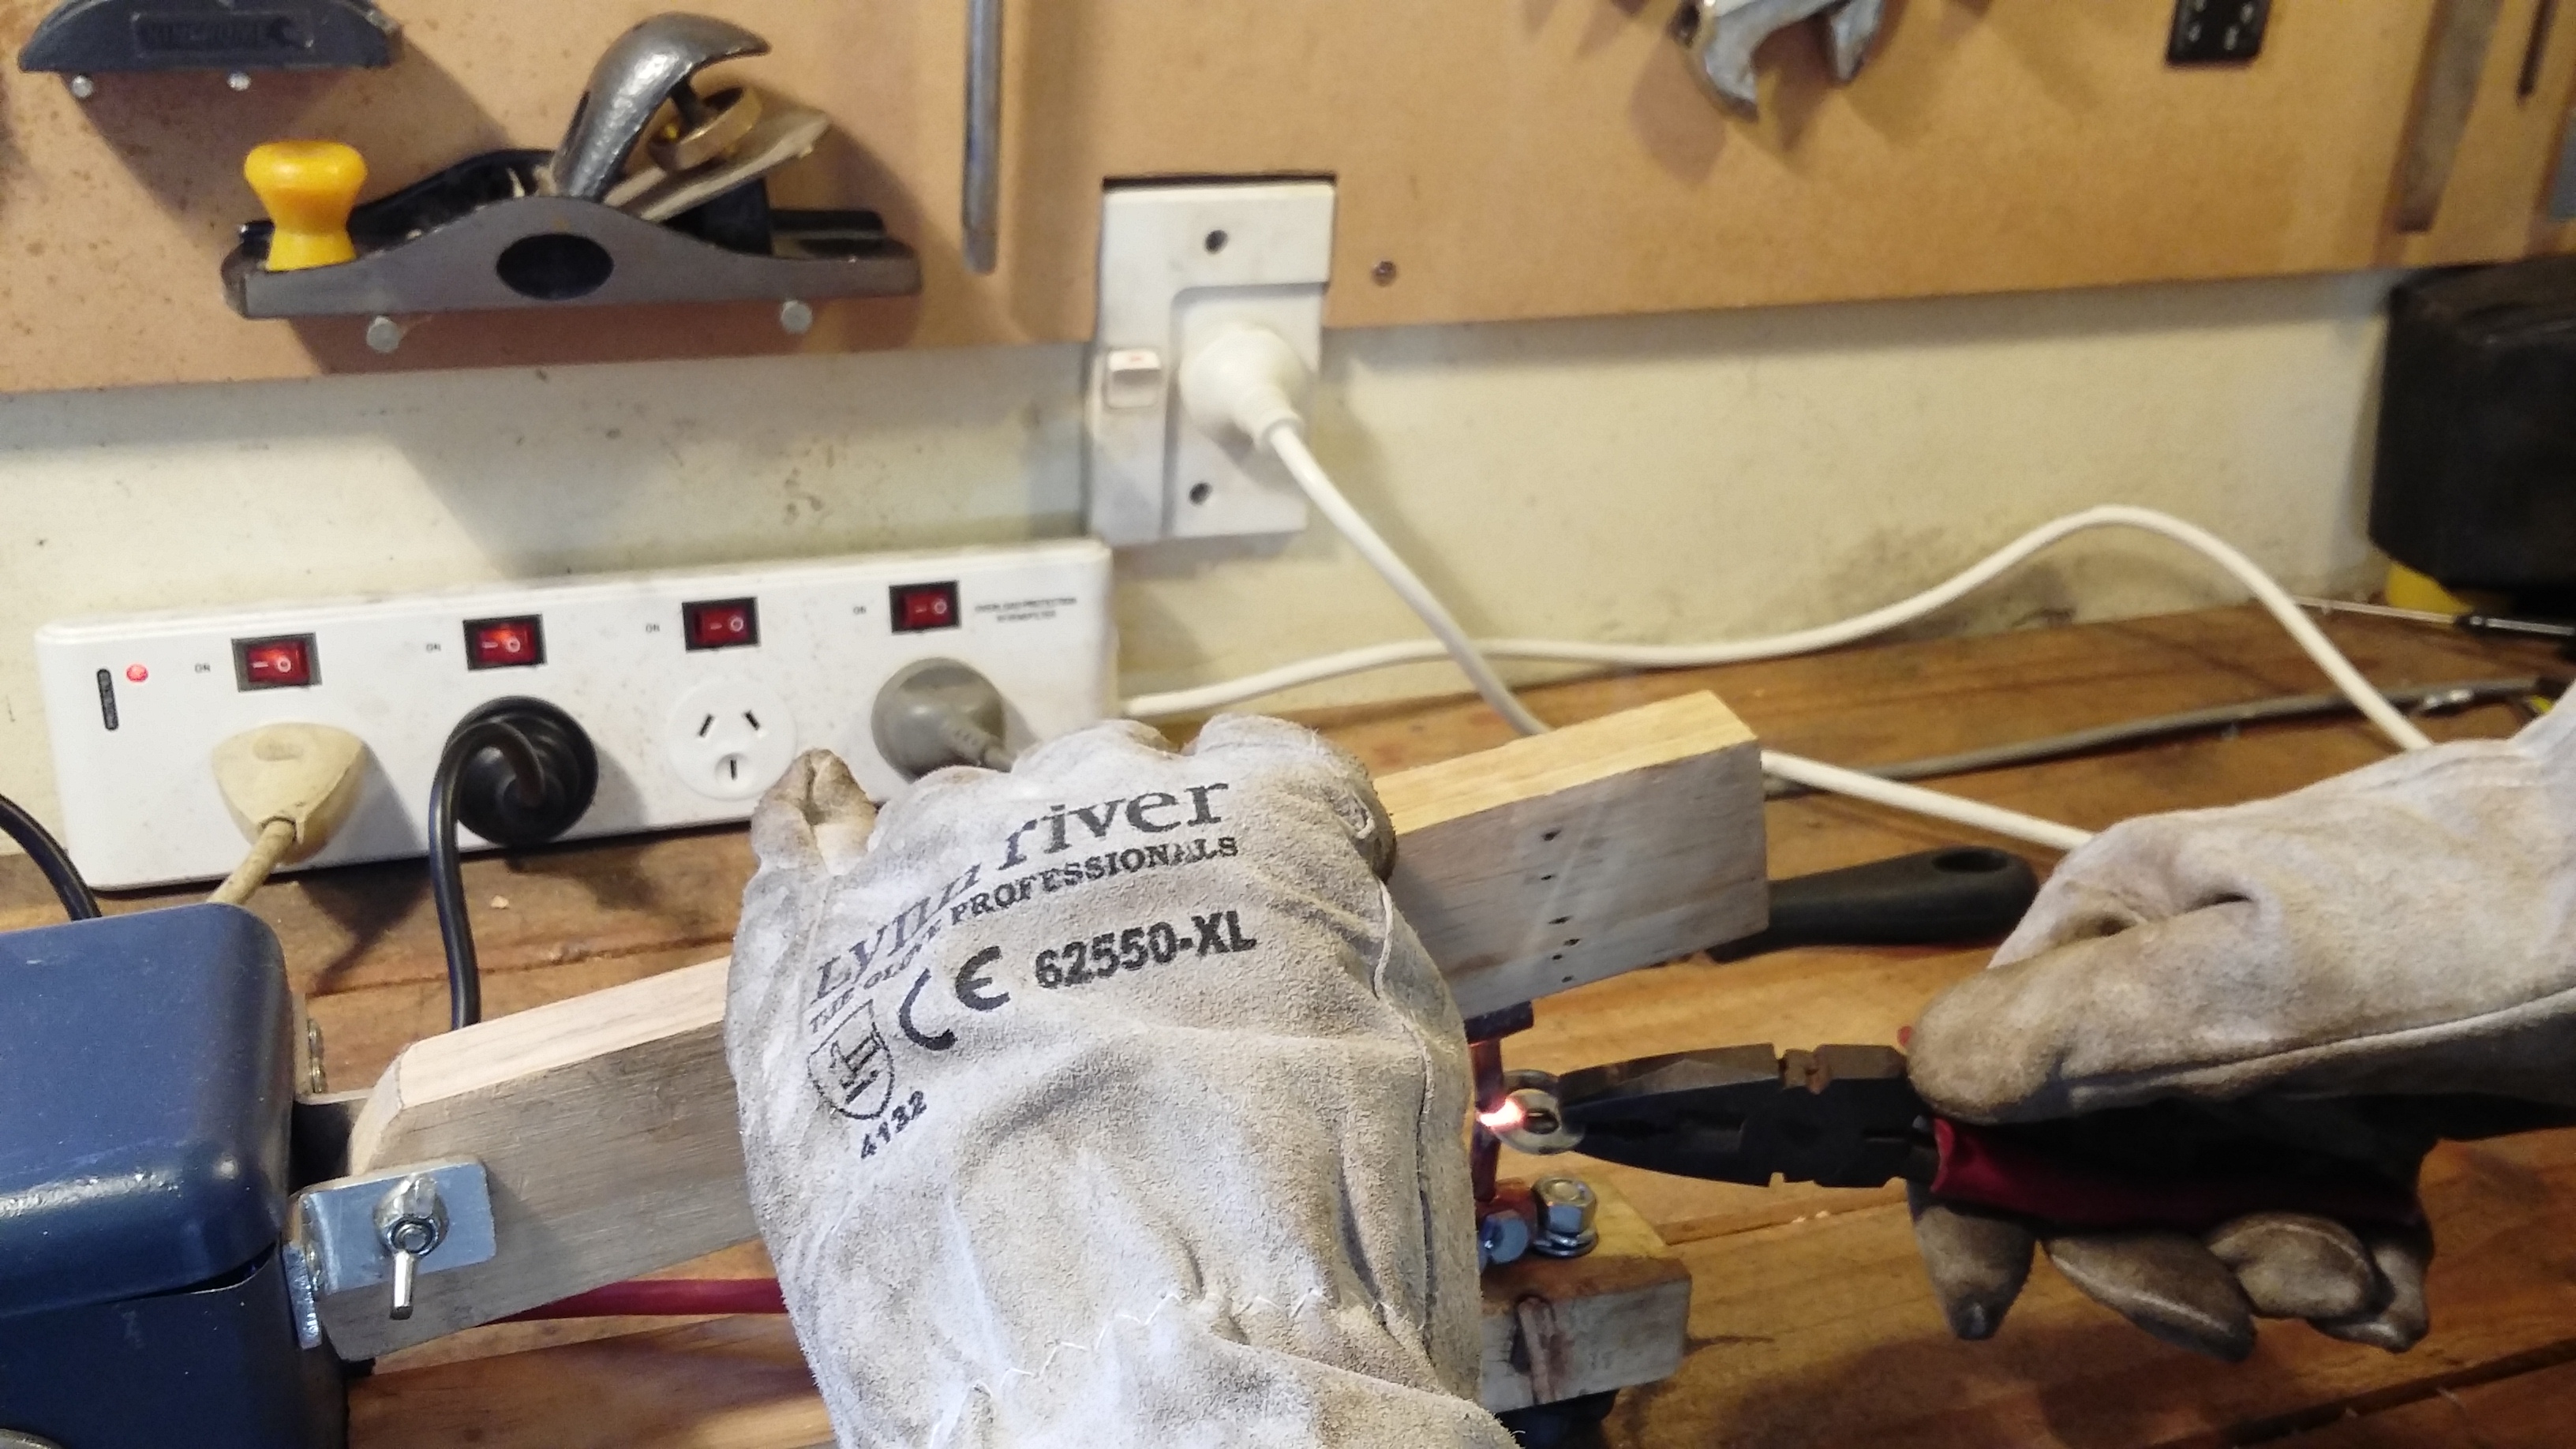
Installed the cabling into the electrode holders and bolted in
For the switch I made a little angle bracket from more microwave metal
Then pop riveted it on
Both sides done and cables pre-inserted because it would be a pain to put them in after
Another two holes and  rivets and the switch is installed. I had to sand the edges of the switch a tiny bit to get it to fit smoothly
Another two holes and rivets and the switch is installed. I had to sand the edges of the switch a tiny bit to get it to fit smoothly
All wired up, its a bit snug, if it gets too warm I might consider installing a fan
Finished!
Finished!
Still working
Still working
Glamour shot
Glamour shot


Video is HD, best viewed bigger than this page shows 🙂

Part 1 – Microwave Disassembly

Part 2 – Modifying the Transformer and testing the theory

Part 3 – Collecting the parts and preparing the case

Part 4 – Putting the chassis together

Part 5 – Electrodes and Wiring

Part 6  – Final wiring and assembly

Leave a Reply

Your email address will not be published.

Name *
Email *
Website

Protected by WP Anti Spam