Spot Welder from a broken microwave Part 3

Part 1 – Microwave Disassembly

Part 2 – Modifying the Transformer and testing the theory

Part 3 – Collecting the parts and preparing the case

Part 4 – Putting the chassis together

Part 5 – Electrodes and Wiring

Part 6  – Final wiring and assembly

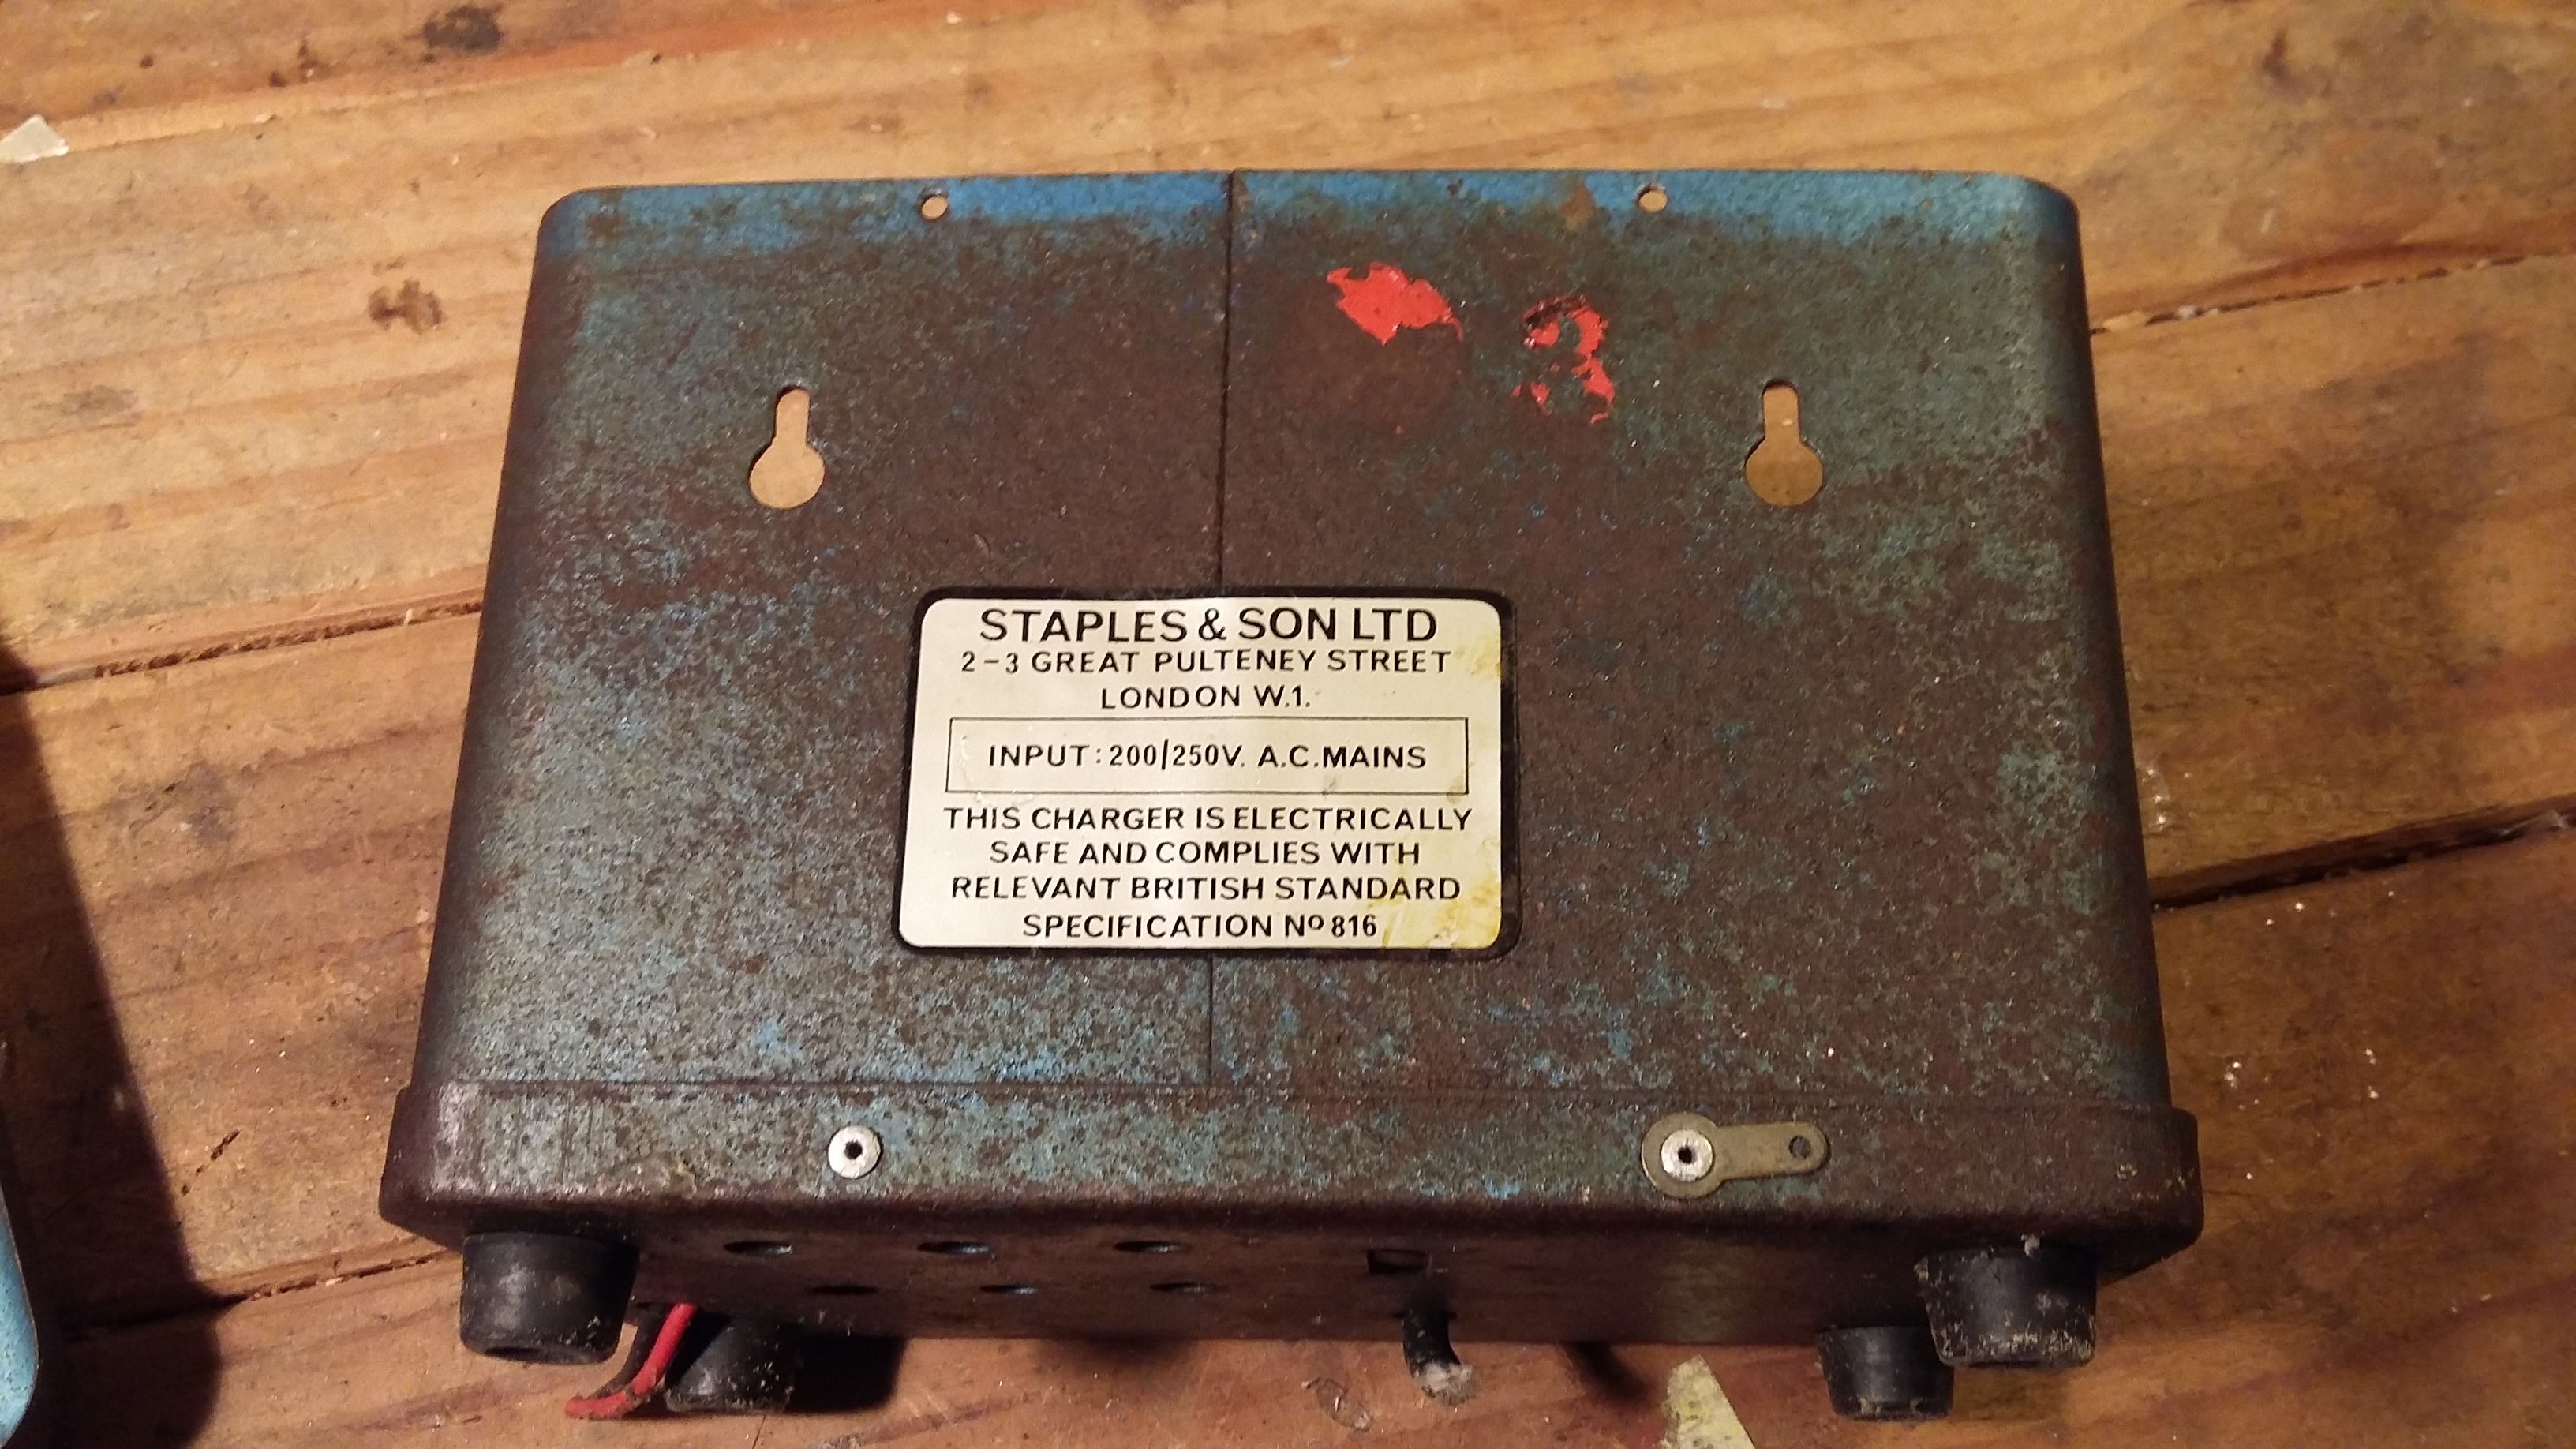
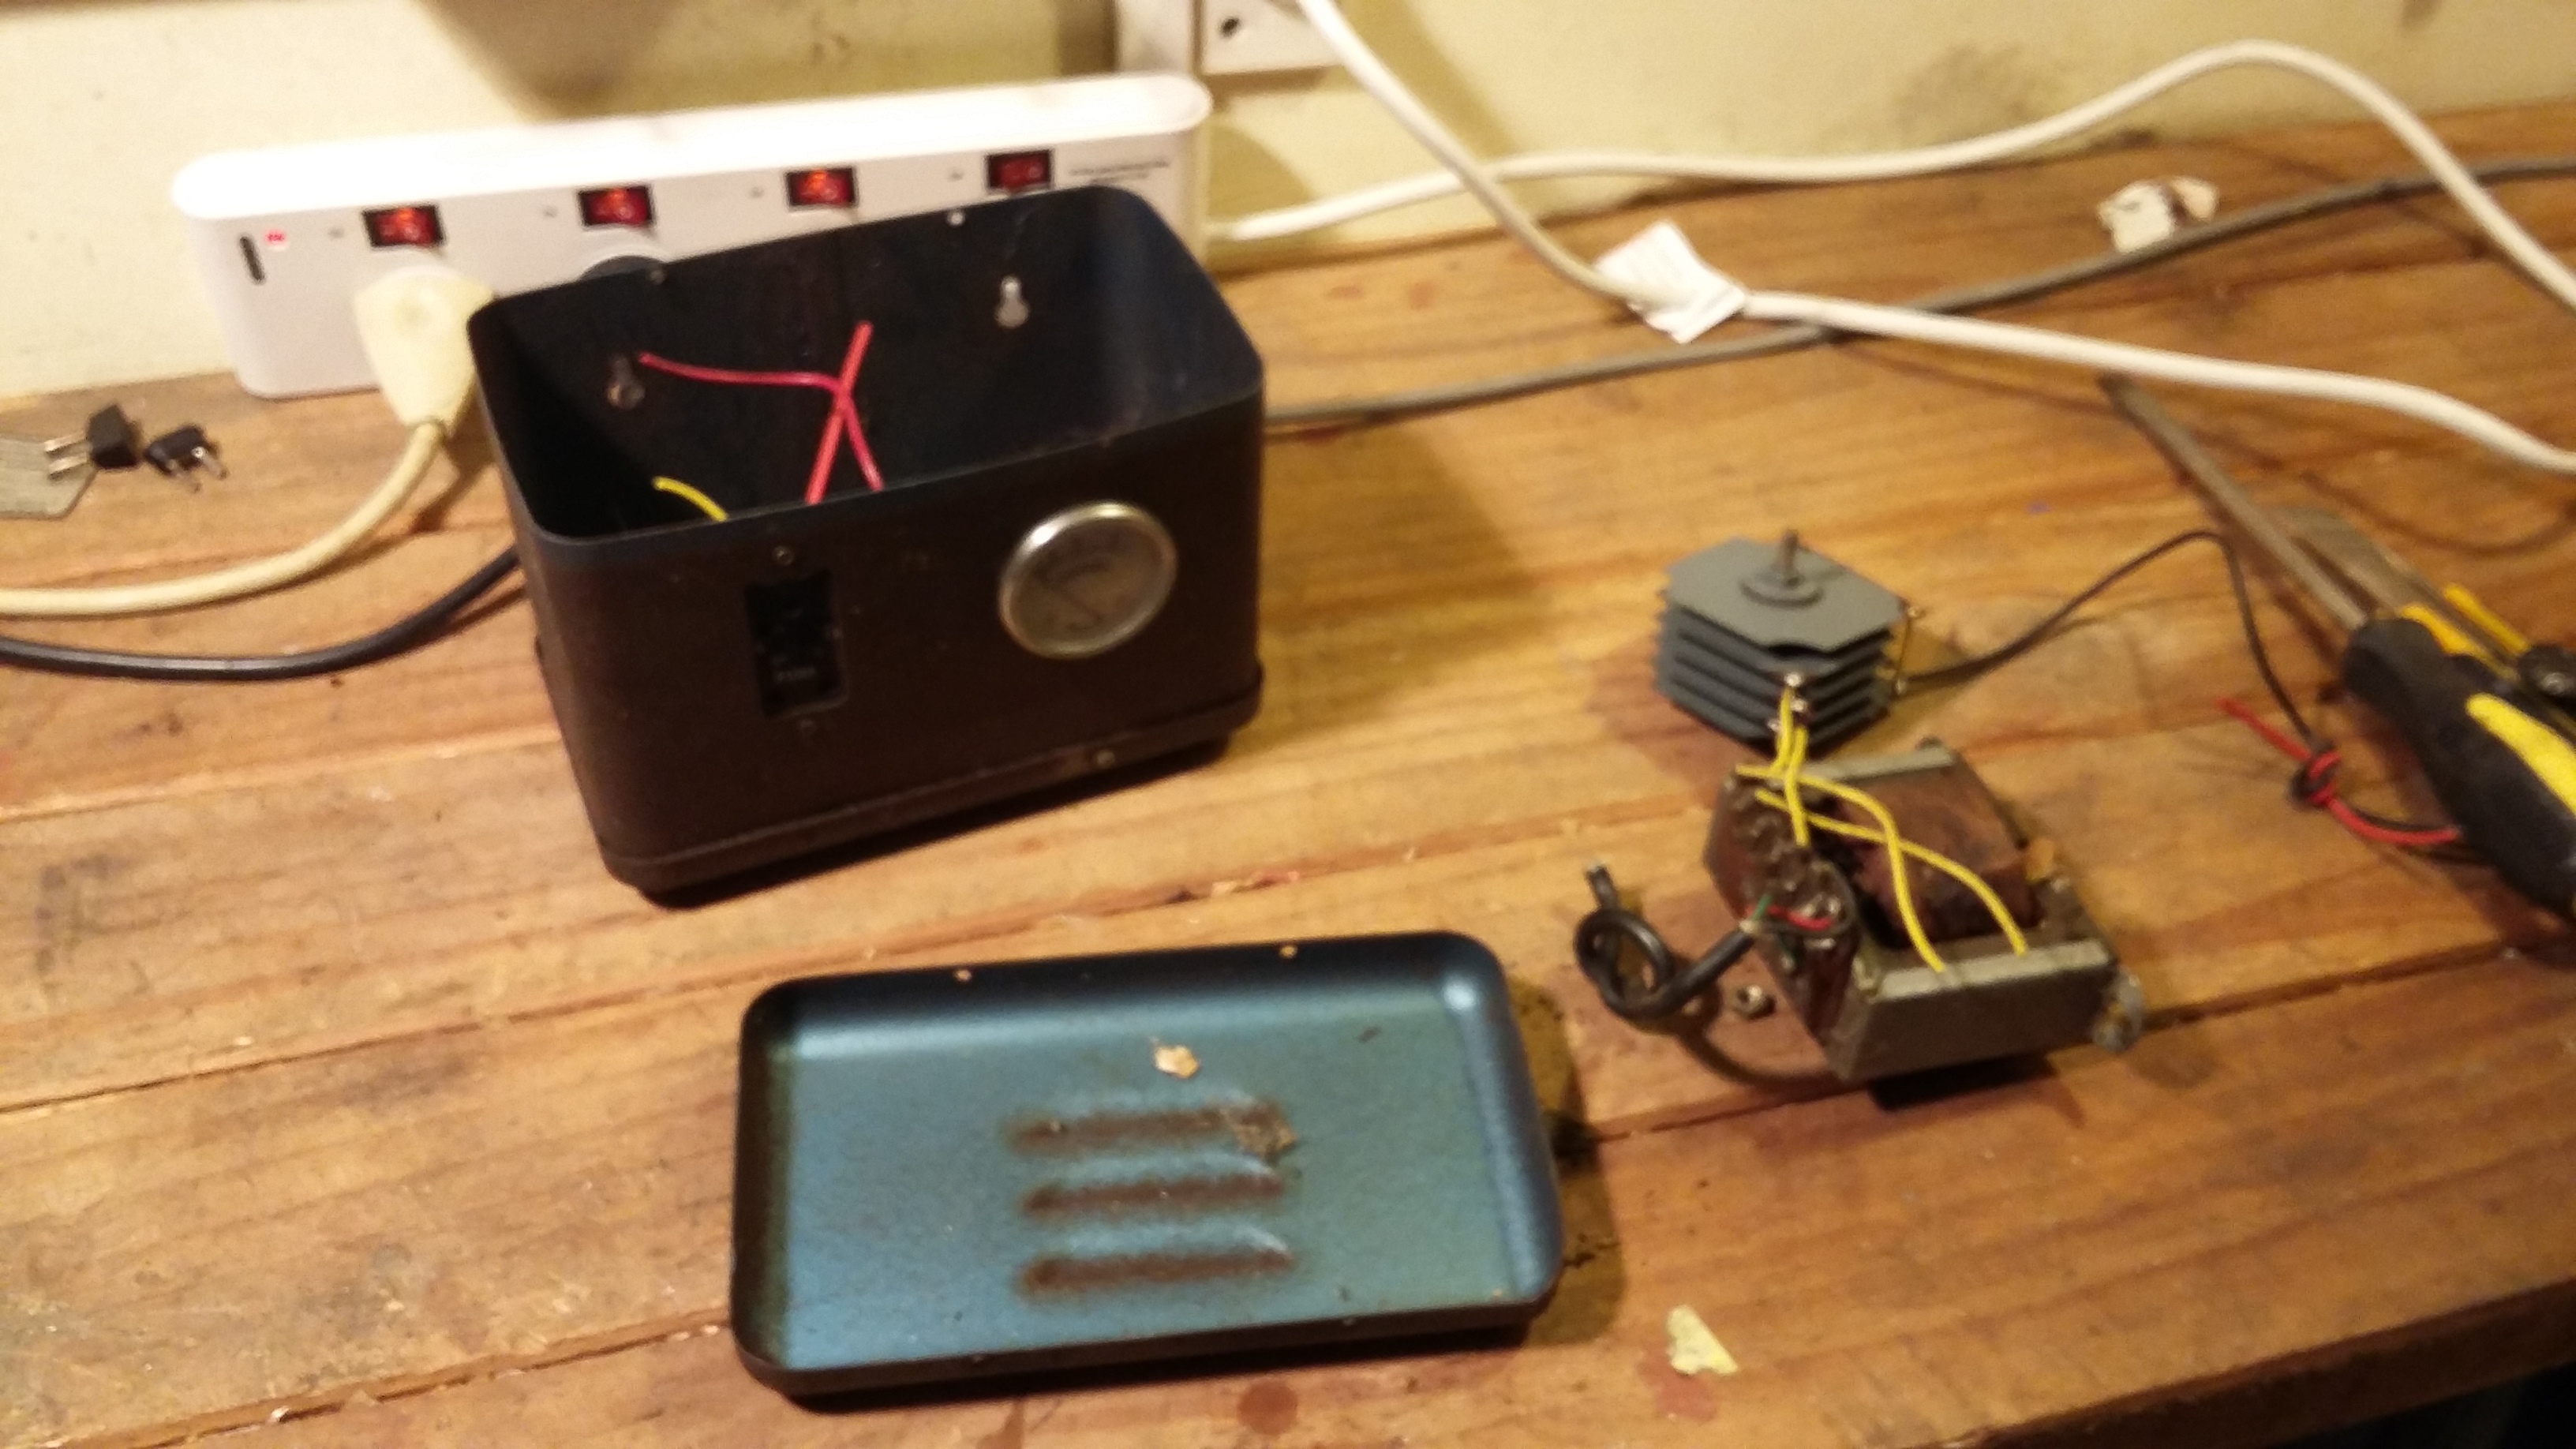
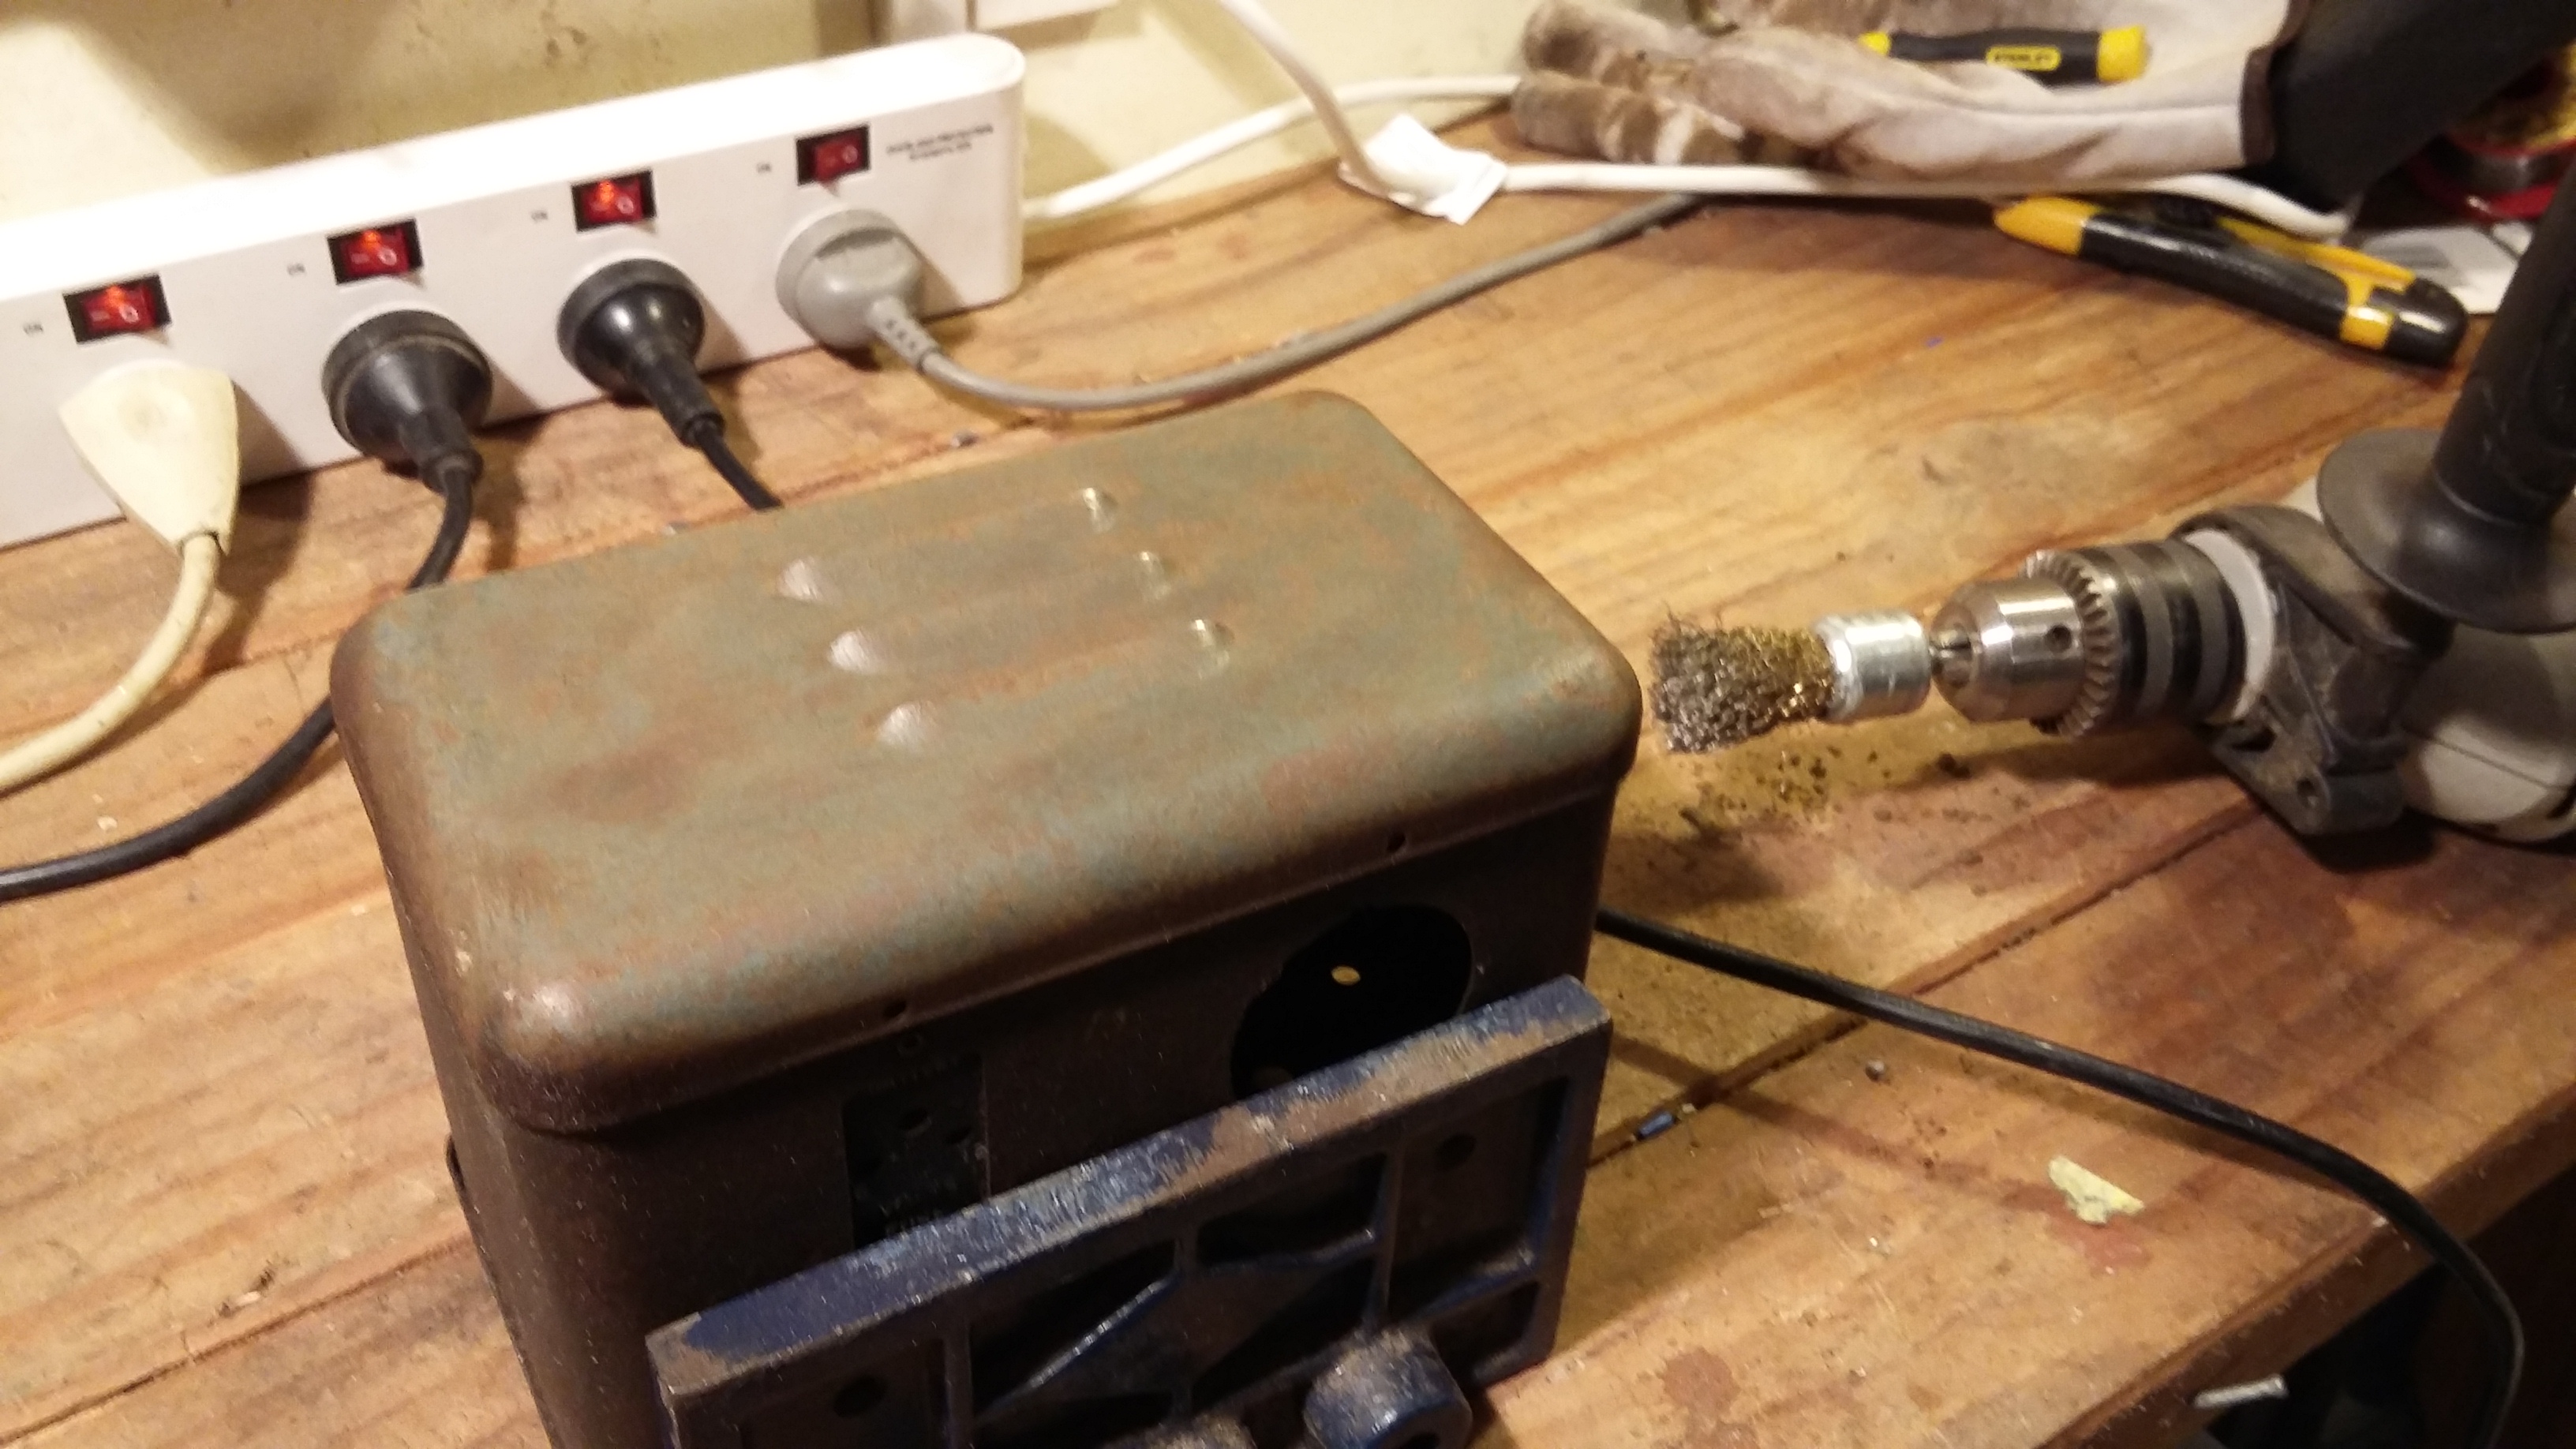
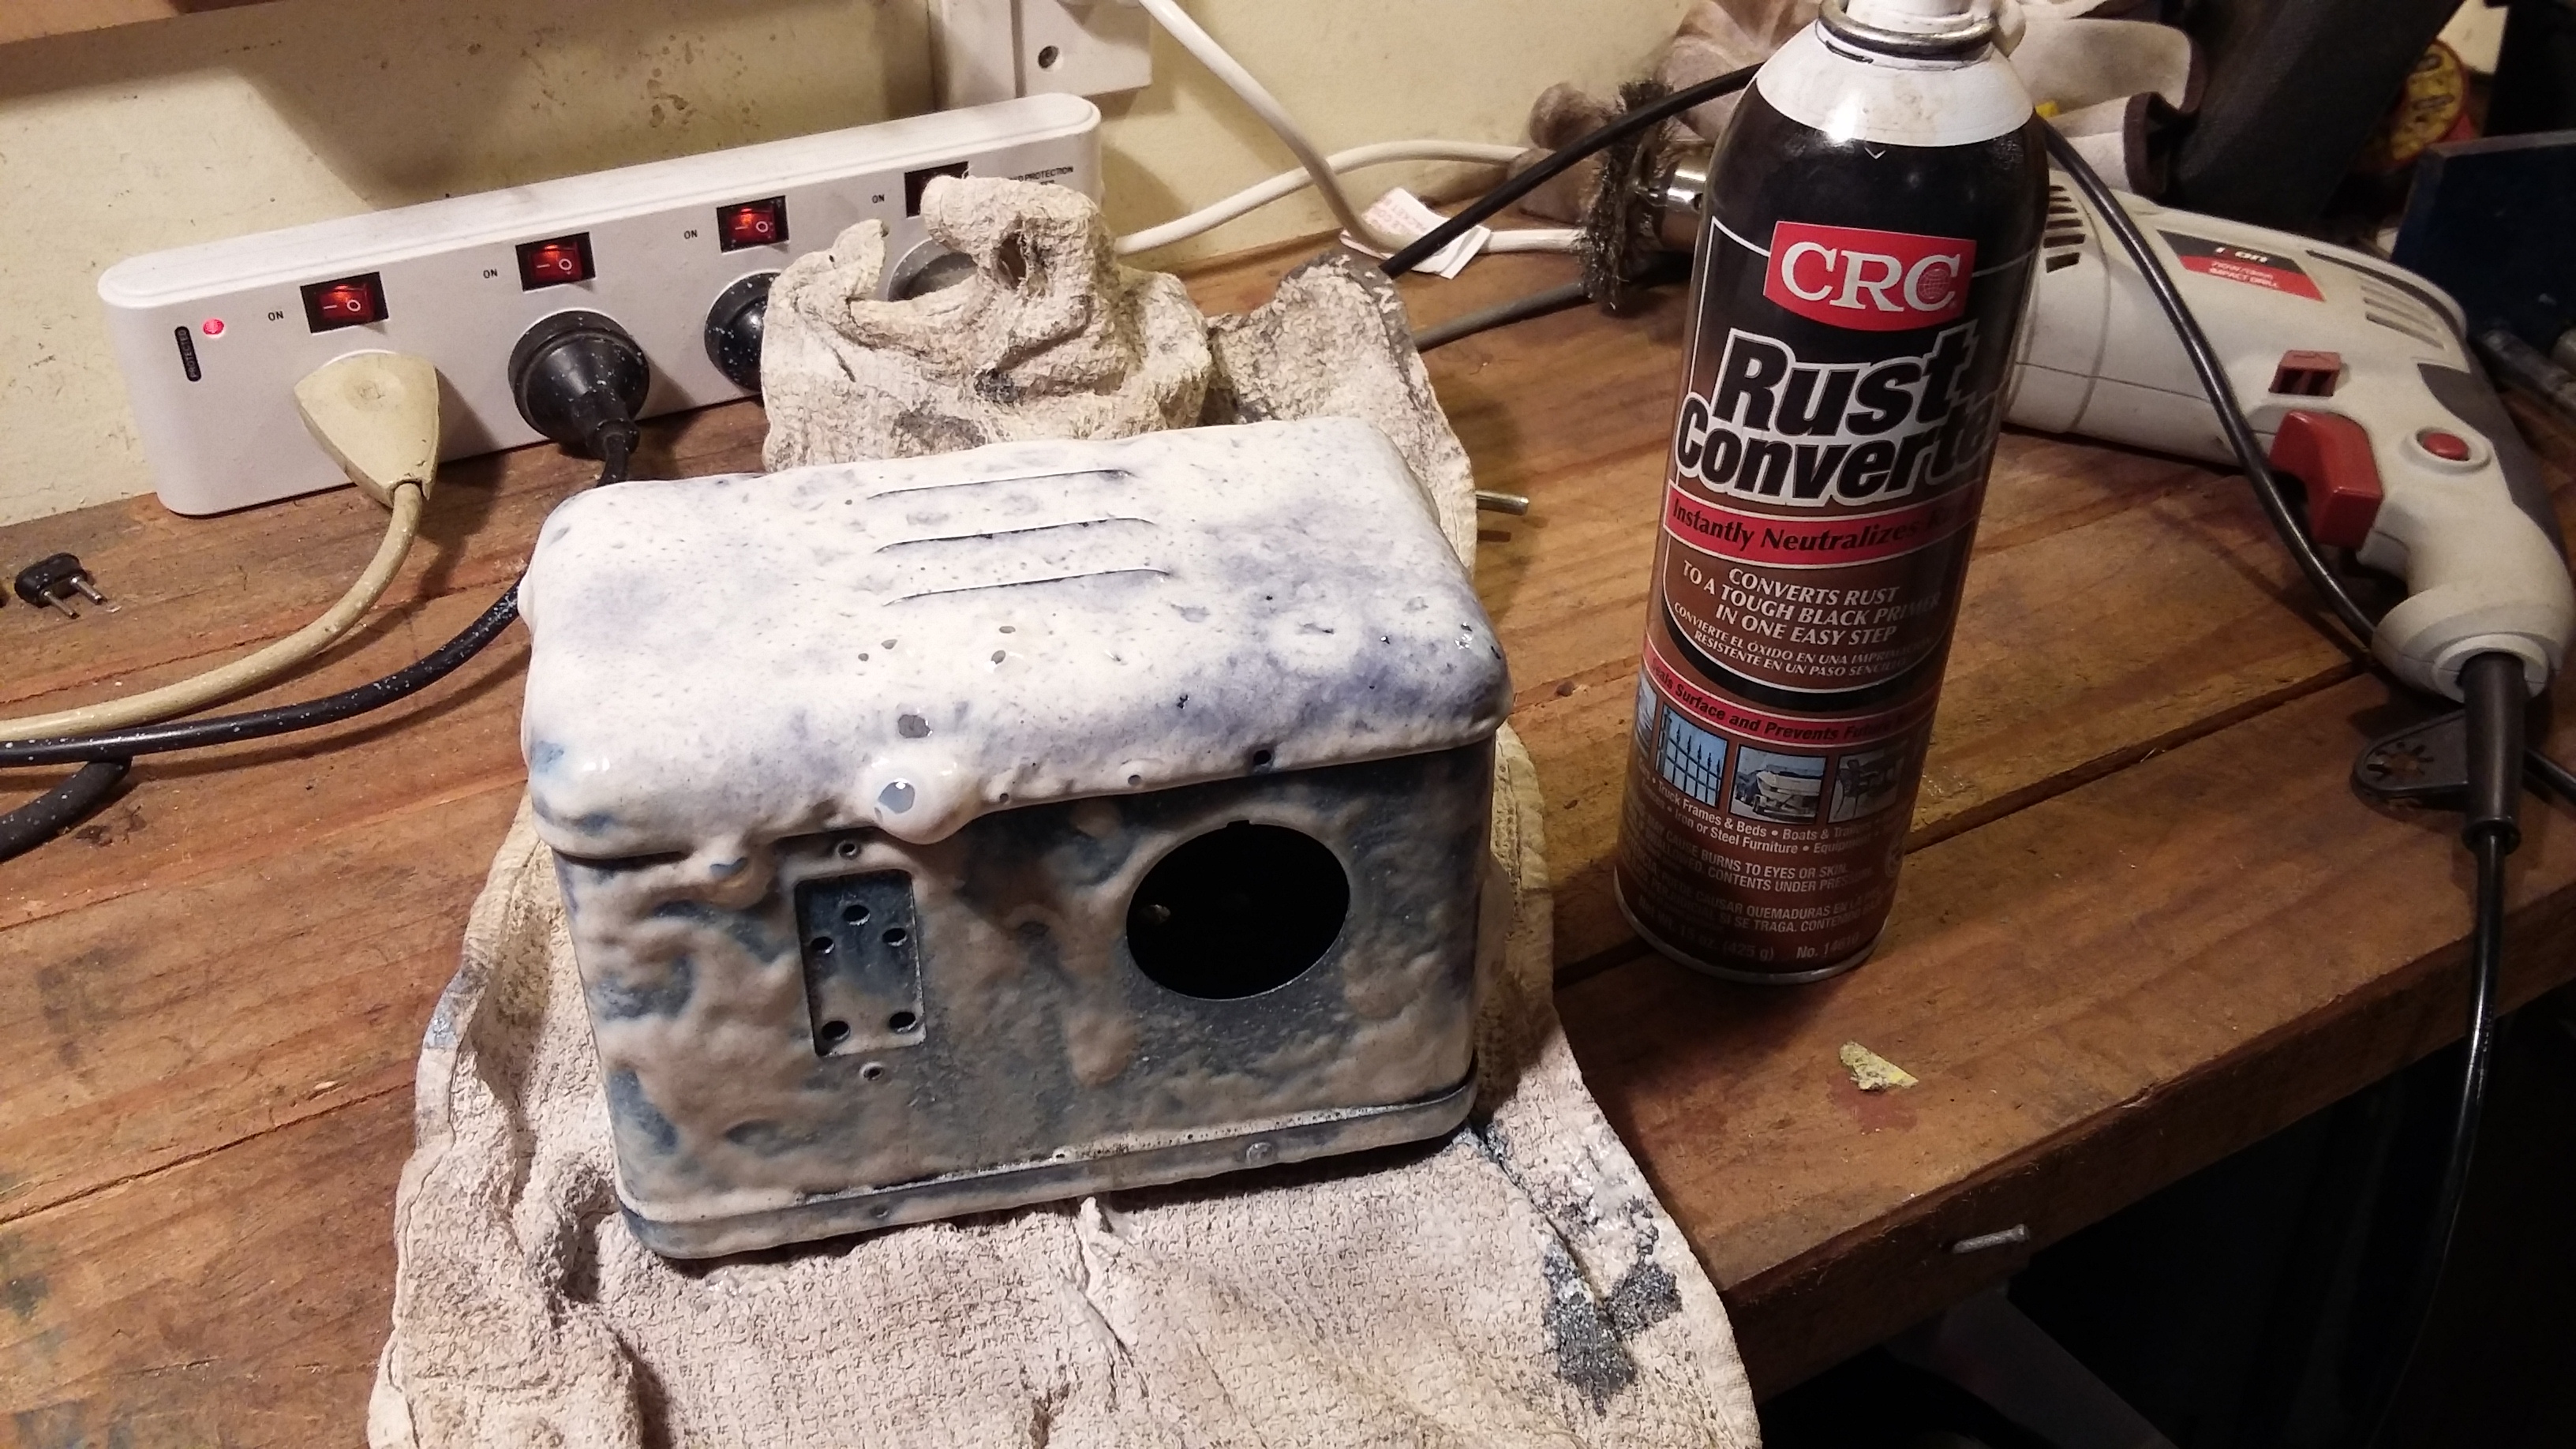
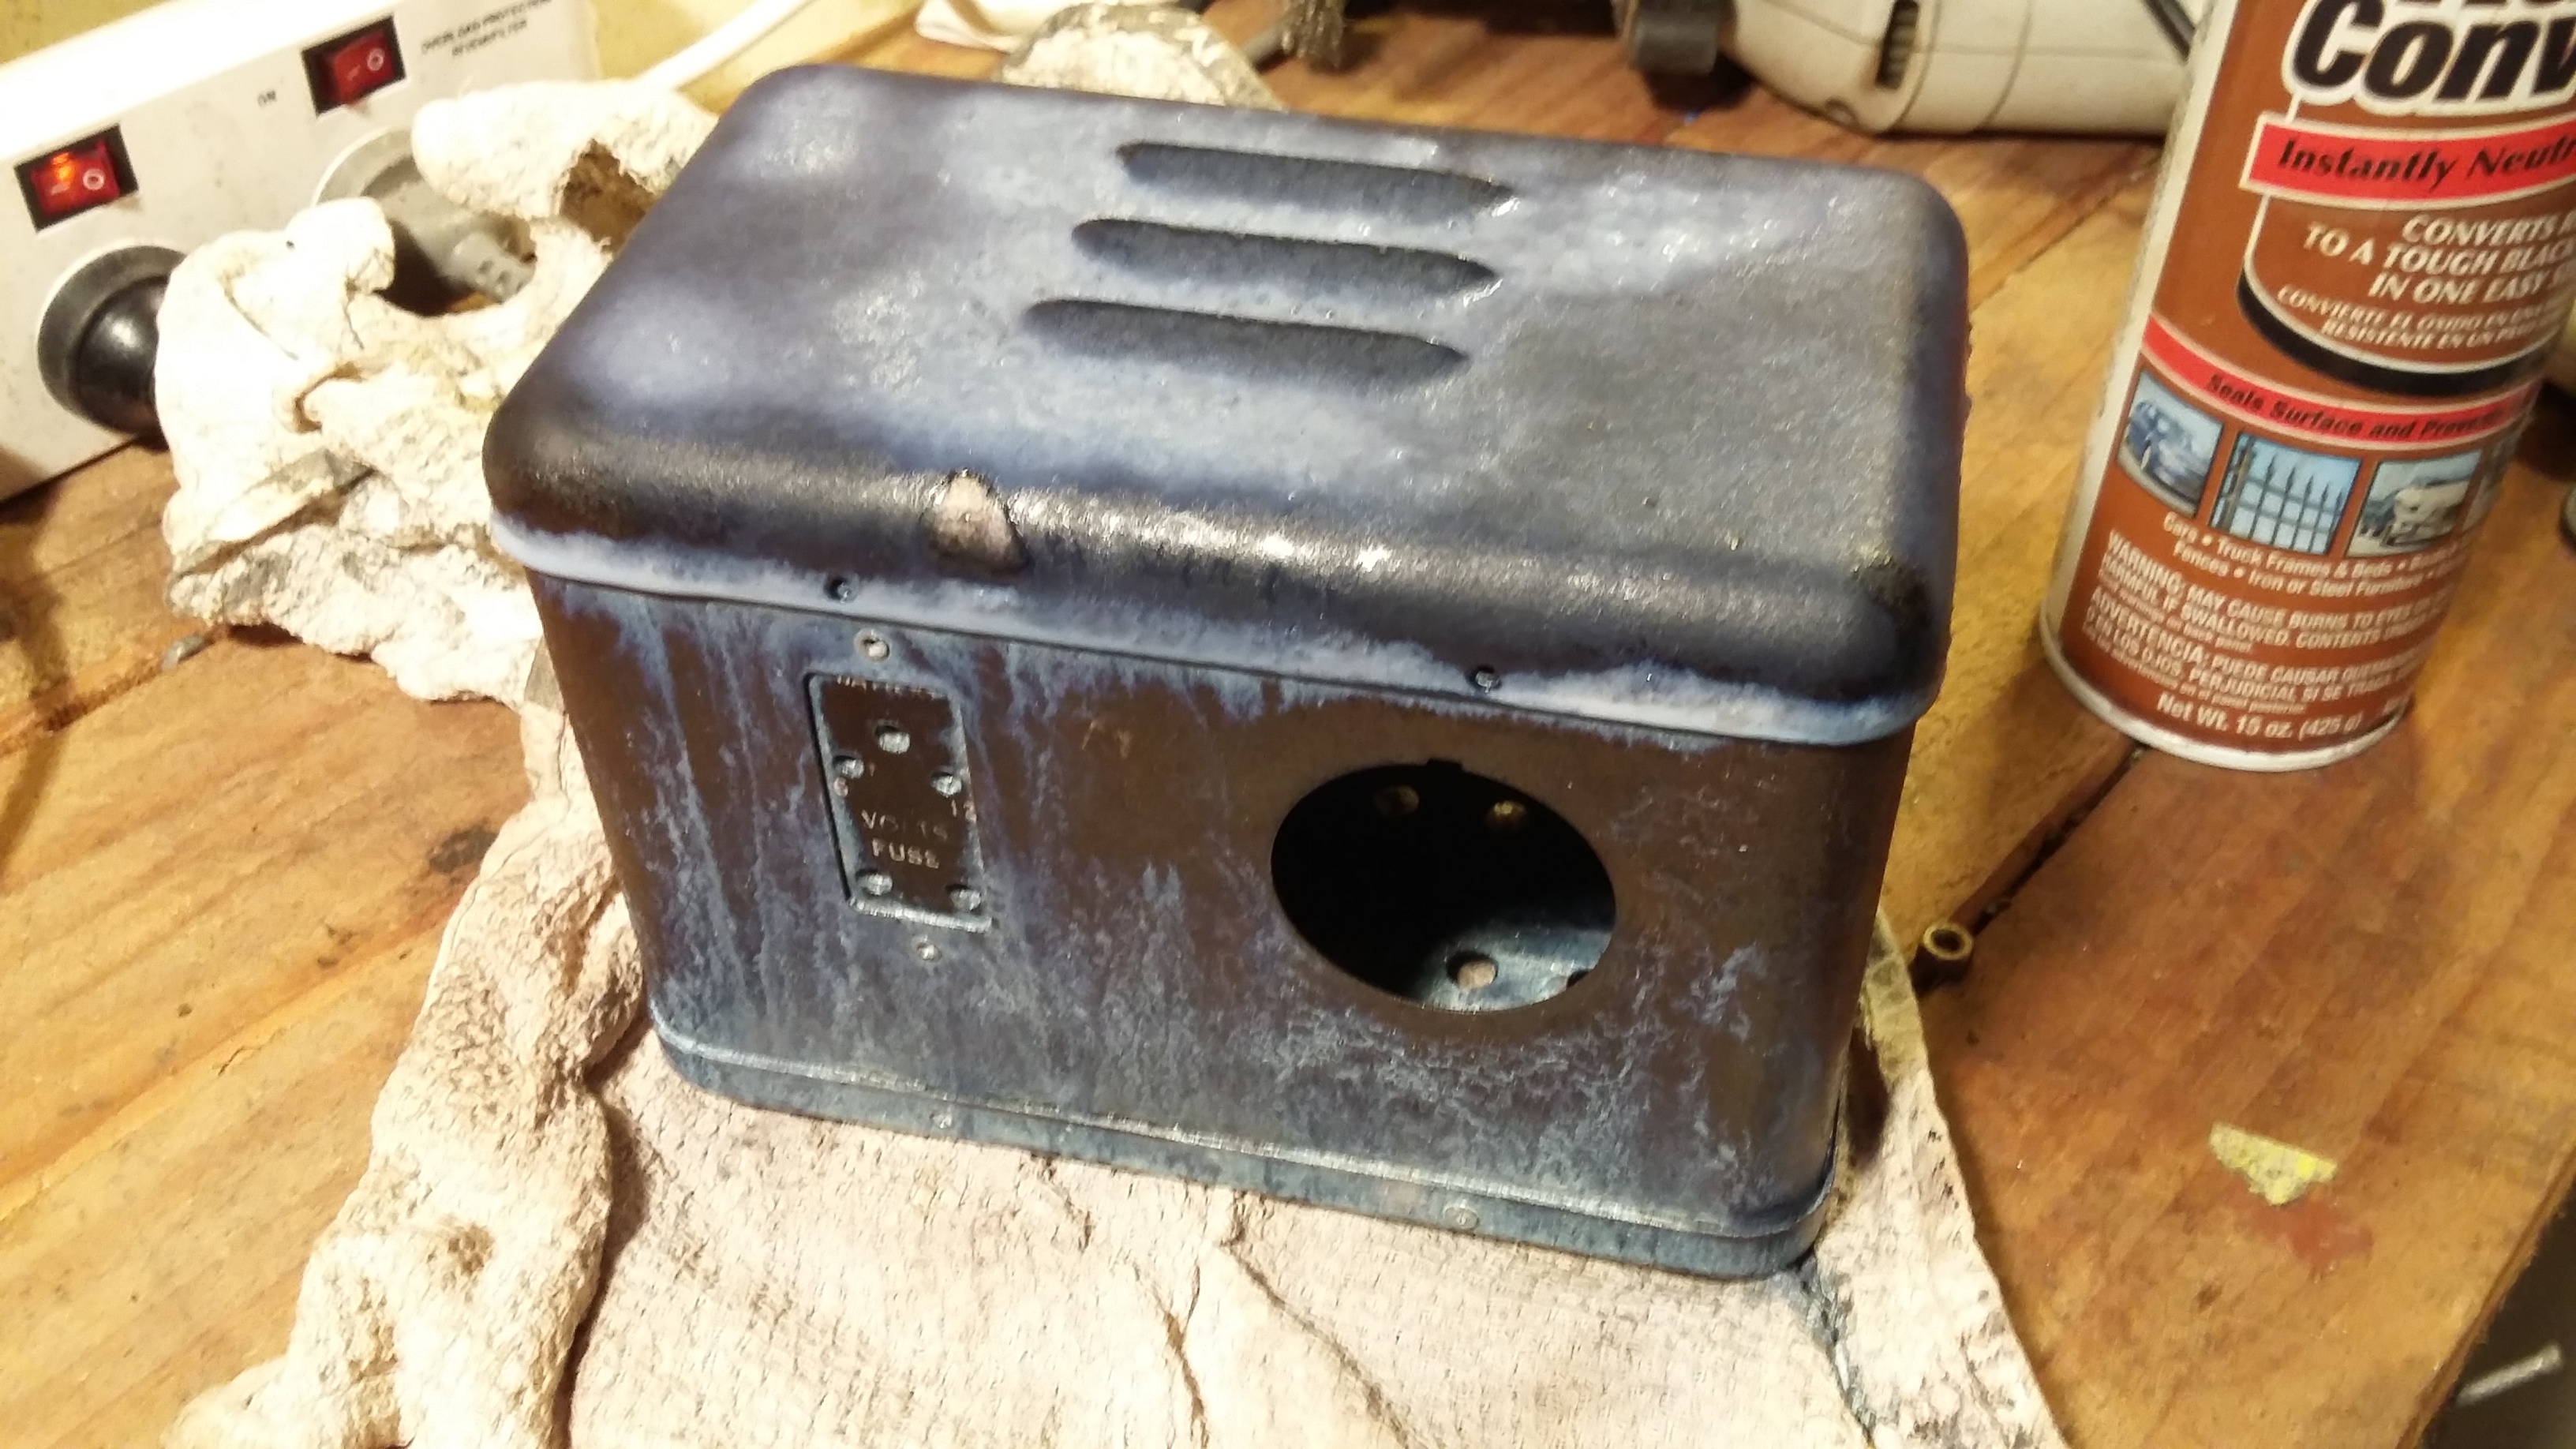
An old battery charger looks like its the perfect size for the transformer and any other components
I don't think that transformer is good for much anymore.
I don’t think that transformer is good for much anymore.
Looks old. I saved this label (even though it might not be true anymore)
Insides become outsides
Trying to remove the rust
Trying to nullify the rust as it might be easier just to take the surface off then paint over.
Looks pretty cool like this, but I plan on painting it
Good stuff


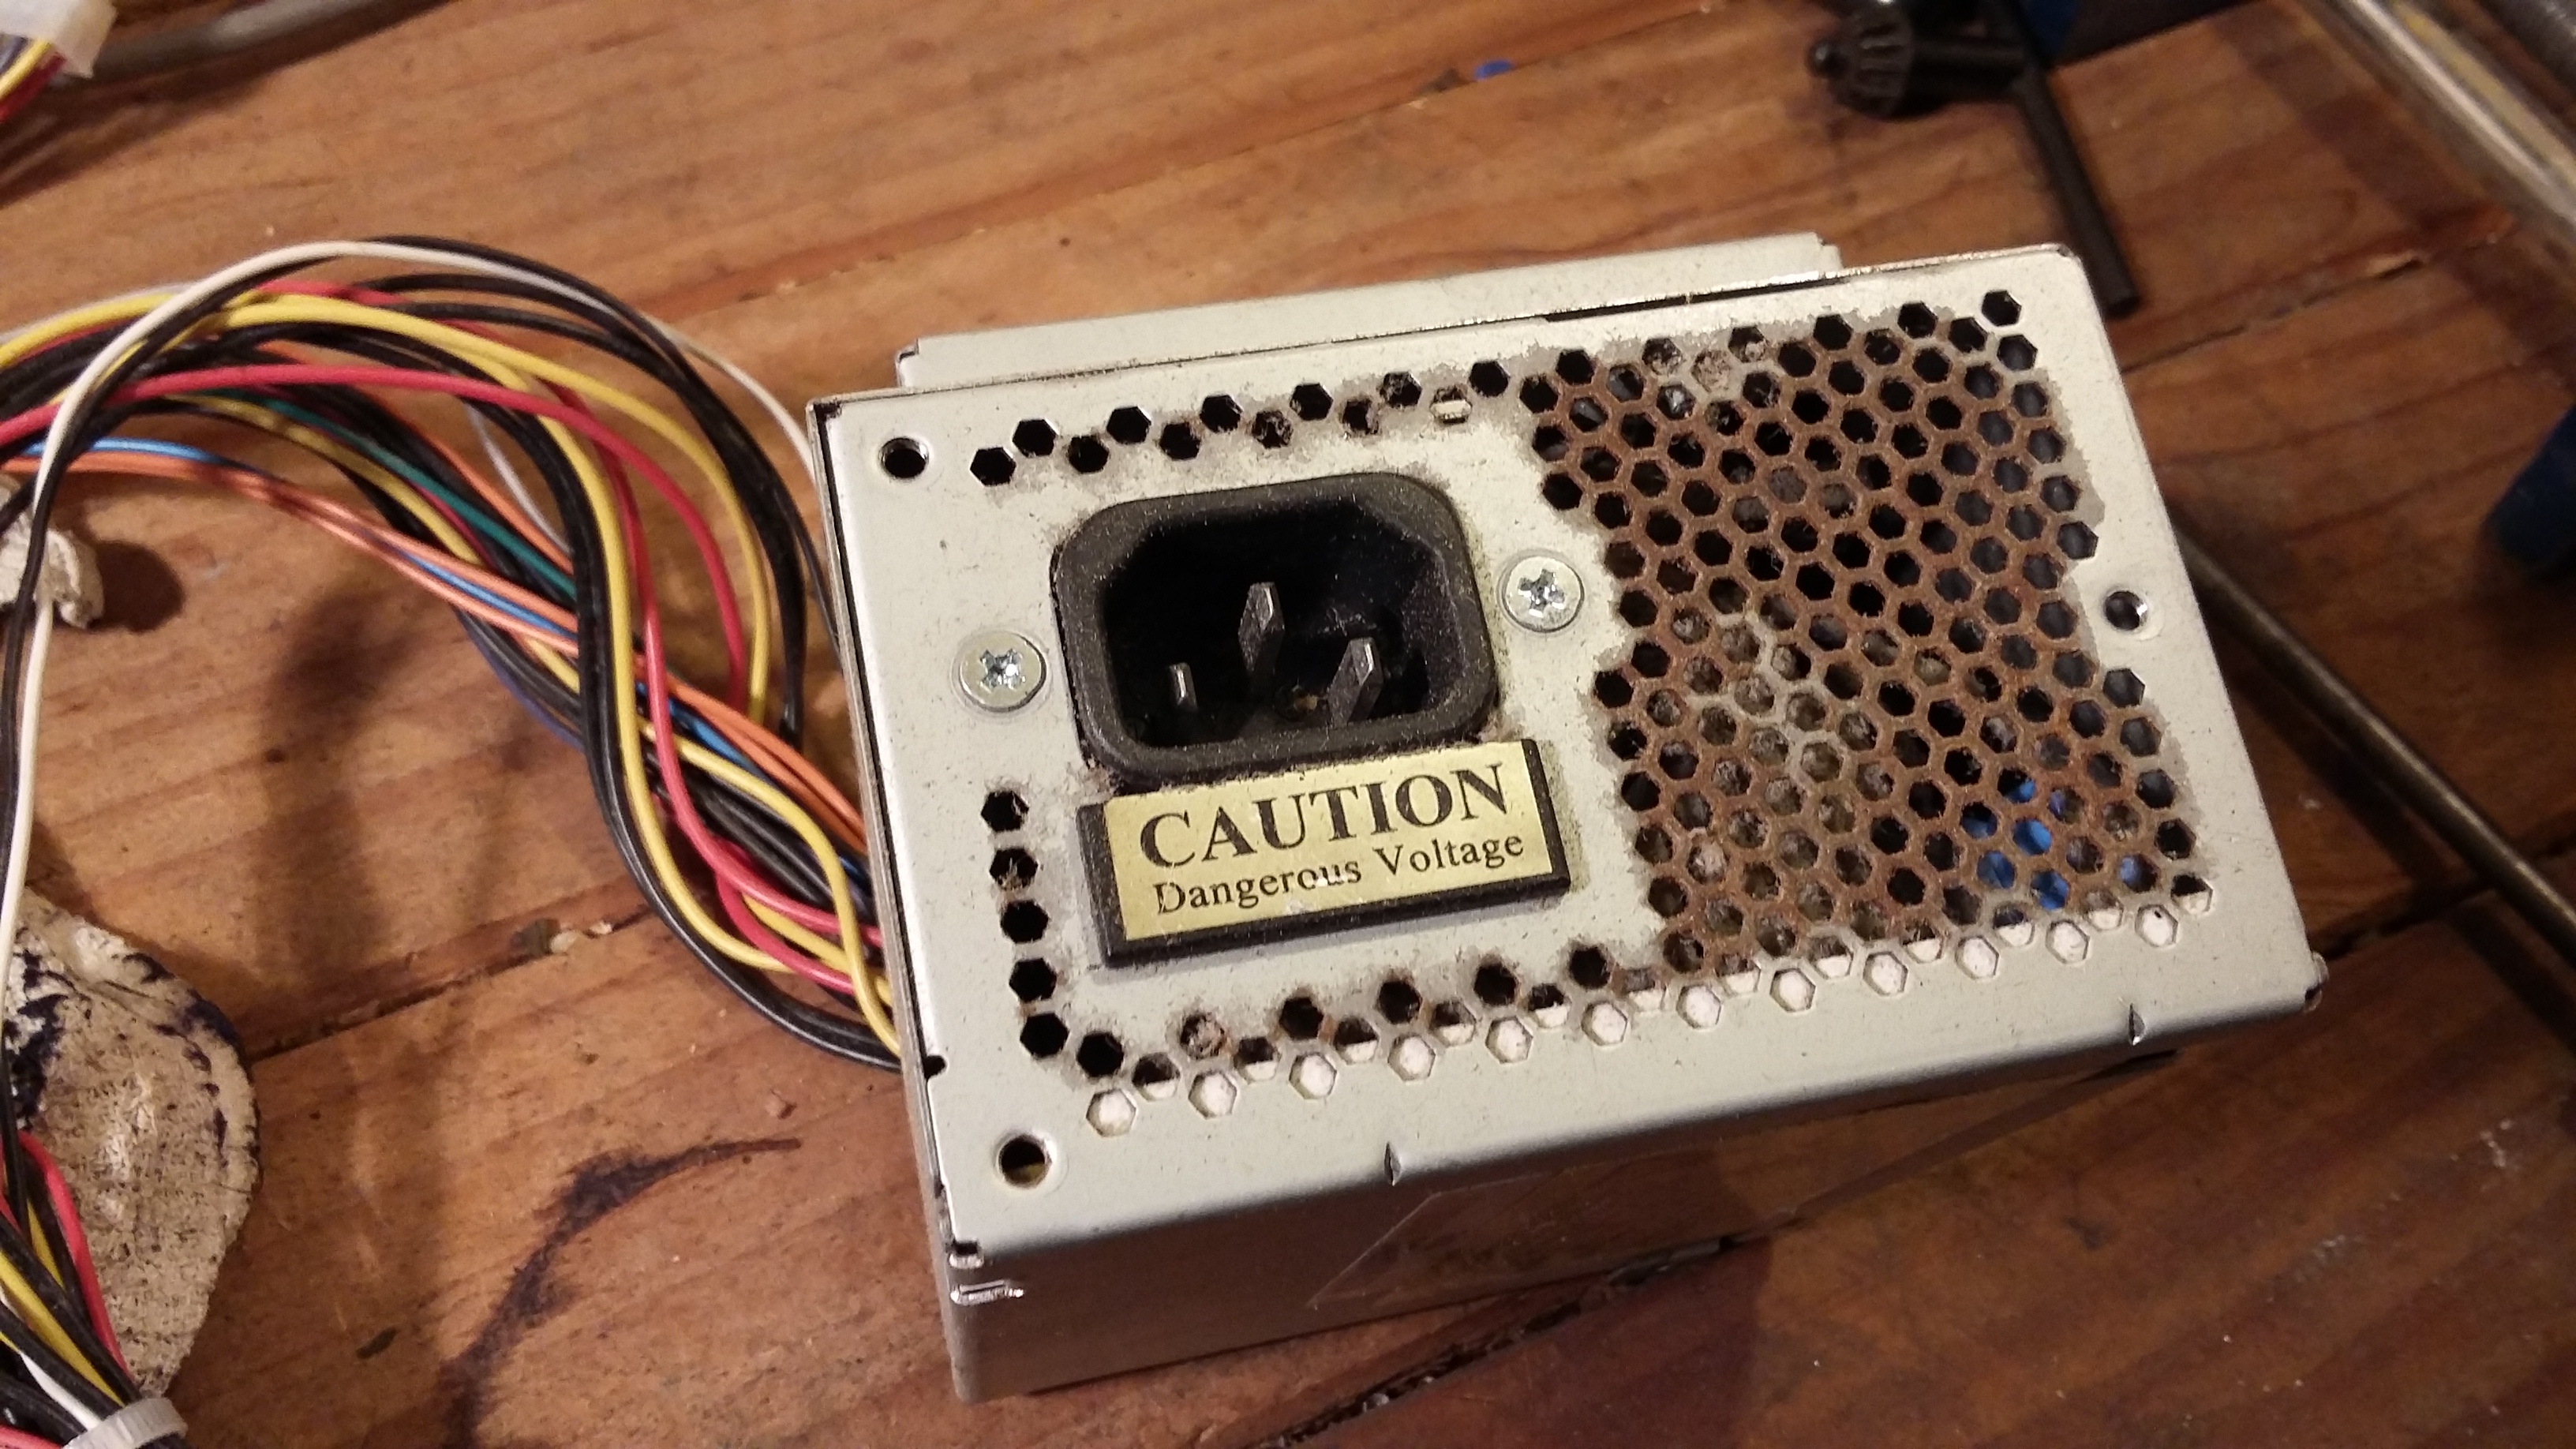
Very old computer PSU has an IEC socket which I can salvage for the power input. Appropriate label below it too
Socket removed, turns out that label was actually the 110v/240v switch covered up. Also found a mains rated switch which might be suitable for the box
Removed a bunch of the rust
Removed most of the surface rust and old paint with sanders and a wire brush on my drill. Not sure about what kind of paint they used so dust masks are a must.
I think this is almost everything.  I need. From the left, Electrode holders, cable glands, the original amp meter, a recycled switch, new fuses and fuse holder, recycled IEC socket. I also bought some copper rod for nicer electrodes. This works out to be able 20c per 4cm long electrode. and some extra cabling I will need
I think this is almost everything. I need. From the left, Electrode holders, cable glands, the original amp meter, a recycled switch, new fuses and fuse holder, recycled IEC socket.
I also bought some copper rod for nicer electrodes. This works out to be able 20c per 4cm long electrode. and some extra cabling I will need


The switch fits inside the vertical gap in the front but its a little too long. So I am going to need a faceplate for the switch. using some metal salvaged from the microwaves.
Measured and drew out some lines. Cut these with an angle grinder with a cutting blade


After cutting most of the cuts with the angle grinder, I used a hacksaw blade and then a file to tidy up the edges and get that last 0.5 mm edge off so it fits snug.
Also need to put this thermal overload protection back in.
Make sure it actually still works with it on first (this was a broken microwave)
Then re-wrapped it in electrical tape and slotted it back in. I removed the tape from the component to see what it was but I don't want it shorting on anything
Then re-wrapped it in electrical tape and slotted it back in. I removed the tape from the component to see what it was but I don’t want it shorting on anything

Part 1 – Microwave Disassembly

Part 2 – Modifying the Transformer and testing the theory

Part 3 – Collecting the parts and preparing the case

Part 4 – Putting the chassis together

Part 5 – Electrodes and Wiring

Part 6  – Final wiring and assembly

Leave a Reply

Your email address will not be published.

Name *
Email *
Website

Protected by WP Anti Spam