Spot Welder from a broken microwave Part 5


Part 1 – Microwave Disassembly

Part 2 – Modifying the Transformer and testing the theory

Part 3 – Collecting the parts and preparing the case

Part 4 – Putting the chassis together

Part 5 – Electrodes and Wiring

Part 6  – Final wiring and assembly


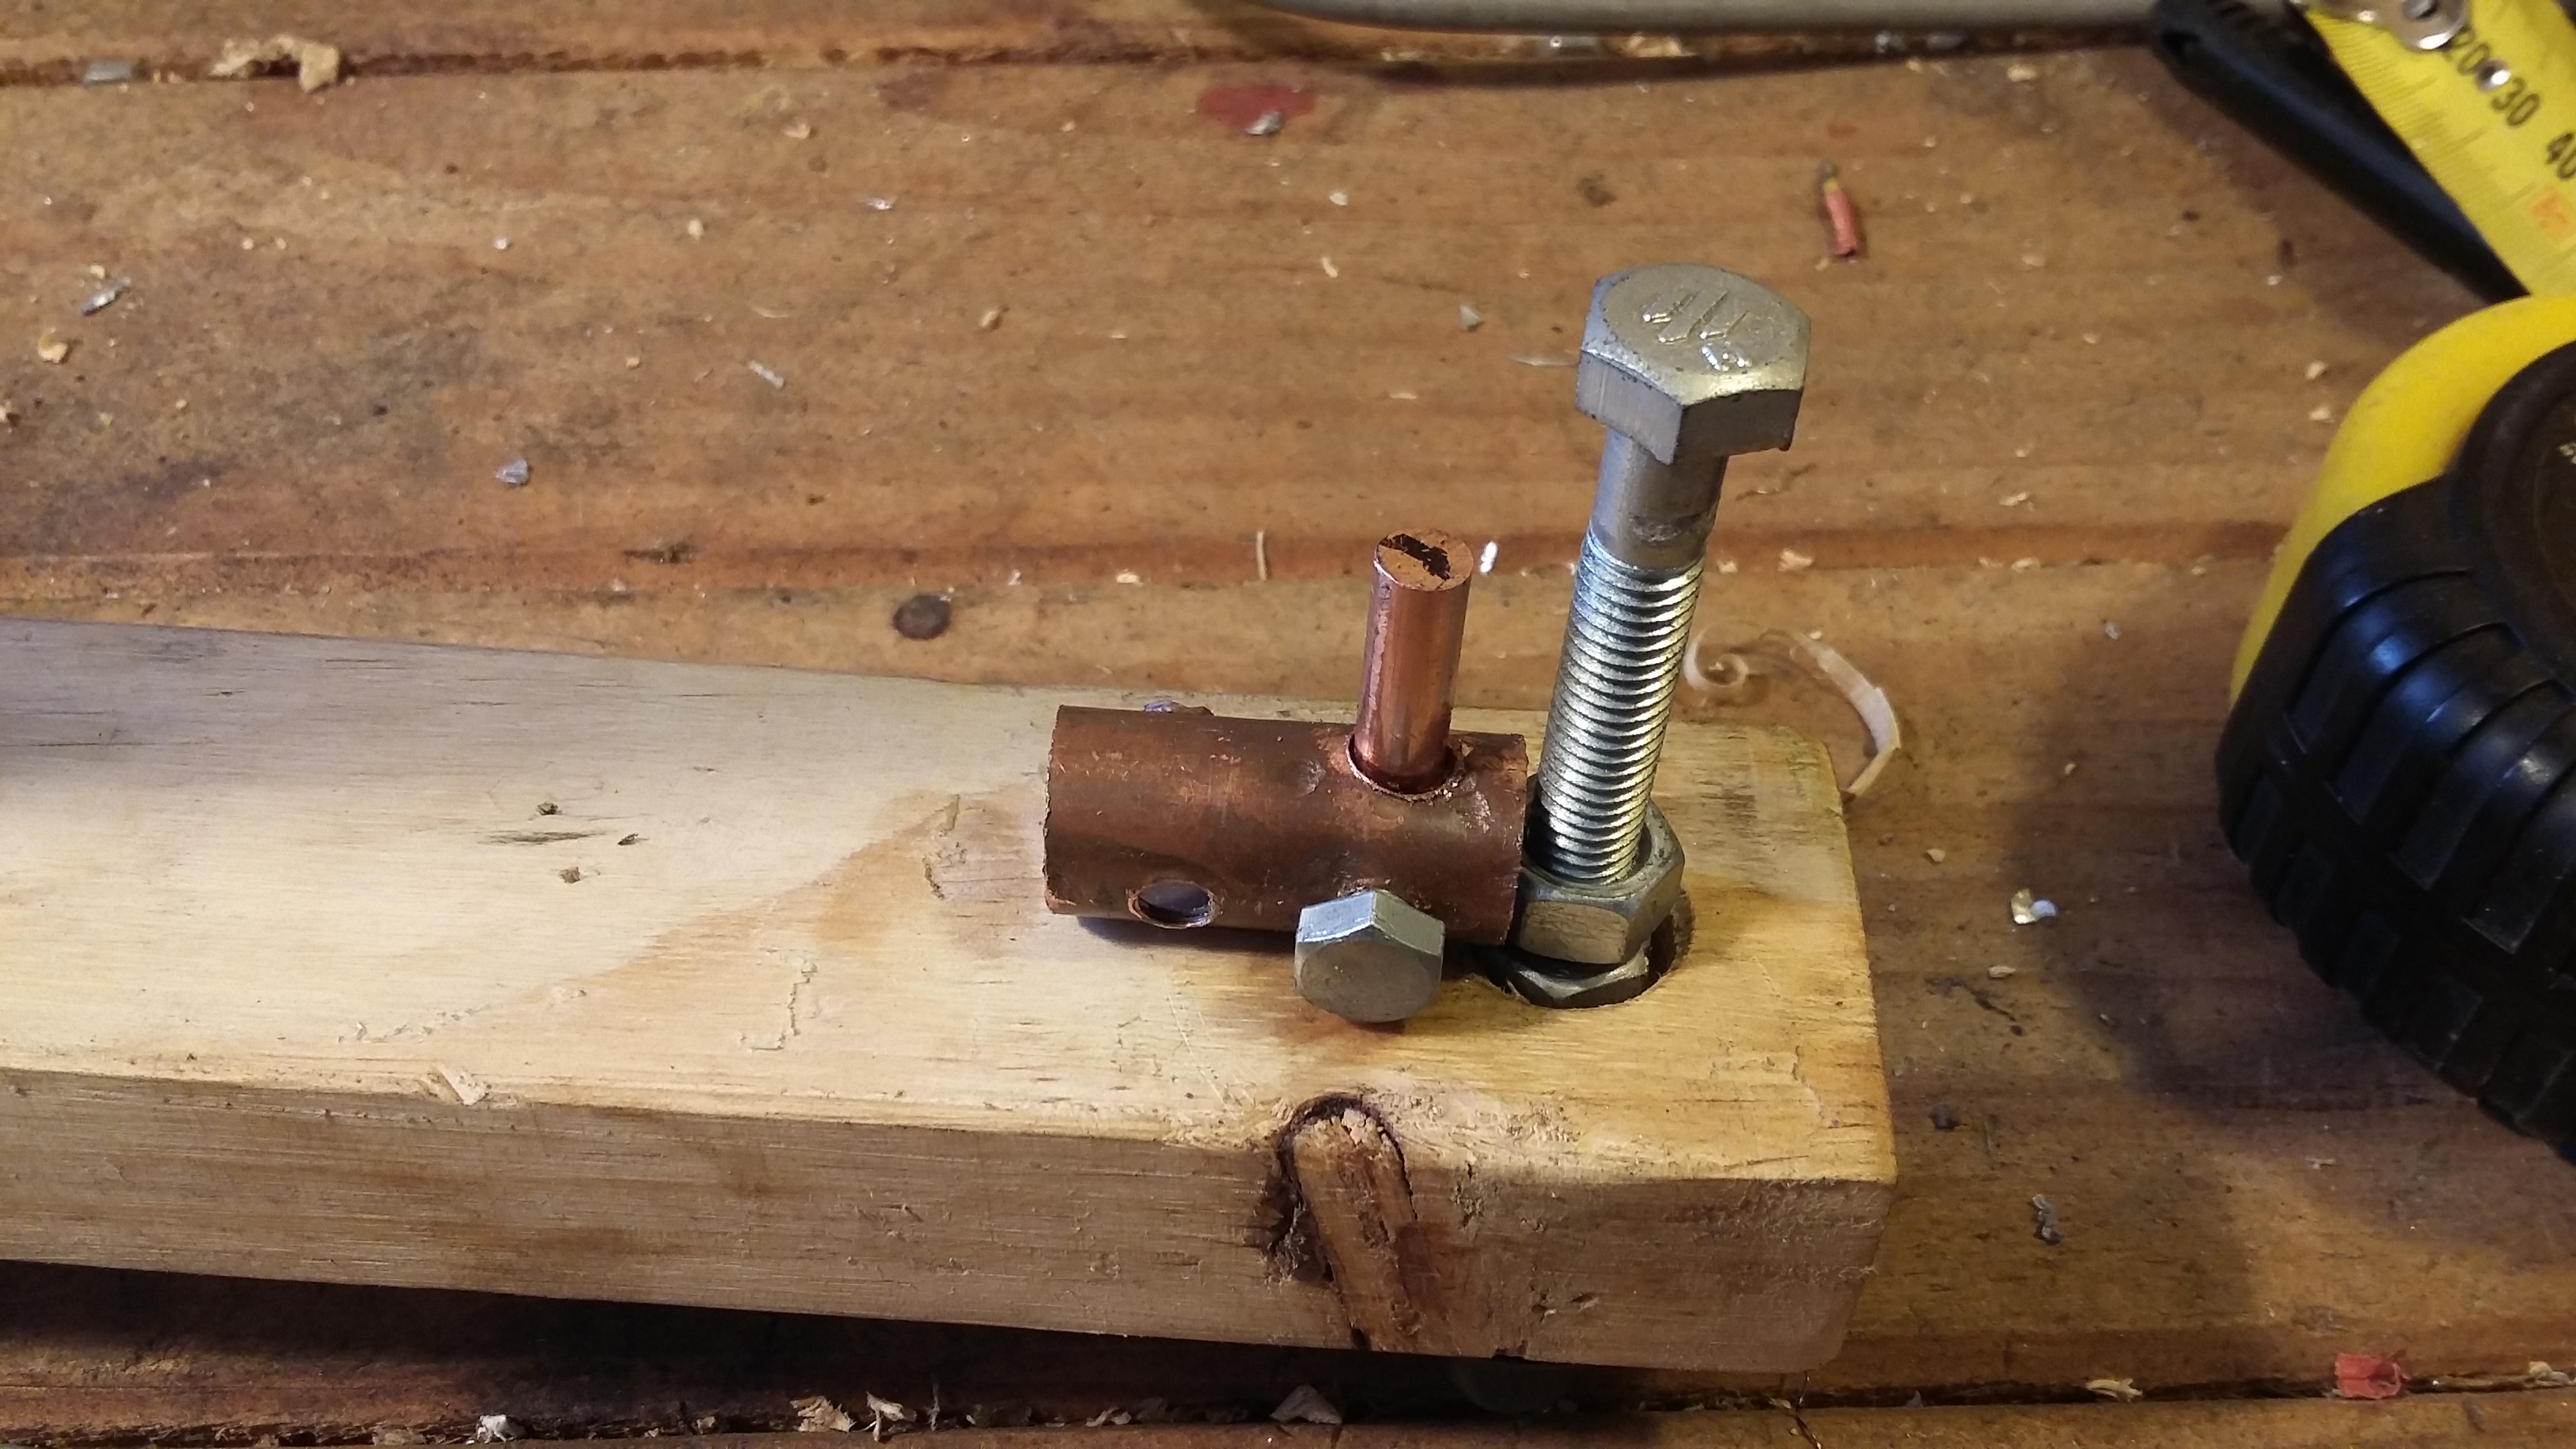
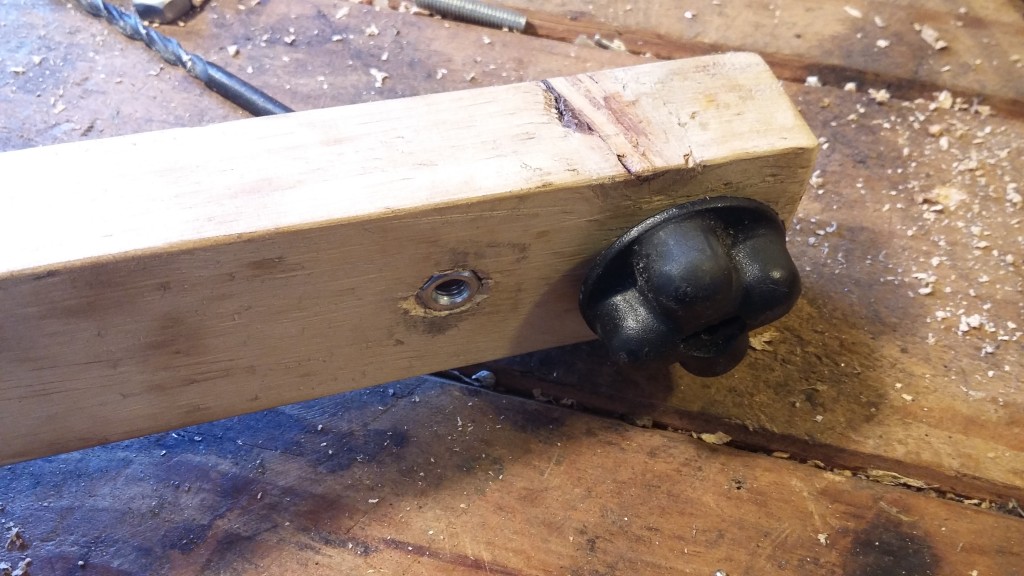
Time to finish these electrode holders, another couple holes and I am putting a thread inside these two
Electrode holders ready to go, 2 holes for bolts to hold everything and one hole to hold the perpendicular electrode
Testing the placement
From the side
From the side
Testing out an idea to use bolts to hole the electrode holder in place. this way I can replace them if need be
Drilled another hole and then countersunk a bolt into the wood for good measure
Two bolts with washers and a little bit of metal (replaced with something a little more finished once I get the machine running again)
Two holes in the top piece (its upside down at the moment) drilled at the right diameter so the threaded rod can be screwed into the wood and hold tight
Two bolts wound in
Two bolts wound in
The electrode holder is quite sturdy in here, enough for me to file them
Both in place
Both in place
Going to re-use some of the cable lugs for the final wiring
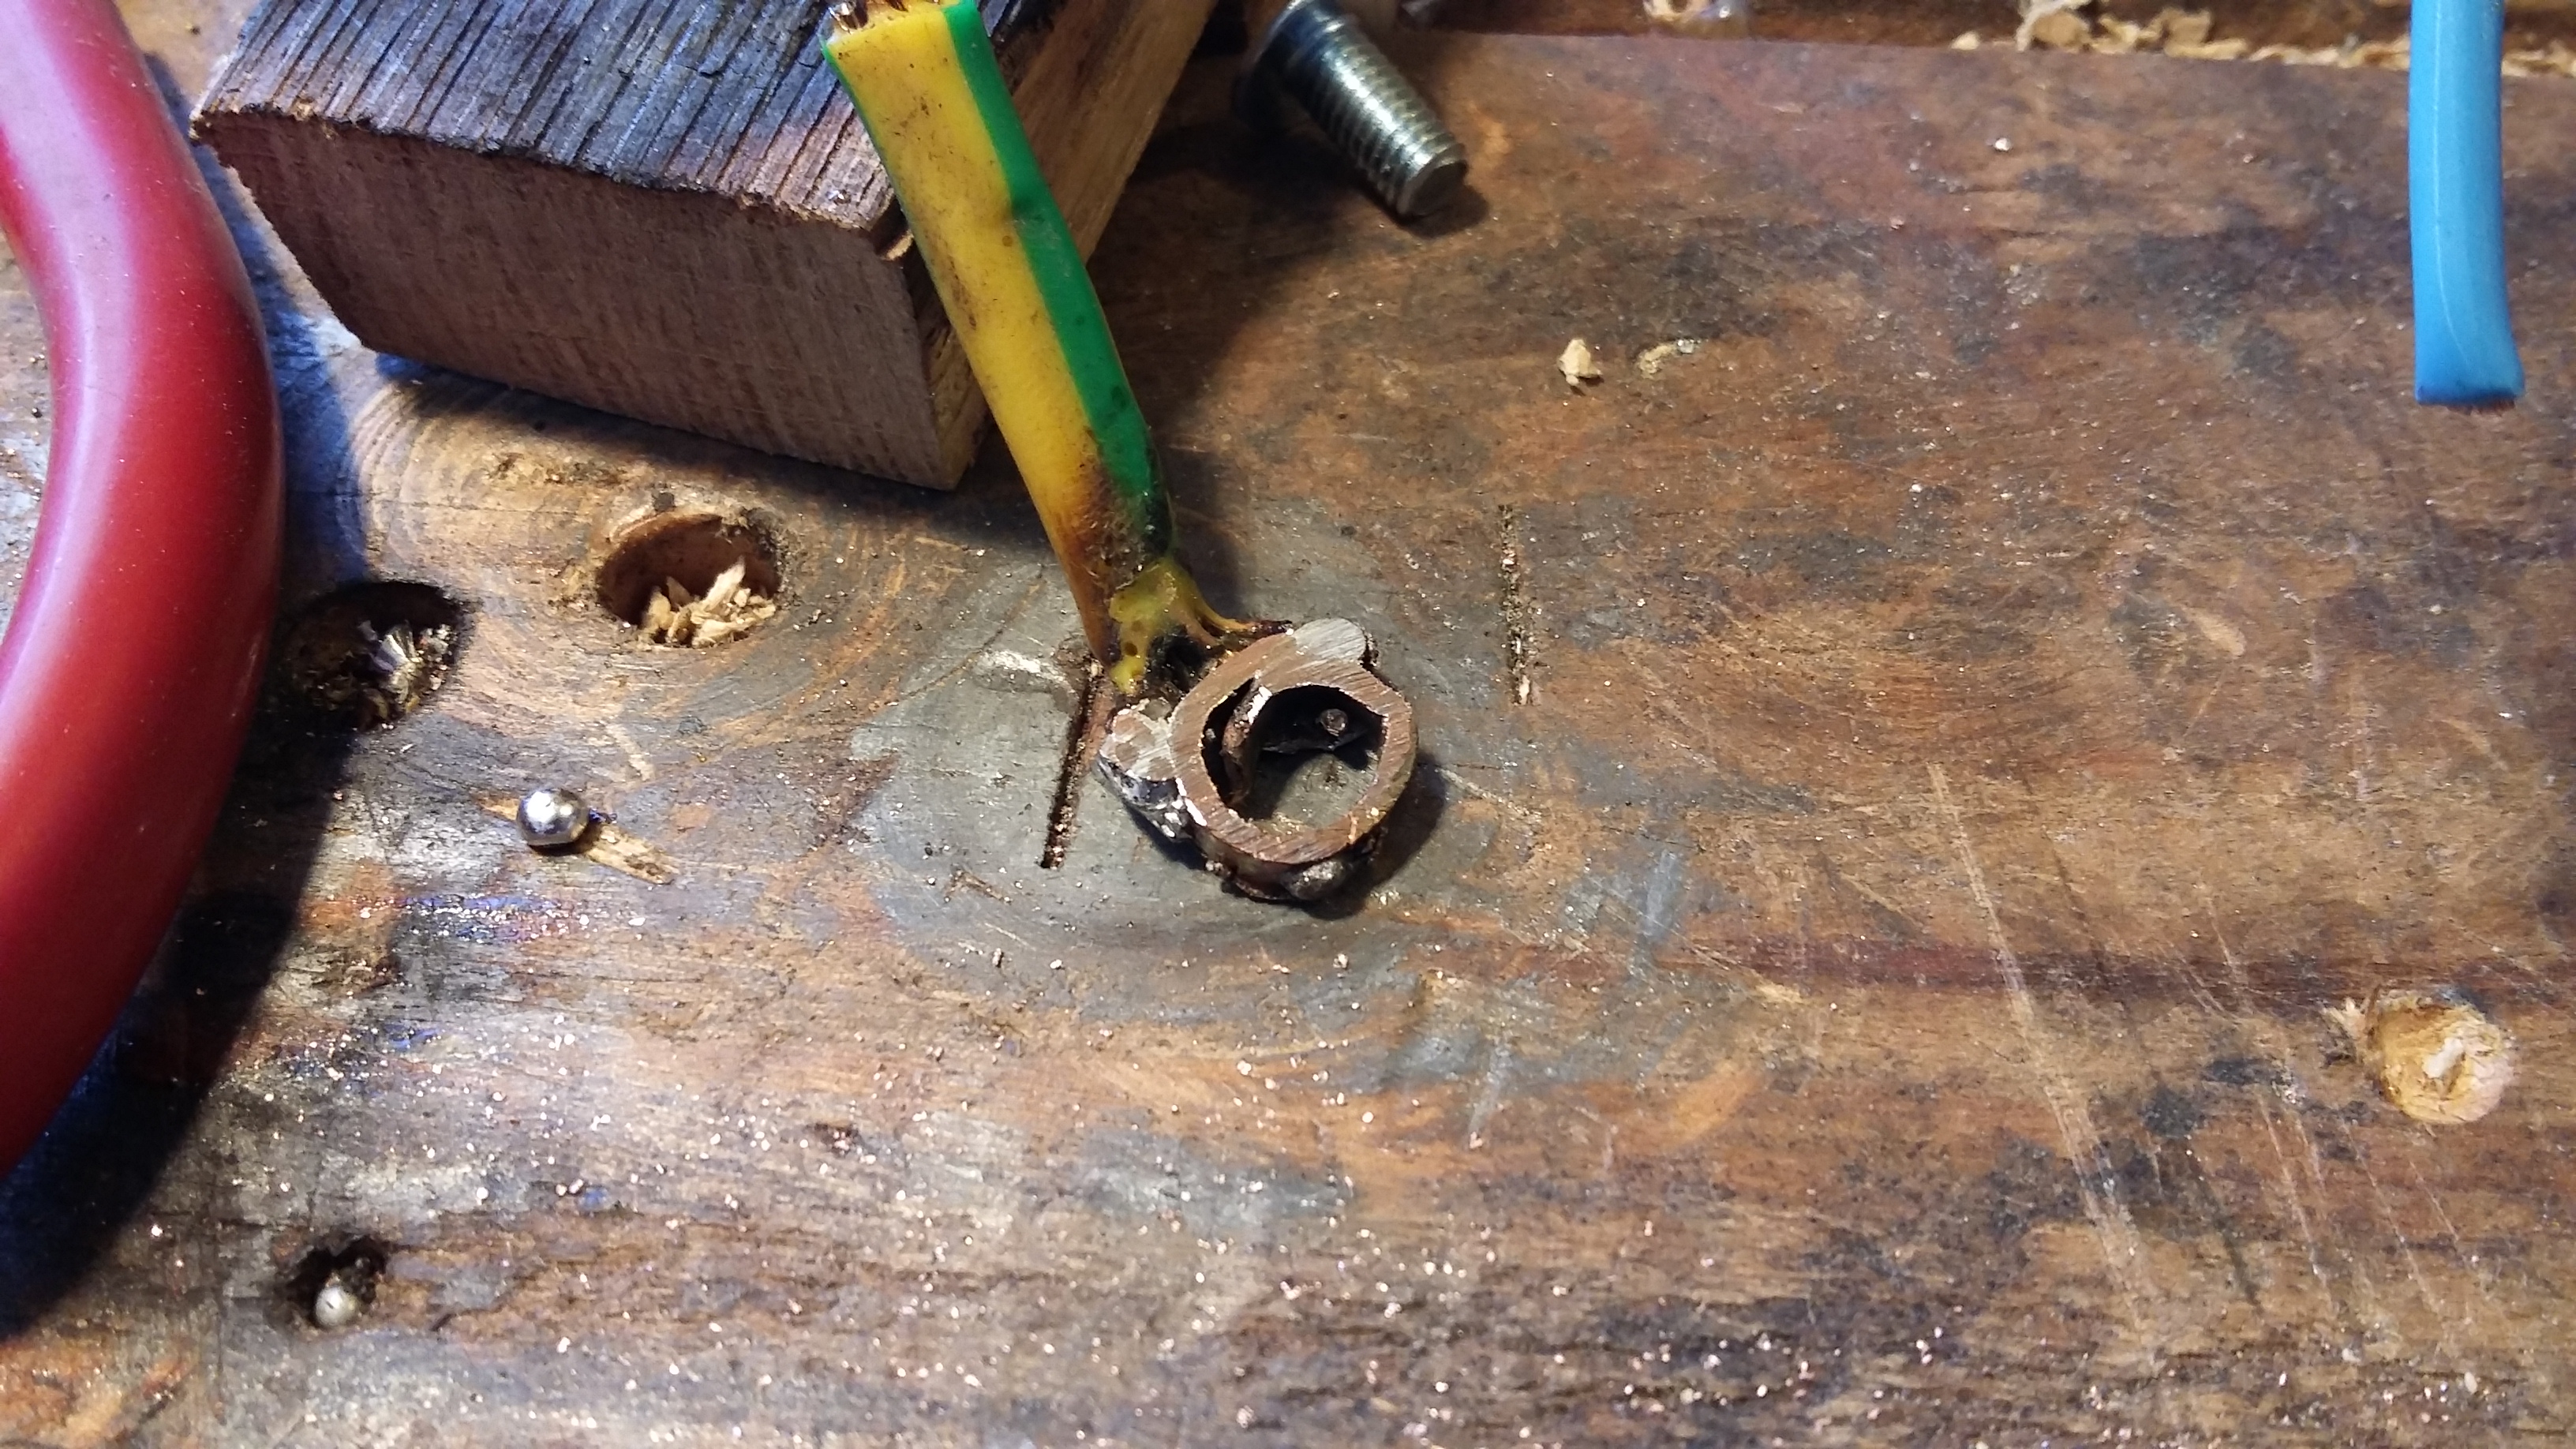
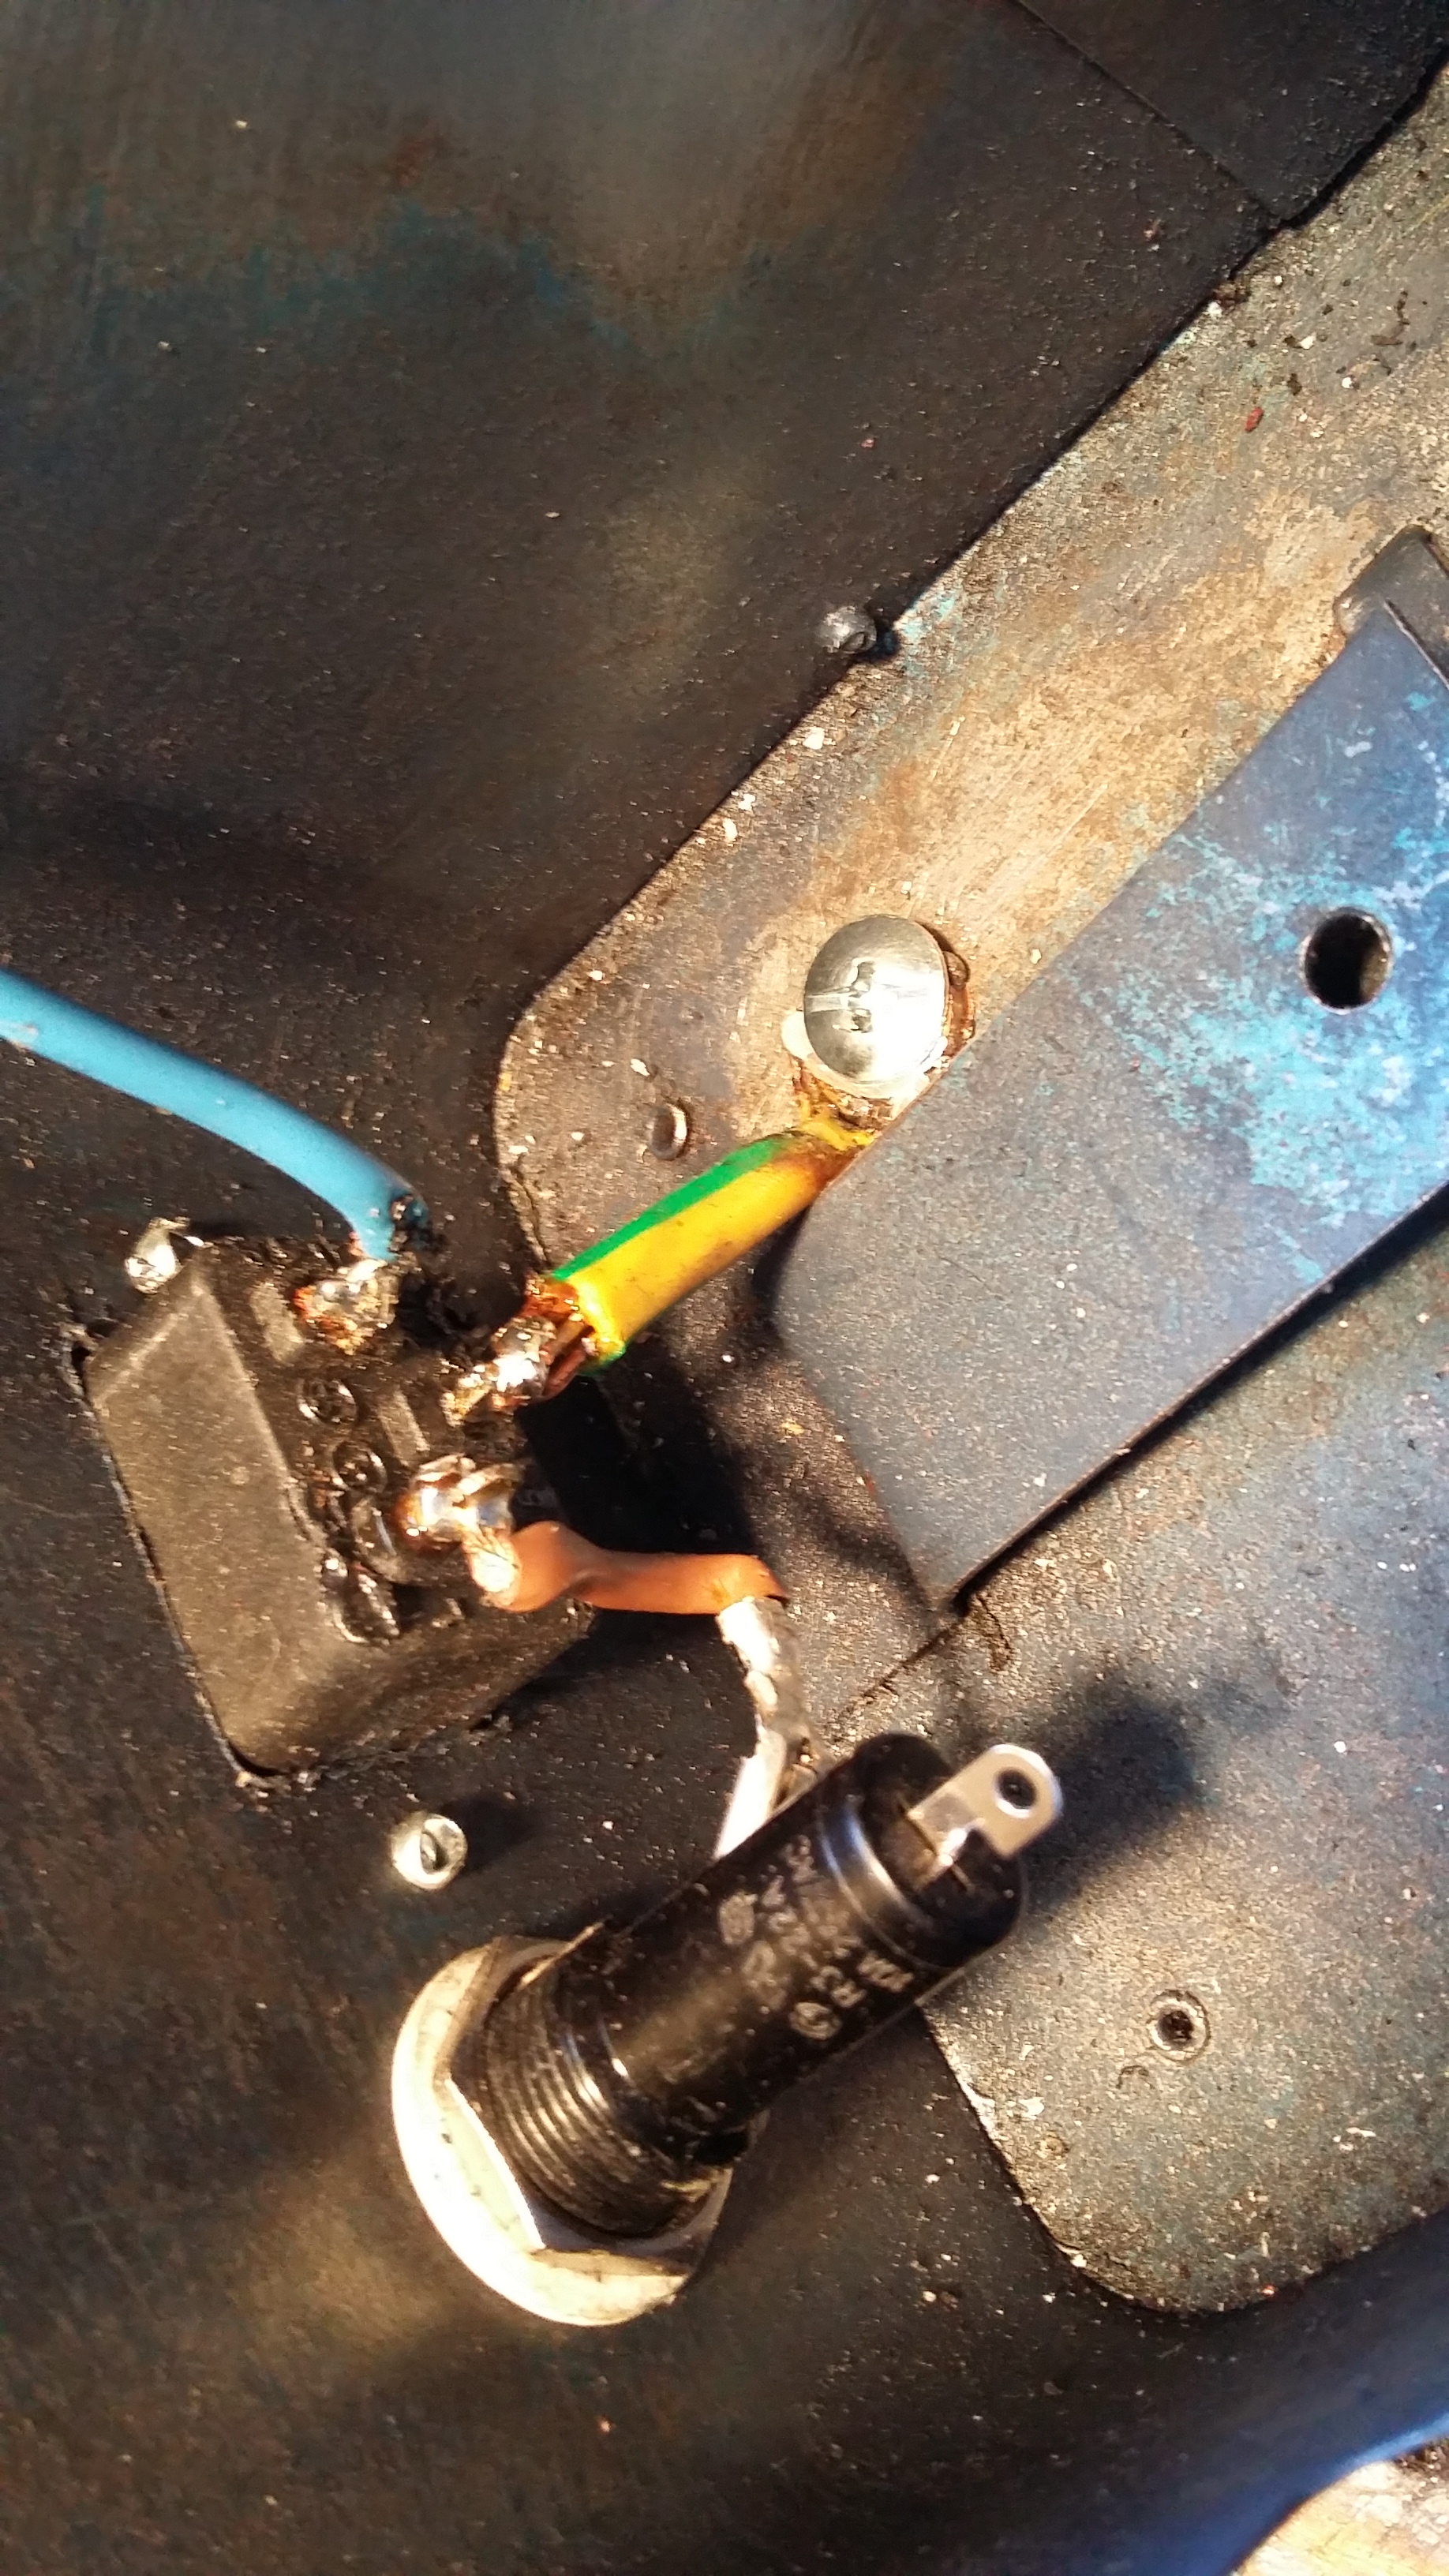


IEC and fuse holder mounted
I want to make a heavy duty earth for the case so took some large gauge wire from that original cable and soldered it onto a small piece of copper


Then gave it a little go over with the angle grinder to get it flat. now it can be screwed into the case
Mains in is wired up now

Part 1 – Microwave Disassembly

Part 2 – Modifying the Transformer and testing the theory

Part 3 – Collecting the parts and preparing the case

Part 4 – Putting the chassis together

Part 5 – Electrodes and Wiring

Part 6  – Final wiring and assembly


Leave a Reply

Your email address will not be published.

Name *
Email *
Website

Protected by WP Anti Spam