Part 1 – Microwave Disassembly
Part 2 – Modifying the Transformer and testing the theory
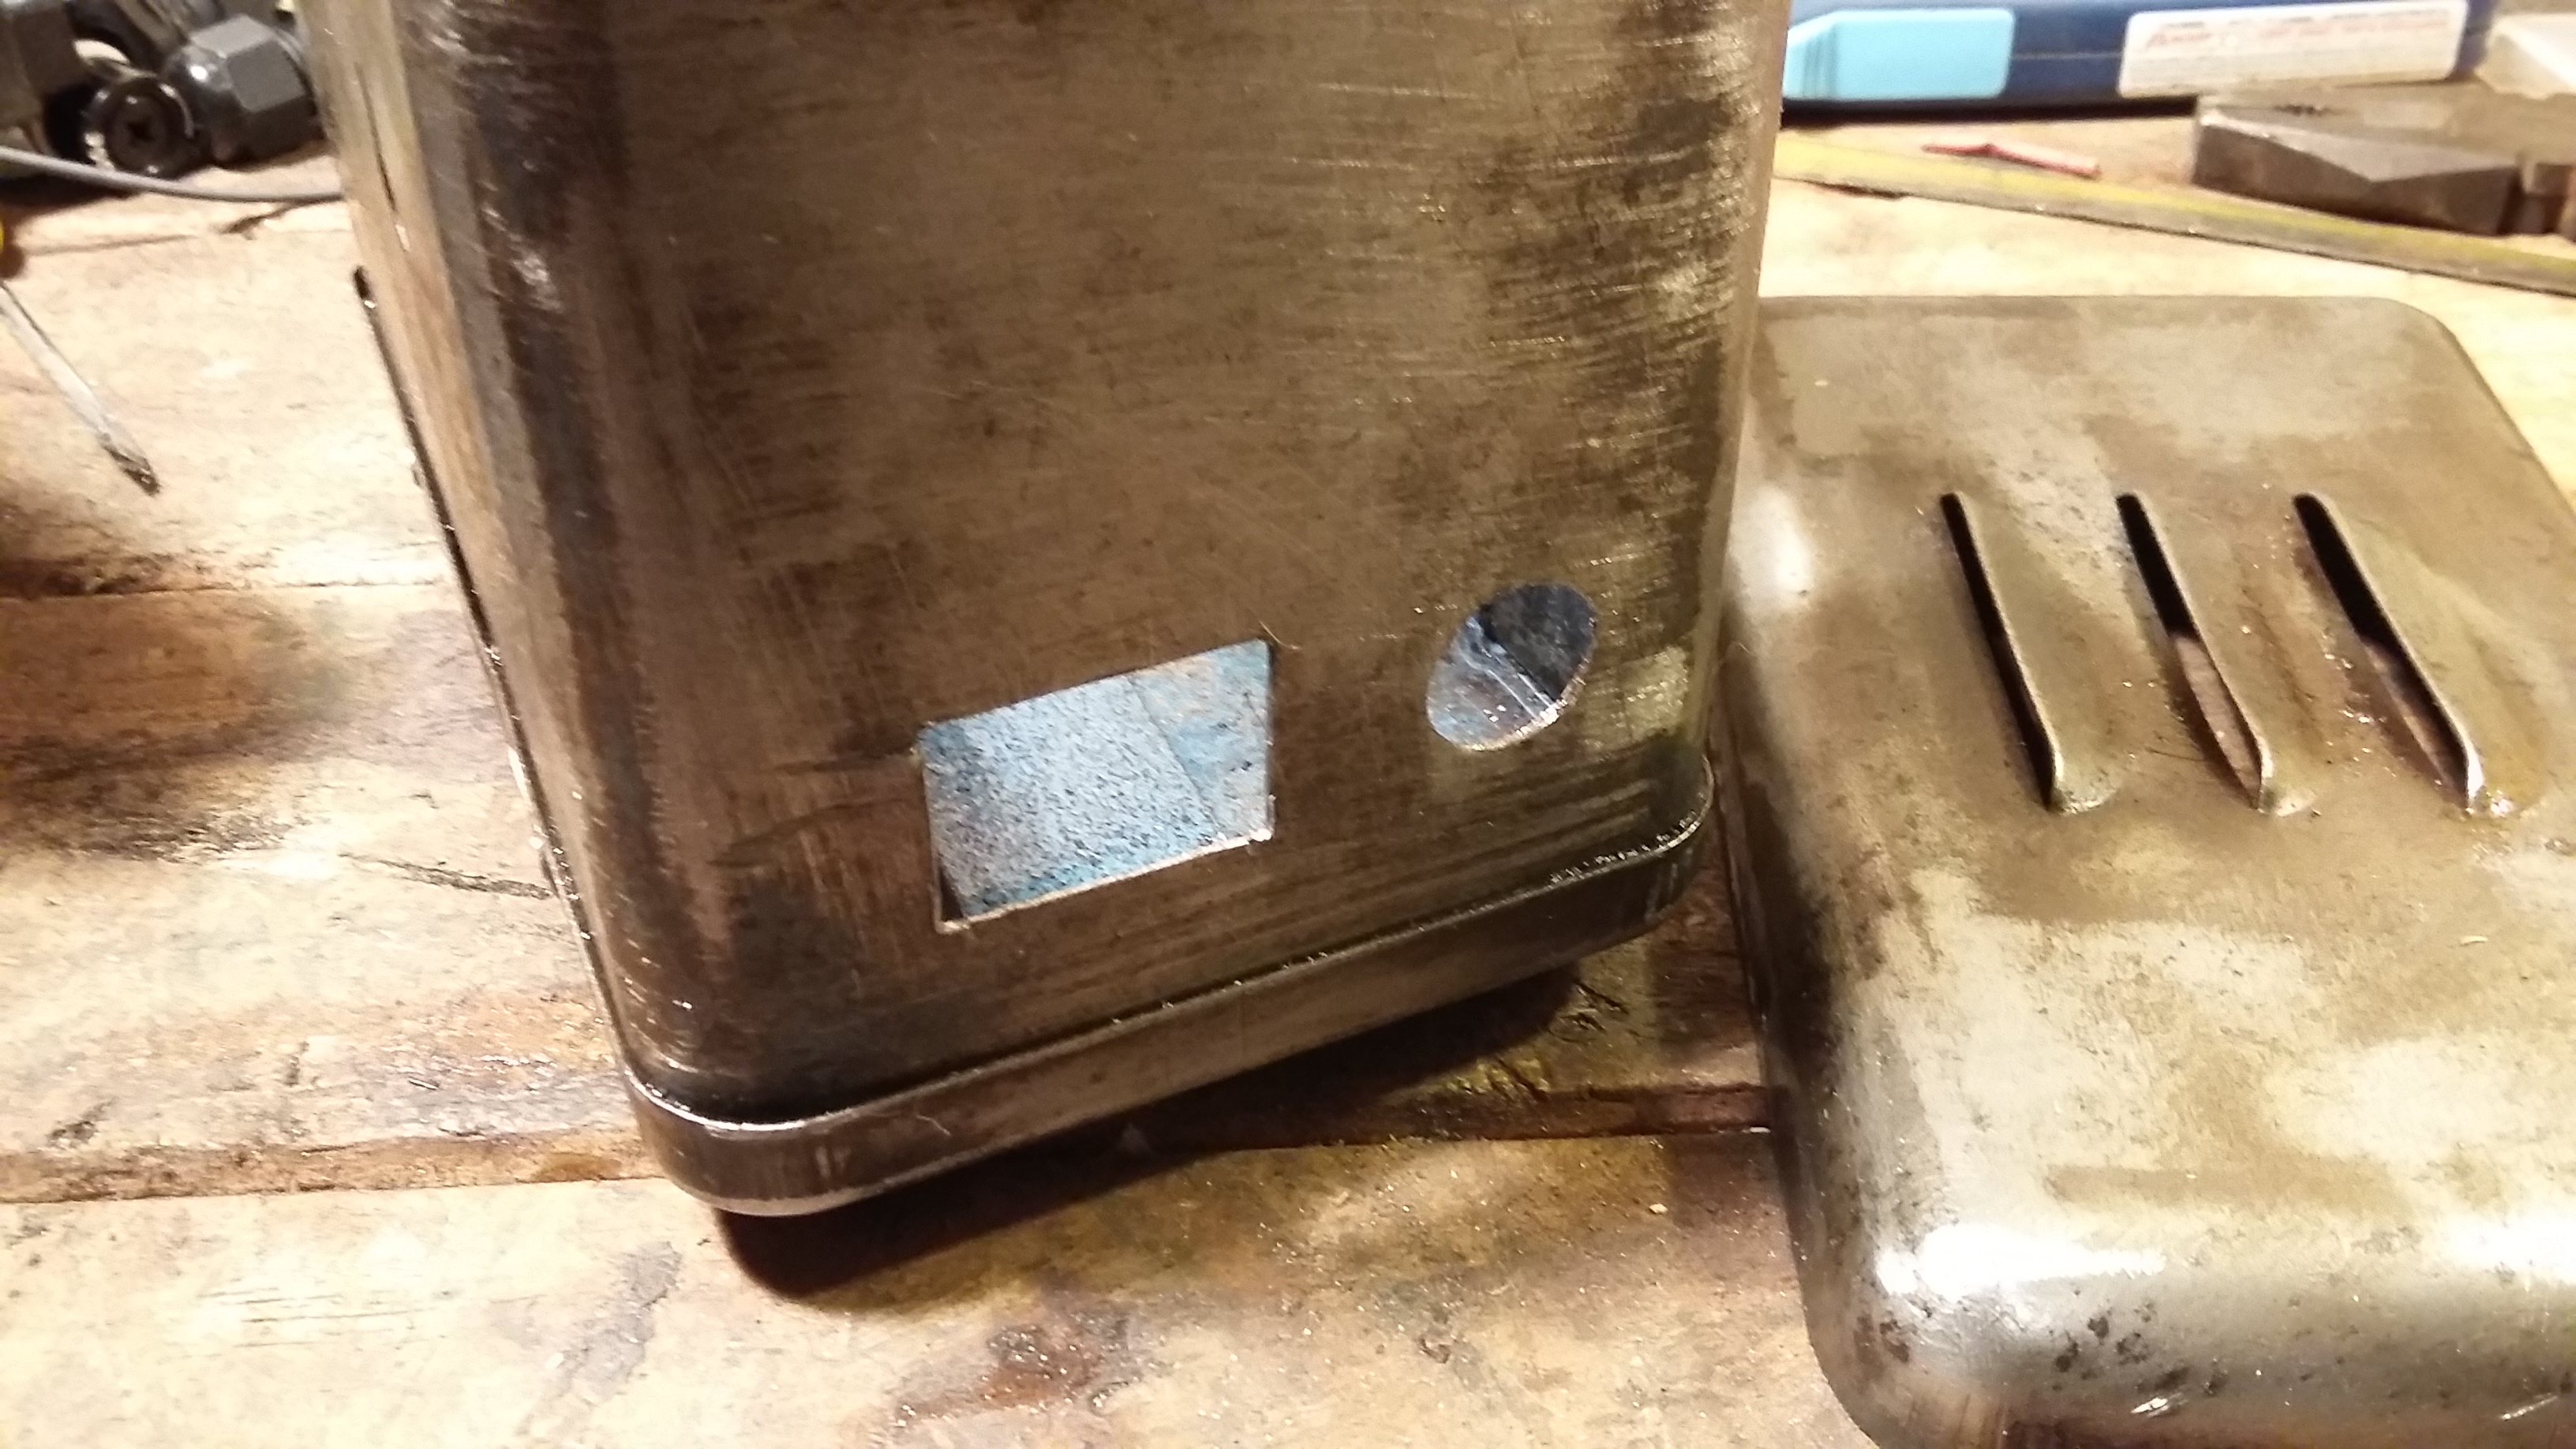
Part 3 – Collecting the parts and preparing the case
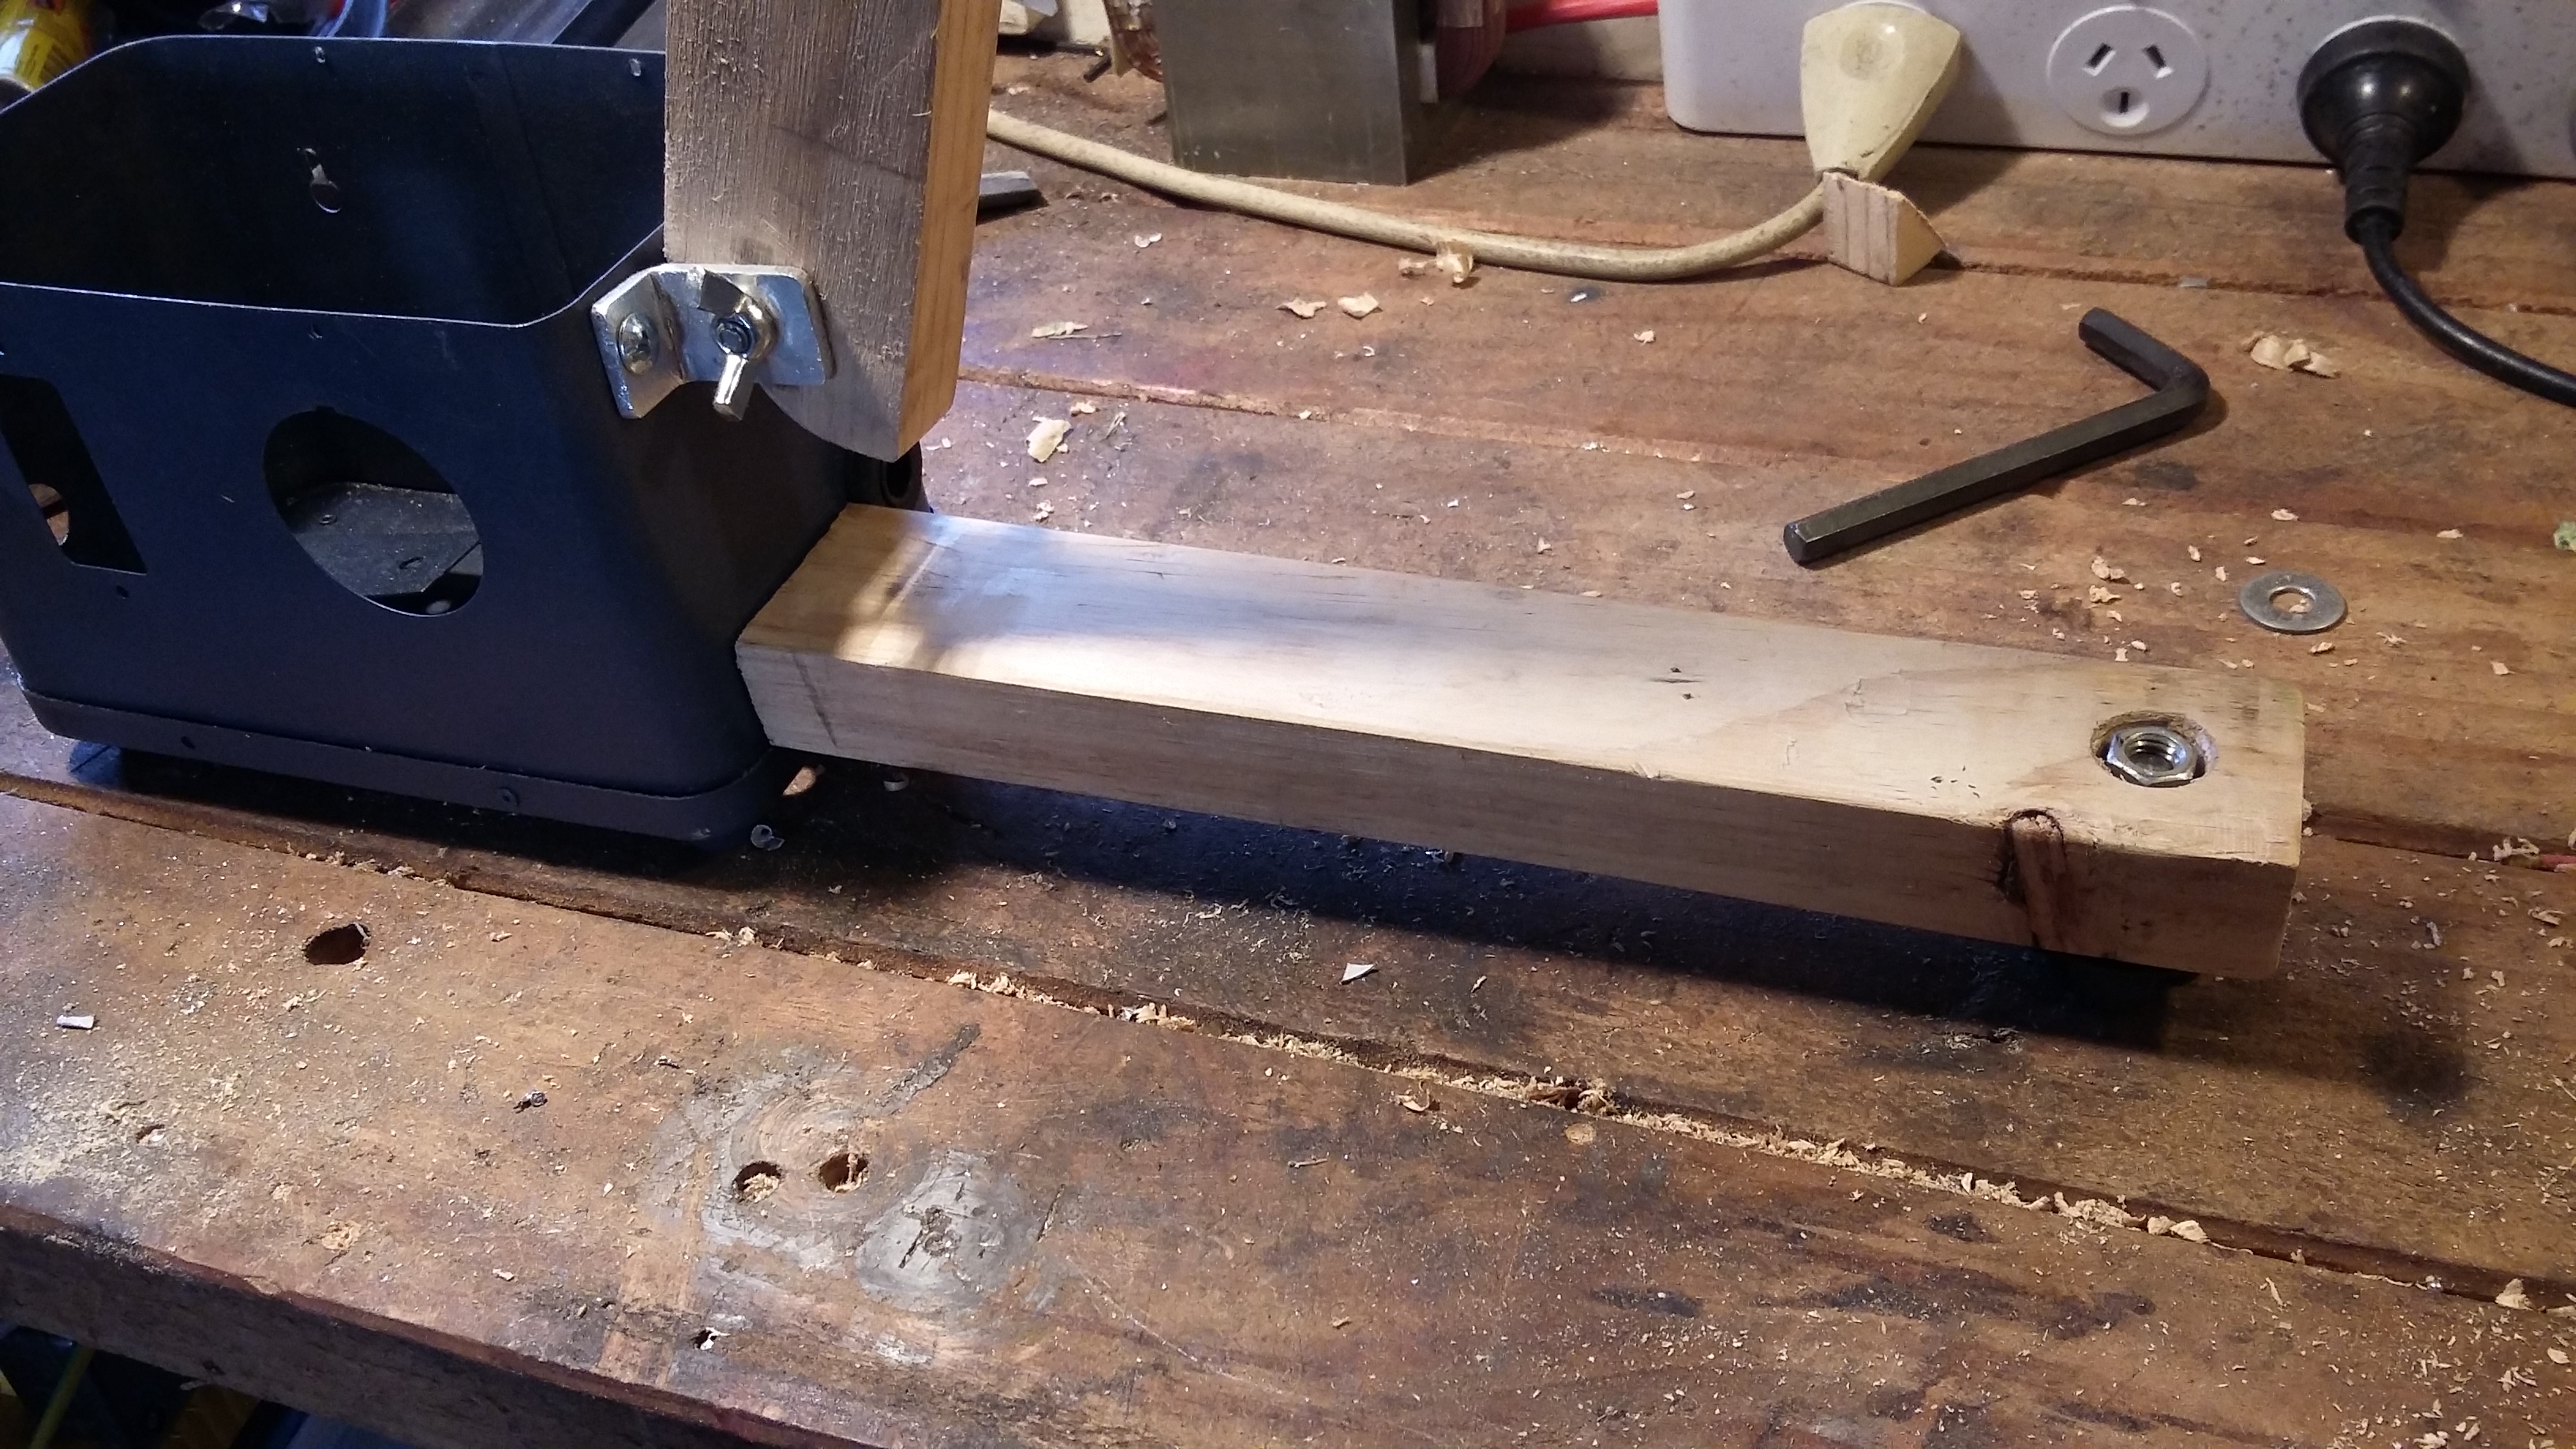
Part 4 – Putting the chassis together
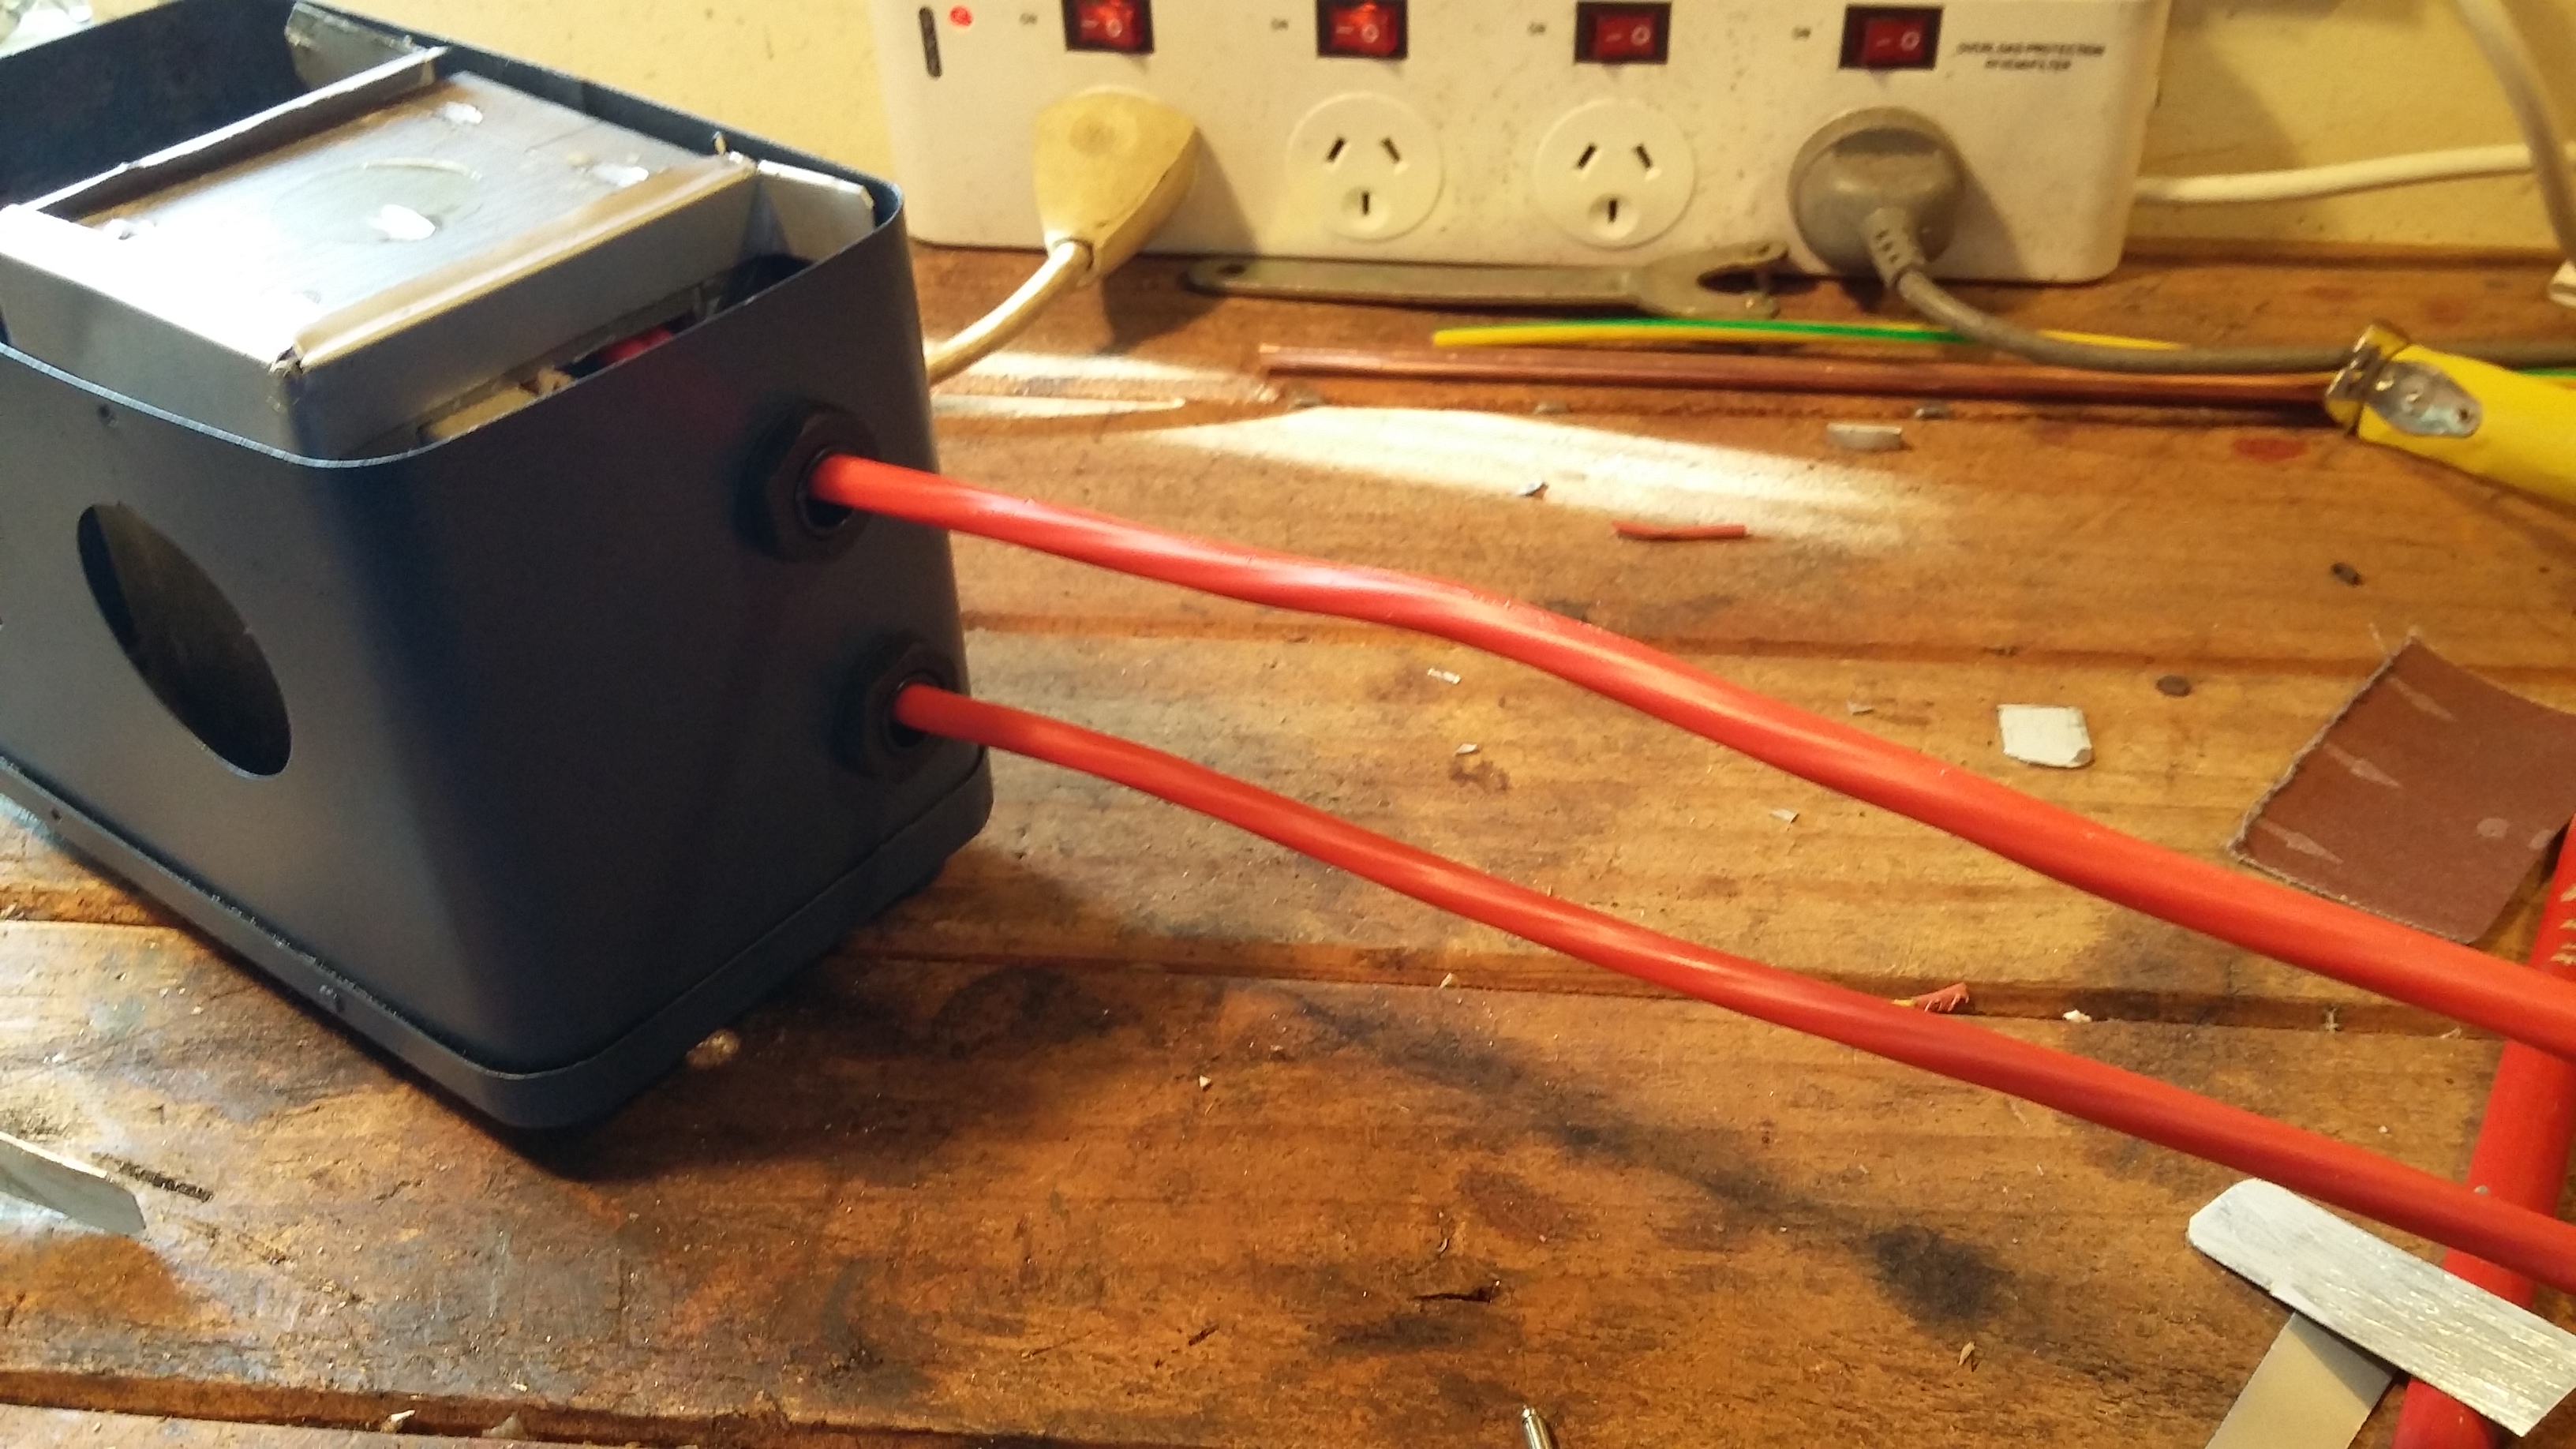
Part 5 – Electrodes and Wiring
Part 6 Â – Final wiring and assembly


Part 1 – Microwave Disassembly
Part 2 – Modifying the Transformer and testing the theory
Part 3 – Collecting the parts and preparing the case
Part 4 – Putting the chassis together
Part 5 – Electrodes and Wiring
Part 6 Â – Final wiring and assembly